Saturday, May 24, 2014

Quilt in a Jiffy???

Making a quilt is such a long, creative process. Who is the recipient of the quilt? What are their favorite colors? How will the quilt be used - bed quilt, lap quilt or picnic quilt? May be it will be just a wall quilt. Deciding upon the pattern is the most critical step in the process. And then pick out the fabrics, batting, backing and binding. And by the time someone like me (full time job and a long commute) completes a quilt, the seasons have changed. Well, it takes a month. So, how is it possible to make a quilt in one weekend? Let me explain...

Last week, I called a former co-worker, let's call him RT.

Hey, RT. How are things with you? I called your cell. Has your number changed?
   Hi Preeti. Nice to hear from you. Yes, I have a new cell now.
How is work?
   Busy, busy as ususal. How about yourself?
Good but busy too. I would love to have lunch with you sometime if you are in this area.
  Sure, that would be great. How about Wednesday?
Sounds great. Let me send you a meeting invite, just so you have it on your calendar.
  Yeah, that would be awesome.
Hey RT, I forgot to ask you how is your daughter doing?
  She is fine. And we also have a 3 week old baby boy.

YIKES!!!

I really wanted to make a quilt for the new baby boy. What can be made quickly, no very quickly. A quilt with panels - because half of the quilt (the panels) are already made.

I decided to repeat an earlier quilt - an ENCORE performance, if you will. I remade the Bear Hugs quilt. No thinking required :-D


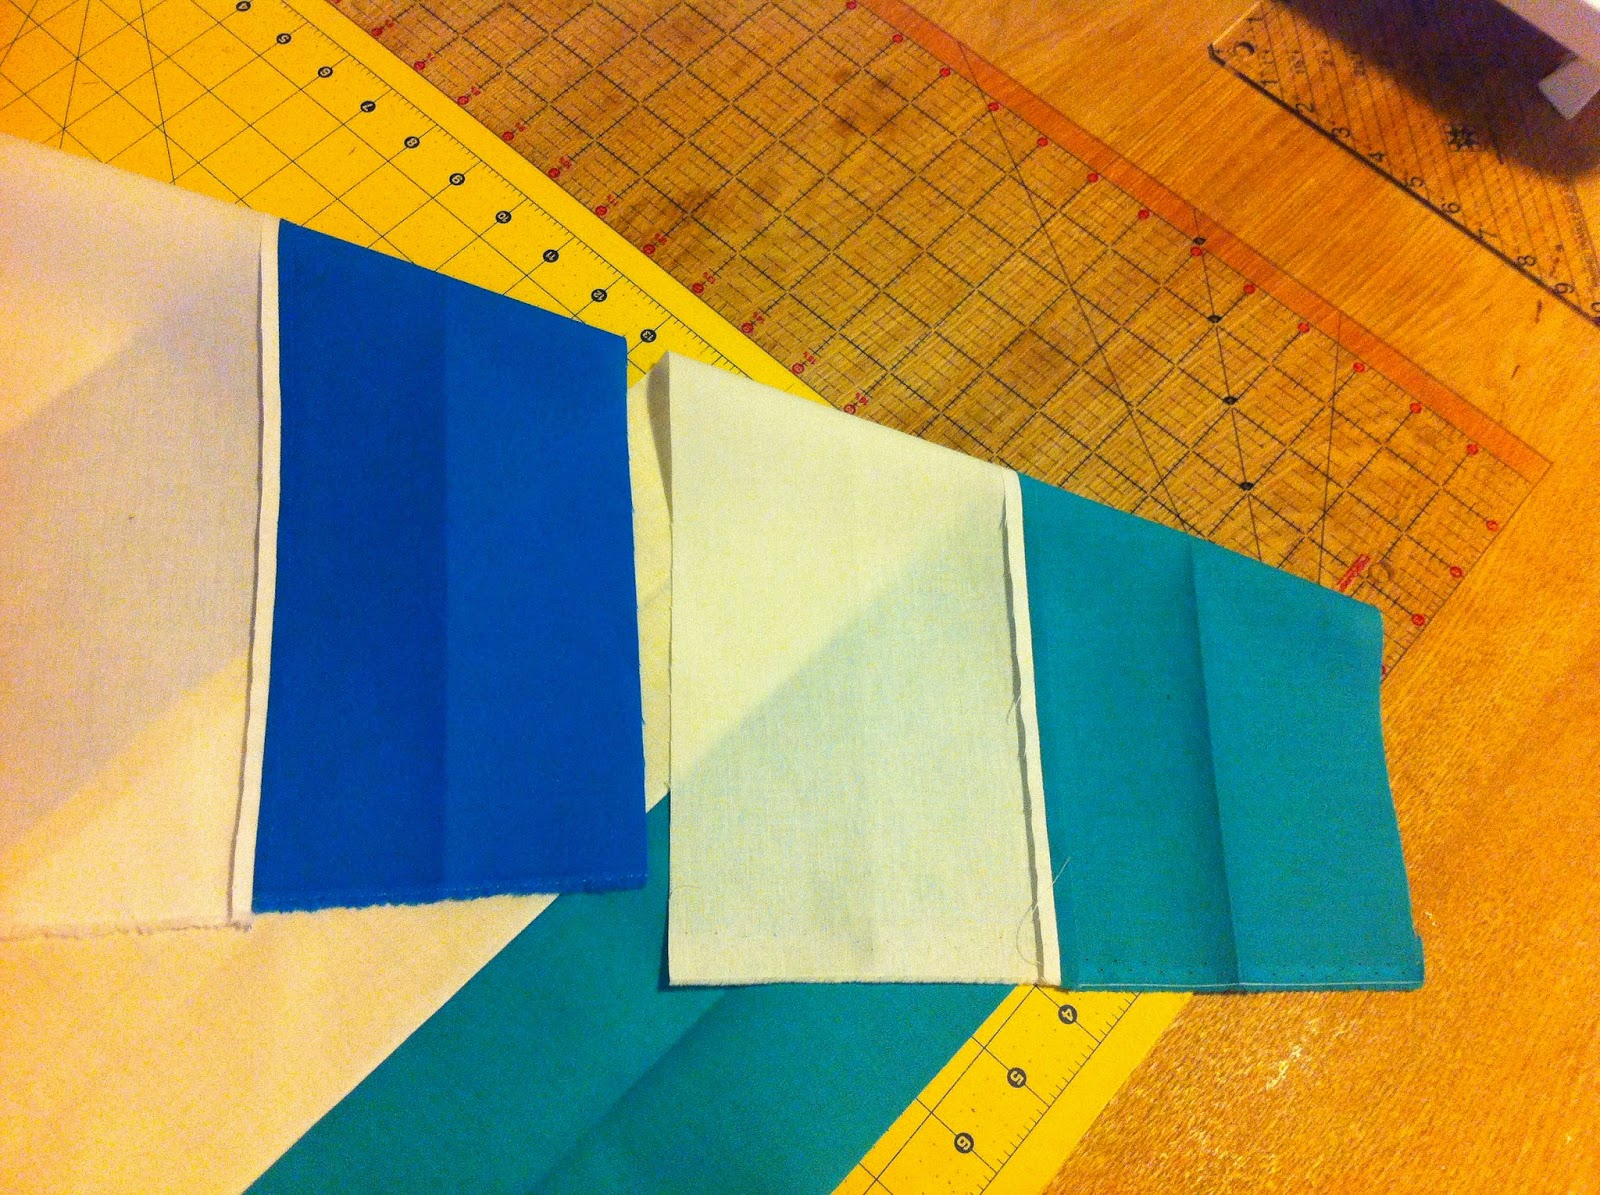
I used jelly roll strips for the border.


The backing is cute and fit for a boy without being too obviously blue. I like it. Did you notice the very skinny green alligator?


How to make the binding process go really quickly? I stitched the binding to the back of the quilt.  Then, I turned it over to bring to the front and used a zig zag stitch to secure it to the front.


Here is my honest confession - I finished the top piecing, basting and quilting over the weekend. Monday and Tuesday were too busy for me to even look at the quilt :-(
The binding was completed on Wednesday morning. And the label was hand-sewn while I was in the Metro train commuting to work. PHEW!!! What a ride...


If you could read between the lines, it would say "Made in a Jiffy"


RT was touched when I gave him "Bear Hugs" (pun intended)!!! Ha Ha Ha...

Wednesday, May 14, 2014

Serendipity...

According to Wikipedia, Serendipity means a "fortuitous happenstance" or "pleasant surprise". 

The Colors
Every time I make a mistake, I learn something. Occasionally, I will go back and fix it. Most of the time, I just let it be - my unique signature in the quilt-making process :-D
And once in a blue moon, I will find something - something amazing, exciting and totally unexpected - SERENDIPITY

Sometime ago, in response to a question on a quilters website about snowball block, I responded with a comment. The conversation went like this.
Me - Oh, you can get the same effect by using the tube technique.
J - Oh, yeah? Well, show us if you think so.
Me - I will. Next week. I am busy now.
J - No problem. I'll wait.

So, I tried the tube technique to achieve the said snowball block. Not quite the result I expected. But I found something else. Today I am sharing with you that serendipitous find!!!

Fabric Requirements:
2 strips of fabric (one light and one dark) each 5" wide by WOF.

I used solids (see picture above) for dark and white for the light.

Directions
1. Fold the  dark strip of fabric, right sides together, along the length. Iron it to create a crease along the entire length.
Creased Strips

2. Repeat for the light strip of fabric.
3. Stitch together the two strips, along the length, RST. Press open the seams. Be careful to not press the creases flat, see picture below.
Stitched once and Seams Pressed Open

4. Stitch the two strips on the other side to form a tube. Press seams open. Maintain the  creases. Your finished tube should look like this picture below.
Completed Tube, seams in the center (ready to cut)

5. Lay the tube flat, with the open seams in the center. Now, you see why making those creases in the beginning was so vital - it keeps the tube flat on your cutting board.
6. Using a 45 degree ruler, cut out triangles. I made six tubes with six solids+white


7. From one tube you should get eight squares - 4 with dark centers and 4 with light centers. Each square measures about 61/4 inch.

Does this block have a name? I am going to call it Half Snowball Square (because the snowball effect is only on two out of four sides).  Let us divide them into two piles - the dark centers and the light centers pile, see below.

Half Snowball Squares (HSS) - Dark Centers 
Half Snowball Squares (HSS) - White Centers 
So what is the serendipitous part, J may ask. Well, there are at least seven different layouts that can be achieved from these blocks. Yes, seven!!!

Dark Centers Layout
1. All blocks going the same way - Diamonds
Dark HSS - Diamonds

2. Xs and Os
Dark HSS - Xs and Os

3. Zig Zag
Dark HSS - Zig Zag


Light Centers Layout
1. All blocks going the same way - Whimsy

Light HSS - Whimsy

2. Jewels (This is the same layout as Xs and Os above, but the focus here is the center and hence the name Jewels)

Light HSS - Jewels

3. Silly Goose (because some are flying one way and some are going the other way - that is what Jenny said!!!)
Light HSS - Silly Goose

Now, I know there is someone reading this blog and saying - Oh no, I just want to make one quilt, not two. For those who want to make just one - here are  few layouts using both dark and light centers blocks.

1. Zig Zag - Plain Jane
Mixed HSS - Plain Jane Zig Zag

2. Zig Zag - Crazy Daisy
Mixed HSS - Crazy Daisy Zig Zag 
3. Very Crazy Zig Zag
Mixed HSS - Very Crazy Zig Zag (all mixed up)
4. Bow-Ties - This one is my favorite...

What about the snowball effect?
Looks like this passion of mine is snowballing into an avalanche of quilting happiness!!!

So, here is my question for you - which one of these layouts is your favorite?

Saturday, May 3, 2014

Pretty, playful and pattern-less

It is said that beautiful skin needs no makeup...

Similarly, a beautiful fabric does not NEED a pattern. Some (a lot of) fabrics are like that - they are just so pretty (cute, adorable, adjective-of-your-choice) that sometimes we quilters do not have the heart to cut them up.


In other words, that skin is so beautiful, you do not want any make-up (or pattern) to distract from it...
As quilters, we do buy a lot of pretty fabric, and if you cannot cut into it to make a quilt, where does that leave us. I know, with a big stash :-D

I have the perfect solution. MINIMALISM... All you do is frame that pretty fabric to highlight its beauty and enjoy the compliments!!!

In 2013 I had just been bitten by the quilting bug, when I noticed the Wee Woodland Charm Packs. I immediately bought four of them. And then I admired them for months. I could not bear to cut them up. Finally, I decided that I will not cut them. I took each little charm square and framed it - some with yellow and some with green. It took me a over a year to come up with a simple solution!!! 


Charming, is it not?


These framed charmed squares make my design wall look good. They actually light up my design wall!!!

What shall I name this quilt? Framed? NO. It has an evil sound to it for a quilt so cute.
Charmed? Perfect.


And for the very first time, I decided to be adventurous with the binding :-) I used a pieced binding - those yellow and green striped fabrics are my new go to favorites. I stitched the binding to the back of the quilt and used a decorative stitch on the front to secure it in place. Fast and Easy!!!


Here are the pictures of the finished quilt.
Charmed :-)  
Charmed - Detail


You can see that my yard is a mess and I am celebrating the mess - using the yellow flower (weed) to accentuate my quilt :-)


And here you can see the decorative top stitch on the binding. Completely wild...


Quilt Back, no label


I have a feeling that I will be donating this quilt. And that is why I am shying away from putting a label. May be, I will add a label with just the quilt name, and the year 2014. Would you label a quilt (with your name) if it was for charity?
Stitch over the Ditch Quilting


This picture shows my go to "stitch over the ditch" quilting and my "matchless" seams...ha ha ha!!!


So, what are my thoughts on make-up? In my opinion, a smile and a twinkle in your eye is the best make-up. It makes your friends happy and keeps others wondering - what is her secret???