Thursday, November 19, 2015

Hansel & Gretel

These are quilts 7 and 8 from the Festival quilts.

Shopping online on Craftsy.com, I came across a beautiful bundle of 1 yard cuts, at an unbelievable price.  Eleven 1-yard cuts for under $50.  Yes, please.  Eight were monochromes and then there were three that had multicolored hexies.

1 yard cuts = Yumminess
I do not see myself making paper pieced hexies. Therefore, as soon as I saw the fabrics, I had this "brilliant" idea.  Why do anything?

Do nothing?
Ok, well a little something - like add a matching/contrasting border.
The result?

Hansel and Gretel were born.

Hansel
Hansel is characterized by navy blue.
Navy blue border for Hansel brought out the boyish charm of the pattern.

Gretel

Of course Gretel has pink and orange.  An orange border seemed just right for Gretel - feminine enough without being too girly pink.

The best part of these twins is the quilting.  I used the hexies to guide my curved quilting lines.
Gentle Curves

Walking Foot Quilting
For Hansel I chose a navy blue owls backing fabric.

Navy & Lime Owls
For Gretel, it had to be this bright floral.  This is the brightest fabric in my stash.

Super Bright Floral
Magically, a lime green binding worked well for both sides of both quilts.  That is pretty amazing!!!

Lime Green Binding

Perfectly Matched!!!

Kay fell in love with Gretel and bought it for her granddaughter.  Hansel went to Sean, the grandson of a friend.

Labelled!
How can something that is so easy and so simple look so pretty and adorable?
I am positive that the quilting gods were smiling upon me :-)


Will I make these quilts again?  Absolutely.  I so loved this idea that I went and bought 1.5 yards of each of these two fabrics from fabric.com.  Who knows, I might need to make one tomorrow.

Cheating never felt better!!!
Yes, I made a Hexie Quilt ;-)

If this post has brightened your day or given you any ideas, please do let me know.  Because, when I hear from you, it brightens my day!!!

Wednesday, November 4, 2015

Fit for a Princess & Puppyfish

These are quilts 5 & 6 from the Festival.

The inspiration/design for these two quilts came from Moda Bake Shop.  The pattern is called Bricks.

Once again, I made a sketch...
...while I was drinking my morning cup of chai...OOPS!!!

27 squares and 27 rectangles will make a baby quilt.

Now, you can make this super-scrappy but I wanted to stick with a theme.  Pink and girly.
Here is a hint when you choose fabrics for a project. Pick 5-6 different fabrics  - a dot, a stripe, a near solid, 1 or 2 focus prints, and 1-2 small prints. Make sure that there are some that are dark and some light.

Fit for a Princess

Focus Fabric

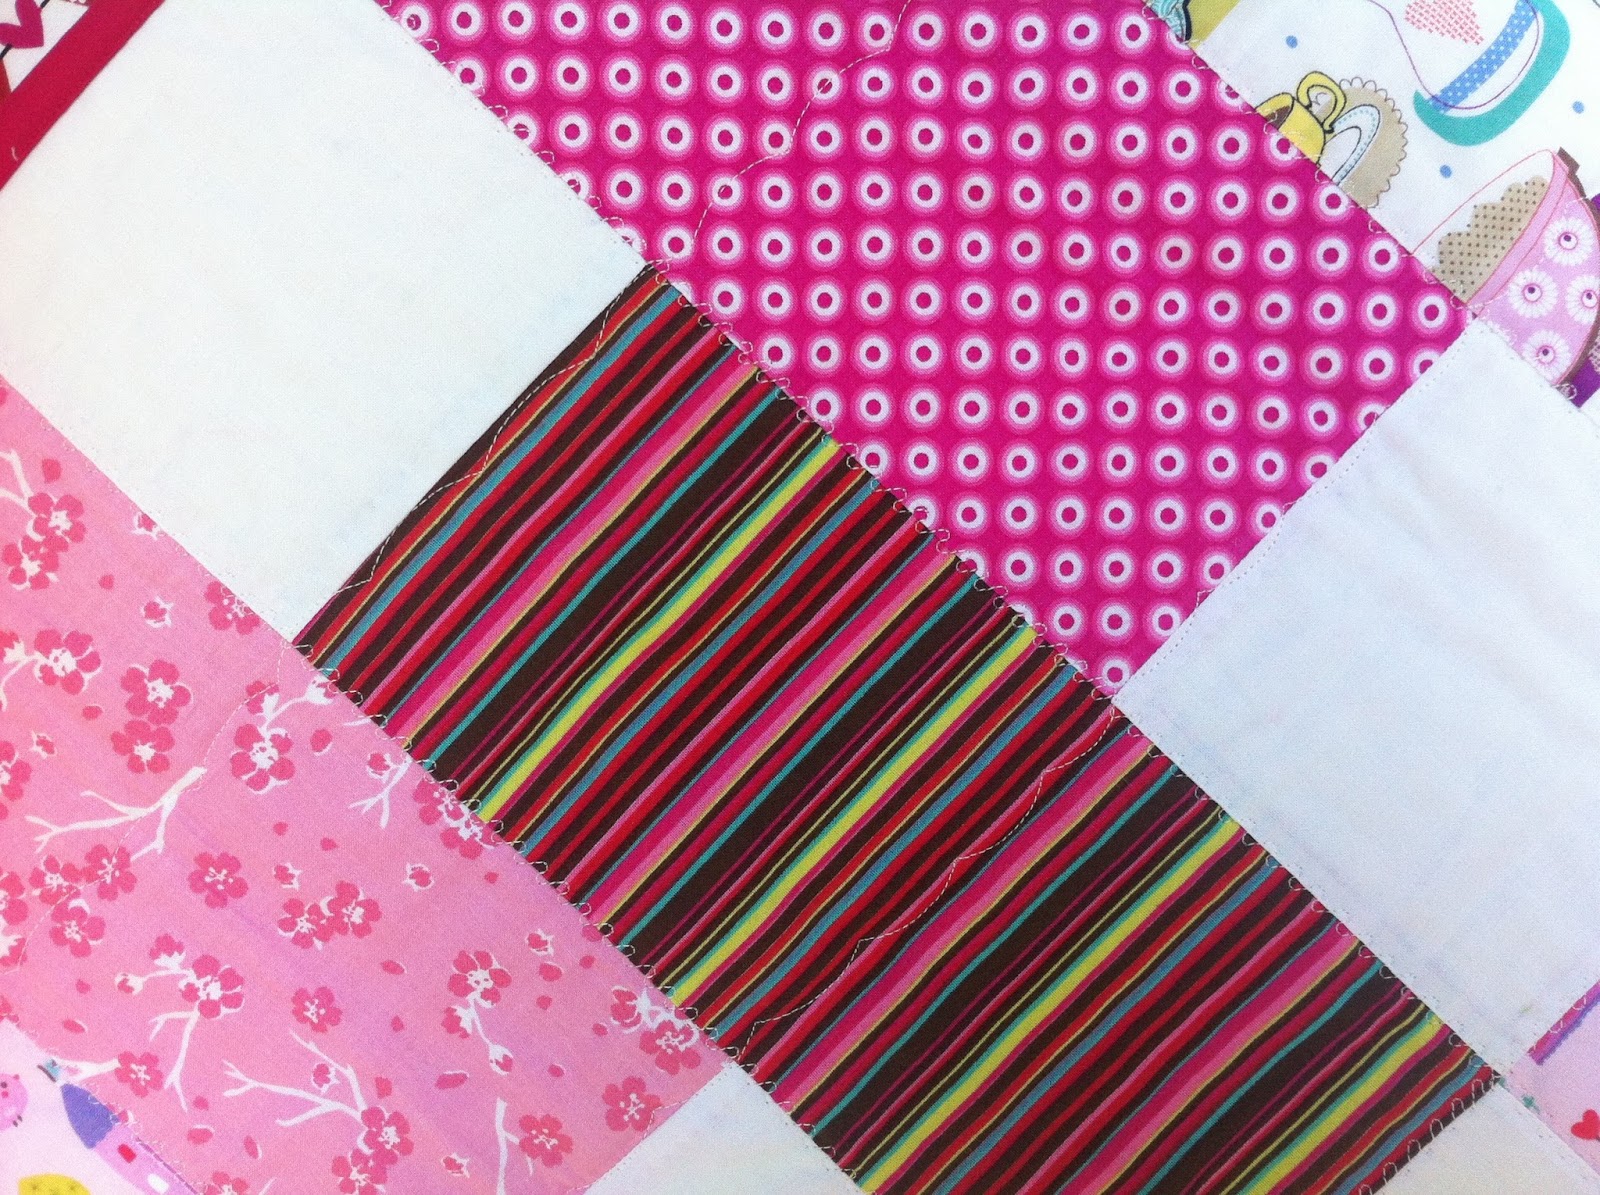
Sweet & Pink

Small Print, Dots and Stripe

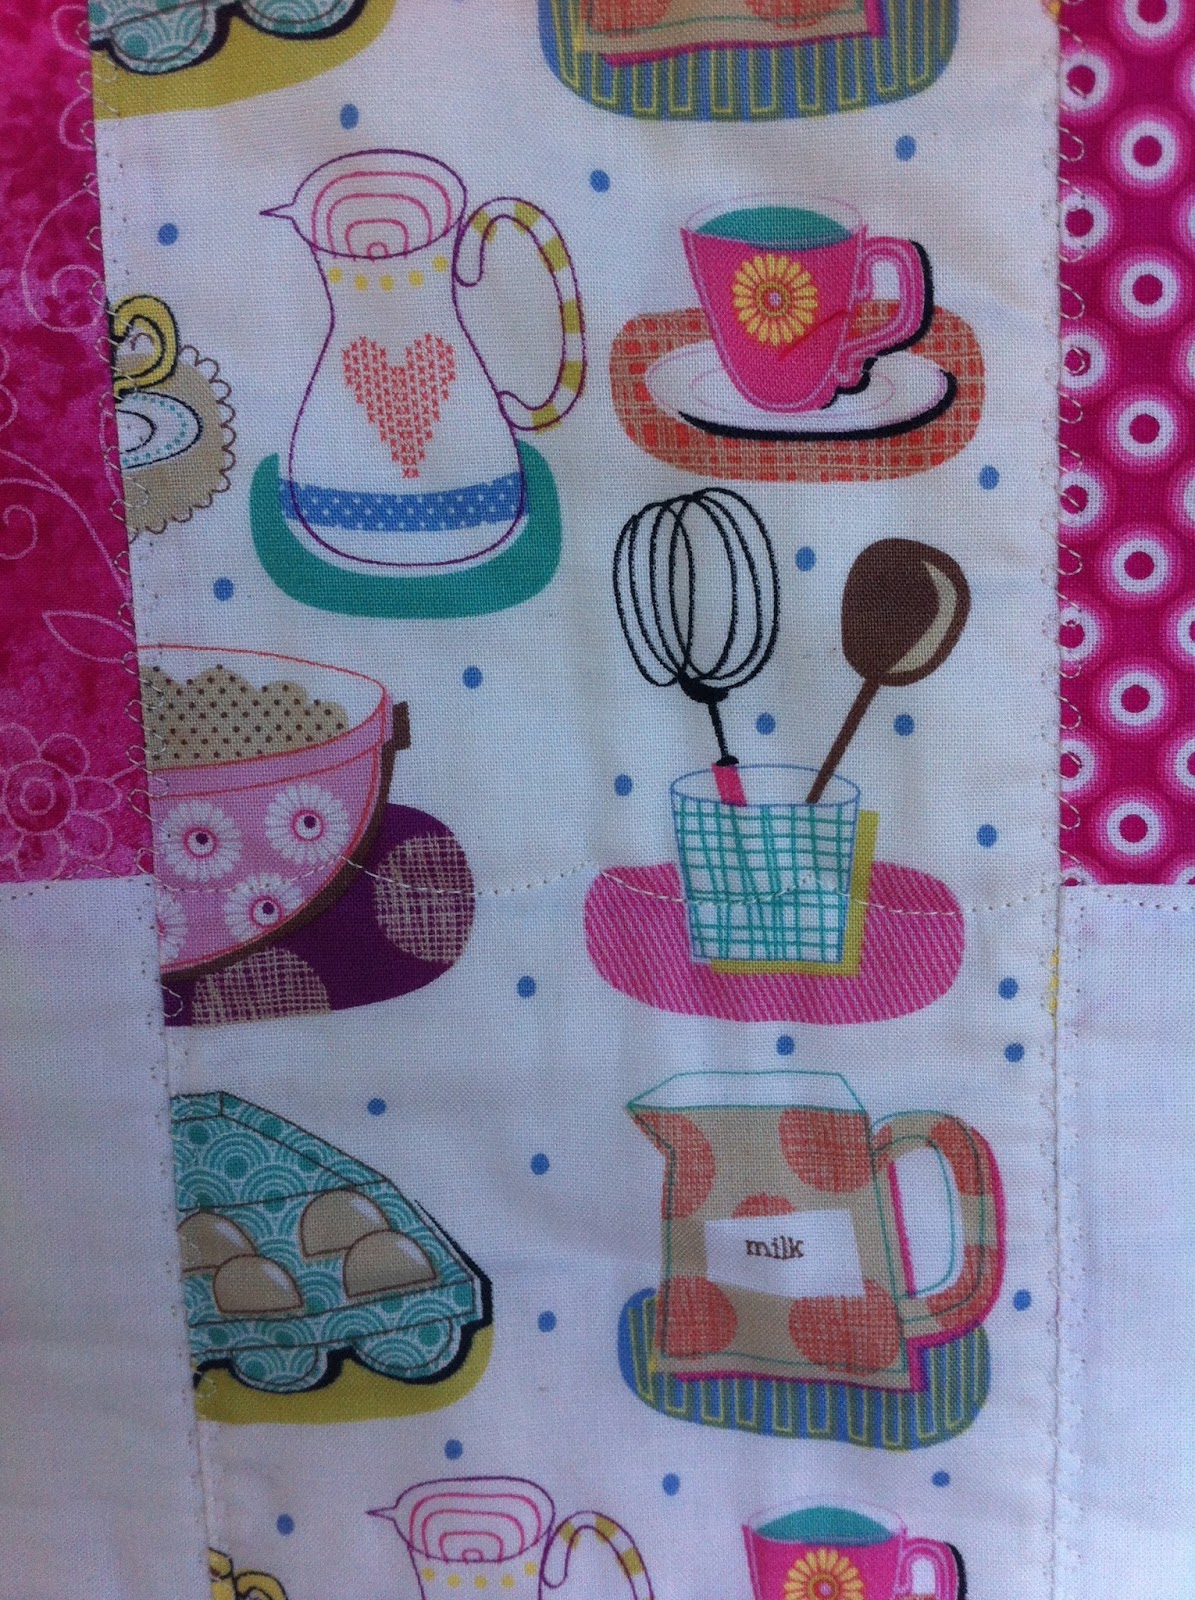
A simple pattern keeps the focus on the fabrics.  Stare away at the princess and her castle - no major distractions here.  I chose a red/pink hearts backing.

Sweet Hearts
Choosing a binding was easy - a hot pink solid worked well with both the front and the back.

Cherries & Cherry Blossoms
Cherries, Cherry Blossoms and Cupcakes - Can it get any more Girly???
Yes, look at the Princess and her castle :-)

Labelled!

The quilting was once again the simplest (fastest) possible. I used the Cs and mirror image stitch and went over the ditches.

Pretty in Pink

When Mary saw this quilt, her eyes widened.  This would be perfect for her nephew's baby girl.
I was just thrilled that the quilt found a loving home.


Now let me talk about Puppyfish - the twin brother of "Fit for a Princess"
I struggled with the fabric choices.  There were two focus fabrics, but after that I could not find enough fabrics in my stash to make the whole thing work.  Felt limited by the colors in the focus fabrics.

Fishes and Puppies

Did not want to use grey or black from the Fish/Whale fabric - too gloomy.  Although some orange would be fine, it did not seem to be cohesive with the others.

In the end, I chose two dotty fabrics, one stripes and one small print with the two focus fabrics.  Fewer fabrics resulted in only 24 blocks instead of 27 in the original pattern.

Puppyfish

To get to a respectable baby size, I added a navy blue border.  That seemed to work and brought the whole thing together.  The backing was a light green soothing print fabric.

Owls and Birds
I think this was the last of this fabric.  Served me well in a few backings.
Simply quilted with Cs and mirror image of Cs, this was one fast finish.  I may have spent more time picking the fabrics than putting the top together.

Black Binding

Labelled

Jess bought Puppyfish for her granddaughter.  Are you sure, I asked.
Don't you want something more pink?  She was absolutely sure that this was it.

In the Sunlight
This is what I have learnt - Boys won't do pink. Must avoid any trace of fuchsia too.  Florals are a big no-no as well.

But girls are fine with all colors. Happy to be a girl - I get to play with all the colors!!!

I am so happy with the success of this pattern. It is fast and easy, really highlights the focus fabrics, requires only 5-6 fabrics and I am sure you have all of them in your stash.

I can see this getting made into several quilts.  What do you think?

Linking with my favorite Linky parties.

Wednesday, October 28, 2015

Seashore Rails & Jewel Box

These are quilts 3 & 4 from the Sugarland Fall Festival.

Meet Seashore Rails, the simplest rail fence pattern.  This is the pattern I pick when I do not want to think, when I do not have the patience to measure once, leave alone twice, when I do not want to cut fabric.

Seashore Rails
This is the holy grail (and the savior) for all those (me included) who like the concept of handmade but may not always have the nine yards of patience.

Take two strips of color, one strip of white. Stitch them along the length, with the white in the middle.
Cut into squares. Voila, you have your blocks!!!

Black Border, Green Binding

Arrange your blocks - one horizontal and one vertical, add a border to make it all come together and you have a quilt top!!!

When Eleanor Burns said - Quilt in a Day, I am sure this is what she meant.

I chose this mushroom fabric for the backing.
Do you like Mushrooms?


I had to choose easy and quick patterns since I really cranked out 14 of these in four weeks (My craziness is now well-established).  Therefore, choosing bright happy fabrics was really the key!!!

Matching binding to both the front and the back was an essential ingredient in making the quilt appealing.  I think the green binding in the front works only because it stands out against the black border, whereas it appears a bit blah next to the teal/aqua blocks.

Quilted and Bound

As far as the back, well that green really adds to the mushroom fabric, even if I say so myself (blush).

Green Binding - Multicolored Shrooms!!!
Can you see the quilting? Me neither.

The blocks finish at 6", the quilt without borders is about 36" square and with 2.5" strips border added, it finishes at about 40" square.

I quilted using a decorative stitch (looks like the letter C), making the appearance of clouds, as one line looked like Cs and the next being a mirror image.

Ooh, like a day at the Beach!!!
And one more picture...
Labelled!!!
Once Seashore Rails was done, I had a few blocks leftover...leading to the next quilt - Jewel Box.

Seashore Rails was definitely boyish. Therefore, I chose to add some non-blues (greens/purples) to make Jewel Box, so that it was a more gender-neutral quilt.

Remember, while I am making these, I wanted an even split between boy and girl quilts, so that the quilts could appeal to all.


Can you see the rail fence blocks in between the green and purple box blocks?

I chose a bright purple border for Jewel Box, to highlight the purple and take the attention away from the teal/aqua blocks. 
However, the exact same green binding works against the purple too.  Happy coincidence, indeed.

Ok, are you ready for this? This is big and scary!!!

Backing - Funny and Colorful!!!
And see, the green binding works beautifully with the backing too. The quilting gods were smiling upon me!

Quilted the same way as Seashore Rails. Jewel Box also finished at about 40" square. 


Finally, I can see some quilting in this picture.
Scary & Adorable
 Did you think that I forgot the label? No, I am too vain for that.
Labelled!
OK, just one more picture.  Can you see the cloud effect quilting in the picture below?
Looks like this monster is peeping from behind the wall to yell - BOO!!!

BOOtiful!!!
 
 
I hope these simple patterns and bright fabrics bring some measure of joy and inspiration to your day. Your bright comments definitely bring joy to mine!!!

Wednesday, October 21, 2015

Bluegrass & Candyland

As promised, here are the first two (of the total 14) quilts that I made for the Sugarland Fall Festival.

This was the Charm Box free tutorial from the Fat Quarter Shop and it is a great pattern for using charm squares.
I watched the tutorial and said - Huh, that is wasteful!!!

So, I made my own sketch - yes, it is very sketchy.  The finished quilt would measure 36" by 41".

Sketchy Sketch
I needed 24 charms for the main quilt and 30 charms for the borders. So I grabbed a few blue-green charms, a few 2.5" white strips and went to town.

For the sake of simplicity and speed (mostly speed), I followed these steps.

Step1. Choose two charm squares that go together well. Cut one charm in half and place the second in between and stitch along the two sides. Do this 12 times, using 24 charms.

Keeping the rows numbered

Step 2. Add the vertical strips in between the charm blocks.

Step 3. Add the horizontal strips.

Horizontal Strips Added

The vertical strips in between the blocks were 2" finished, so the use of jelly roll strips was perfect. But the horizontal strips and the outer vertical strips had to finish at 1.5". So, after I sewed the jelly roll strips, I carefully trimmed them down to size.

Step 4. Add the outer strips

Step 5. Add the borders - 6 charms on top and bottom, 9 each on the sides.

Completed!!!

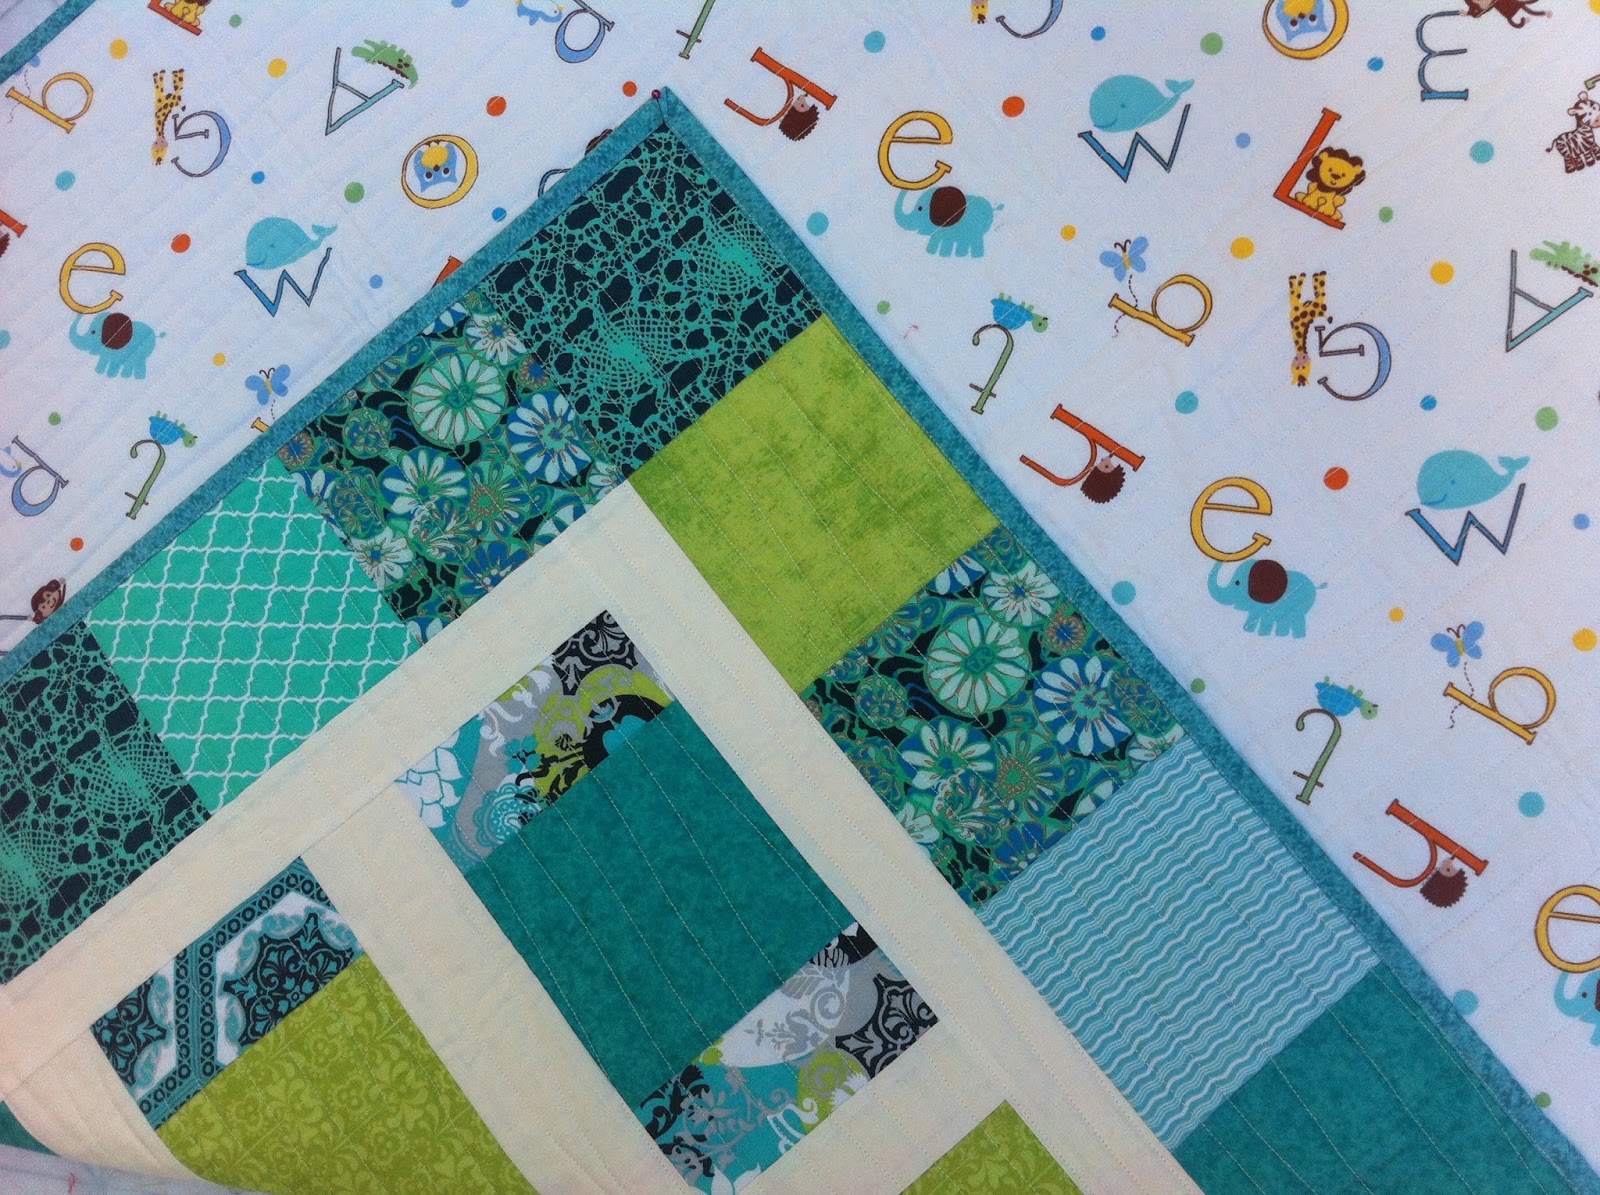
I chose my usual Warm & Natural batting and this cute alphabet/animal print for the backing.

Baby Friendly Backing

Quilting had to be super simple too. I quilted using gentle curves, in one direction only.
The binding is a turquoise blue/green near solid that matches the front and the back perfectly.

Super Simple Speedy Quilting

Labelled, yeah!!!

Matched Binding!!!

You make me happy

Bluegrass

Since this was a successful completion, I was pumped.  Therefore, I decided to use my energies to make another quilt but this time in more girly colors.  

Meet Candyland.
Bright & Happy
It is extremely rare that I will like all the fabrics in a charm pack or a layer cake. Lili-Fied is an exception.  I bought Lili-fied layer cake on Craftsy when it was on super sale and I fell in love with it.

For Candyland, I cut up the layer cake into charms and followed the same procedure as Bluegrass.
In love with Lili-fied

Backing - Yummy!
Not only the backing colors matched the Lili-fied line, they also decided the name of the quilt - Candyland.

Pink and Orange

Labelled
The quilting is simple curvy lines, one direction only. No turning and super speedy.  Here are few more pictures, because there is no such thing as too much eye candy.

Hot Pink Binding

Binding matches both sides!!!

My sunshine...

Candyland
As I write this blogpost, Bluegrass is sold. But Candyland is yet to find a loving home.  One day, I am sure, it will make a little girl drool, just like I am doing right now.

If you are reading, please write to me. I love to hear from you.