Here is my first finish of 2020. I am calling it Linoleum.
Try saying "a roll of linoleum" fast if you can :-D
How did it go?
Once upon time, a long time ago I wrote this tutorial. Some of the resulting blocks became a part of Have a Minty Day quilt. And yet others waited patiently to become something.
When I saw the Cross Plus Block, I had an idea. What if the colors are reversed?
Then my leftover tutorial blocks can be made into this!!!
All I had to do was find coordinating print fabrics. Mystic Dawn from Lily and Loom was just perfect.
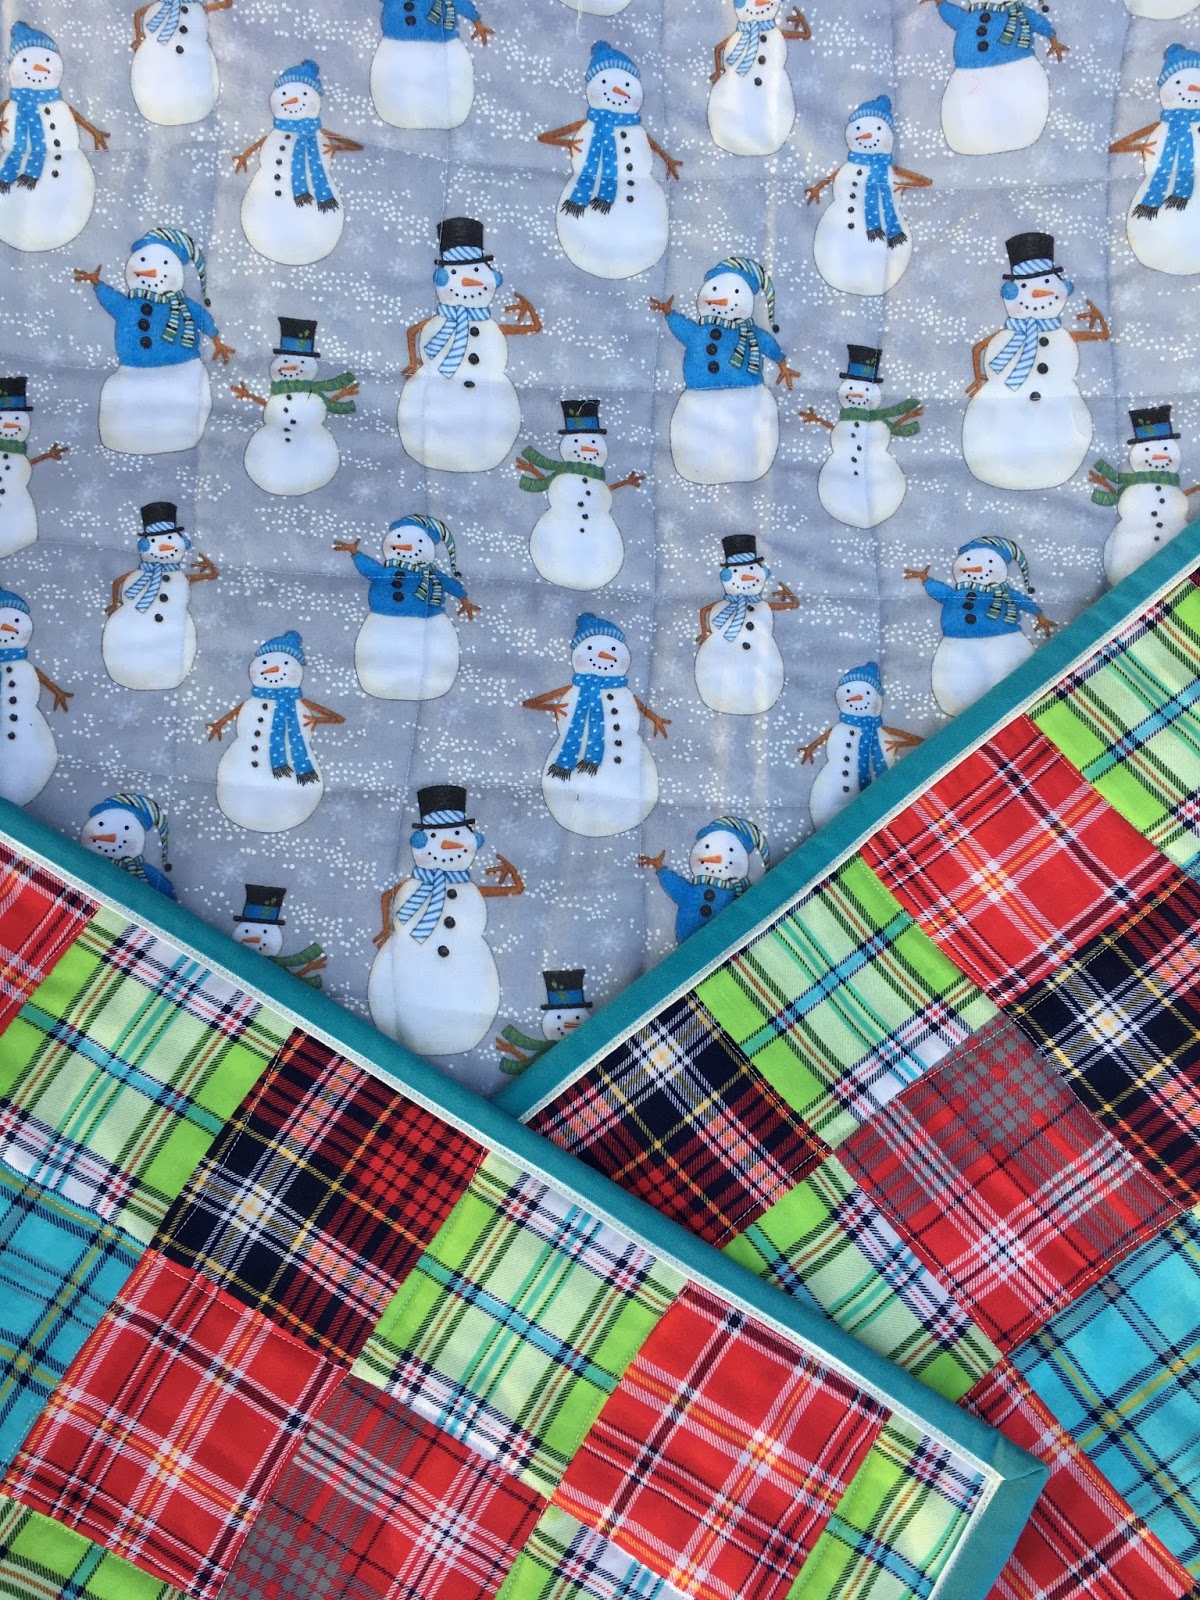
Once again I added a skinny white border to protect my points from being eaten up by the invading binding. A bright orange flannel backing with little rockets makes the perfect contrasting backing.
A striped black and white binding looks sharp with both the front and the back.
Linoleum finished at 41" square and I am very happy with it. I hope it will make some baby squeal with joy.
I will squeal with joy when I read your sweet comments :-)
I was about seven or eight years old when mom took me to an eye-doctor. I don't remember why we were there. My eyes were fine and she didn't seem to need glasses either. May be because she wanted to consult with the doctor about her father's appointment or surgery.
As we waited patiently in the waiting room, I saw a person emerge from the doctor's office with a green colored eye-patch over one of his eyes.
Why is his patch green, I had asked.
Because green is the most soothing color, mom answered.
Why is that, the non-stop questioning machine rattled.
Mom replied, because earth is covered with green. It is the most prevalent color in nature and is therefore most soothing to the eyes.
Although I do not know why this seemingly insignificant memory has stayed with me, it is abundantly clear why this memory comes flooding back today when earth is on fire.
Whether the world burns figuratively with war and strife or literally with bushfires, we cannot have enough green to counter that.
It may be just a coincidence that Angela chose Bright Green as the color for January in the Rainbow Scrap Challenge for 2020, but the universe works in miraculous ways.
I started with this block.
Me: What do you think?
Paul: That is a big block.
Me: Yes, it will finish at 17"
Paul (attempted singing): I like Big Blocks and I cannot lie.
Me: Really? Do you like it?
Paul: It looks like a blob. So solid in the center!
Me: I had the same feeling. I could snowball the inside corners.
Paul: Huh???
I showed him with folded squares. He approved.
Me: Snowballing is a pain.
But wait. I have a special tape, which can make the whole thing a breeze.
(By now I am talking to myself and Paul is no loner part of the conversation)
Thank you Mari.
Because of you my RSC blocks will be light and airy as a souffle and not dense like a fruit cake :-)
Here is my Refined Block, with internal snowball corners.
I made two more.
____________________________________________________________________________
I was engrossed in making and refining RSC blocks. Meanwhile, my flannel scraps were up to a whole lot of mischief behind my back.
I do not remember how many baby blankets I have made. You know the self-binding, flannel ones that Jenny (Missouri Star Quilt Company) taught.
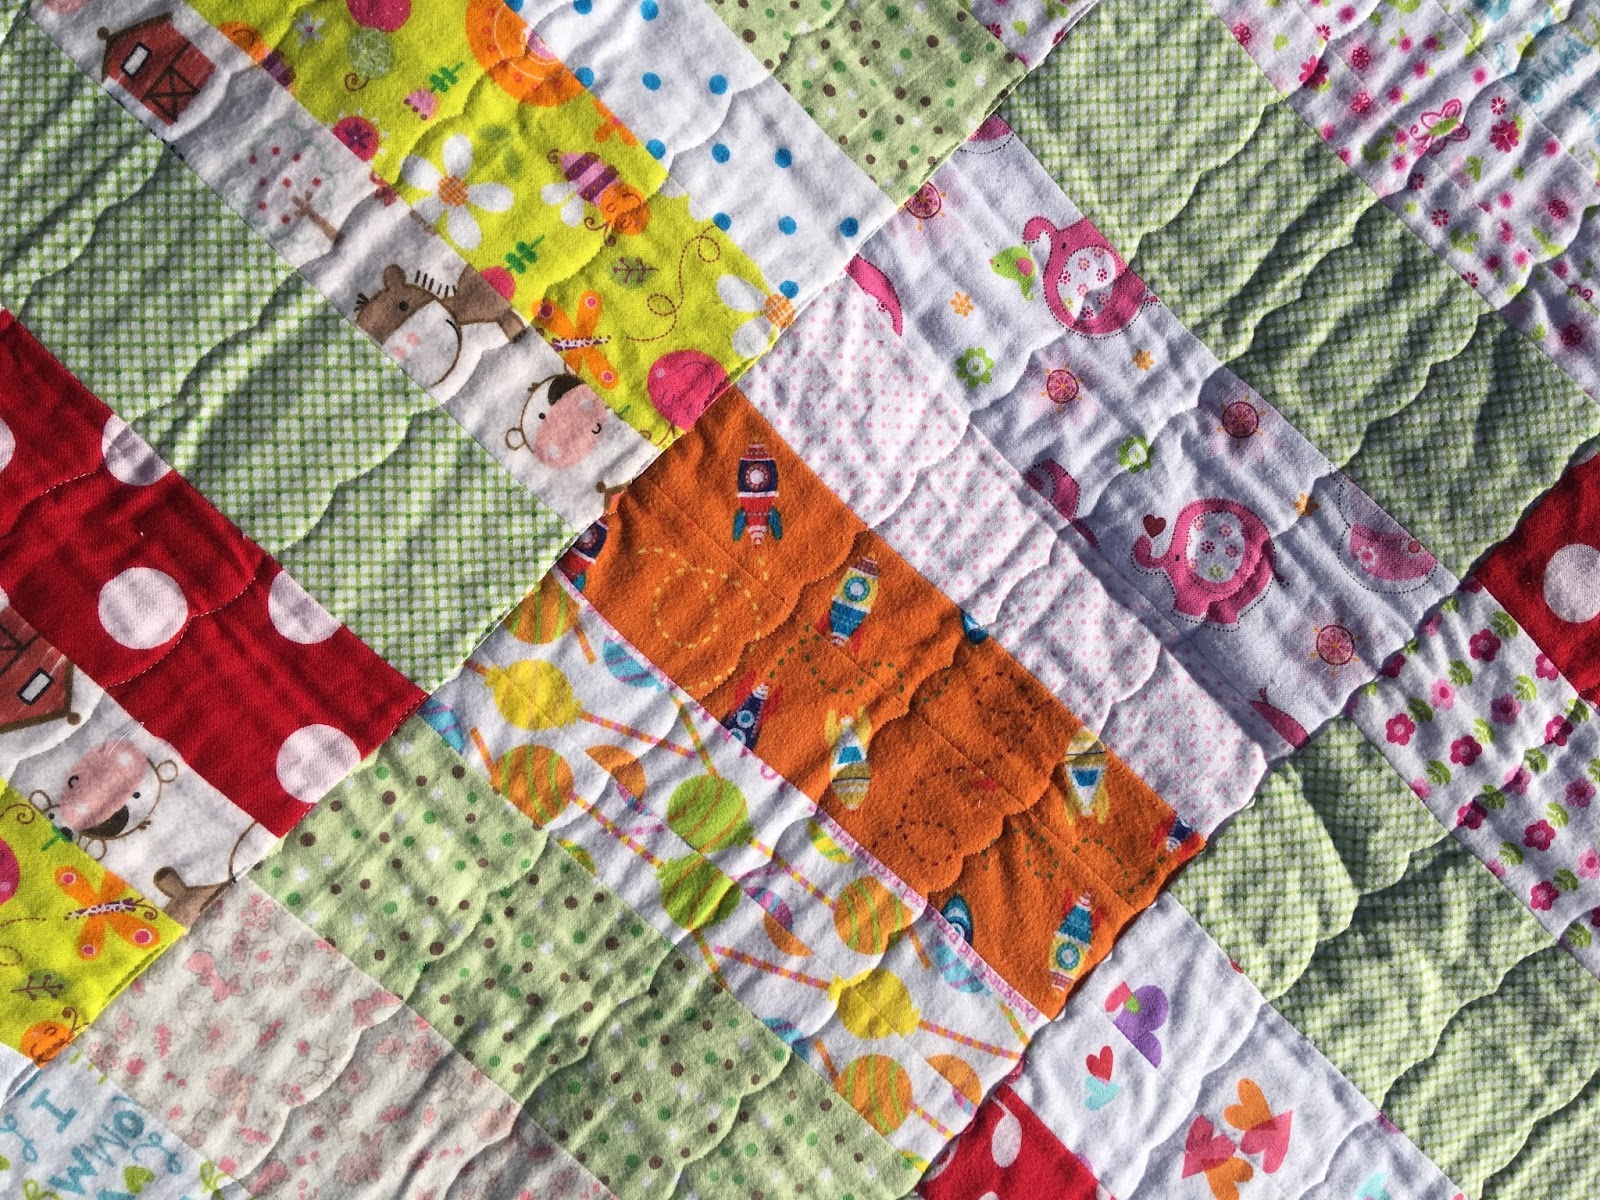
Those blankets need two flannel squares - one 40" and one 30", resulting in some scrappy strips that are too small to use and too large to discard.
I had collected those flannel leftover strips in a fabric bag and while I was distracted they conspired to become a flimsy. It was a Christmas miracle.
I used the same backing as Linoleum (Blast Off from Connecting Threads) fabric, combined with leftover strips from Paulitiks' flannel backing (that were suffocating in another bag somewhere).
An orange binding made perfect sense.
I am calling this one Meanwhile. Meanwhile finished at 43" by 45" and it is so snuggly.
If you have been saving your flannel strips, take a look. They may have miraculously turned into a soft and soothing bundle of love.
I will be sharing with all my favorite linky parties as well as with Angela's So Scrappy Linky Party.
As usual, I'd love to hear your thoughts.
 |
| First Finish!!! |
Try saying "a roll of linoleum" fast if you can :-D
How did it go?
Once upon time, a long time ago I wrote this tutorial. Some of the resulting blocks became a part of Have a Minty Day quilt. And yet others waited patiently to become something.
Then my leftover tutorial blocks can be made into this!!!
All I had to do was find coordinating print fabrics. Mystic Dawn from Lily and Loom was just perfect.
 |
| Block 1 |
 |
| Block 2 |
 |
| Finished Flimsy |
 |
| Seams Pressed Open |
 |
| Quilting in Process |
A striped black and white binding looks sharp with both the front and the back.
 |
| Can you see the skinny border? |
 |
| Cool and Warm |
 |
| Labelled |
 |
| Linoleum Front |
 |
| Linoleum Back |
I will squeal with joy when I read your sweet comments :-)
____________________________________________________________________________
I was about seven or eight years old when mom took me to an eye-doctor. I don't remember why we were there. My eyes were fine and she didn't seem to need glasses either. May be because she wanted to consult with the doctor about her father's appointment or surgery.
As we waited patiently in the waiting room, I saw a person emerge from the doctor's office with a green colored eye-patch over one of his eyes.
Why is his patch green, I had asked.
Because green is the most soothing color, mom answered.
Why is that, the non-stop questioning machine rattled.
Mom replied, because earth is covered with green. It is the most prevalent color in nature and is therefore most soothing to the eyes.
Although I do not know why this seemingly insignificant memory has stayed with me, it is abundantly clear why this memory comes flooding back today when earth is on fire.
Whether the world burns figuratively with war and strife or literally with bushfires, we cannot have enough green to counter that.
It may be just a coincidence that Angela chose Bright Green as the color for January in the Rainbow Scrap Challenge for 2020, but the universe works in miraculous ways.
I started with this block.
 |
| Initial Block |
Me: What do you think?
Paul: That is a big block.
Me: Yes, it will finish at 17"
Paul (attempted singing): I like Big Blocks and I cannot lie.
Me: Really? Do you like it?
Paul: It looks like a blob. So solid in the center!
Me: I had the same feeling. I could snowball the inside corners.
Paul: Huh???
I showed him with folded squares. He approved.
Me: Snowballing is a pain.
But wait. I have a special tape, which can make the whole thing a breeze.
(By now I am talking to myself and Paul is no loner part of the conversation)
 |
| Diagonal Seam Tape - Gift from Mari |
Thank you Mari.
Because of you my RSC blocks will be light and airy as a souffle and not dense like a fruit cake :-)
Here is my Refined Block, with internal snowball corners.
 |
| Refined |
I made two more.
 |
| RSC Green Block 2 |
 |
| RSC Green Block 3 |
Although I only need 12 blocks to make a lap size quilt, 30 will make it queen size.
Where do you think I am headed?
I was engrossed in making and refining RSC blocks. Meanwhile, my flannel scraps were up to a whole lot of mischief behind my back.
I do not remember how many baby blankets I have made. You know the self-binding, flannel ones that Jenny (Missouri Star Quilt Company) taught.
Those blankets need two flannel squares - one 40" and one 30", resulting in some scrappy strips that are too small to use and too large to discard.
I had collected those flannel leftover strips in a fabric bag and while I was distracted they conspired to become a flimsy. It was a Christmas miracle.
 |
| Meanwhile |
 |
| Flannel Strips |
 |
| Soft and Cute |
I used the same backing as Linoleum (Blast Off from Connecting Threads) fabric, combined with leftover strips from Paulitiks' flannel backing (that were suffocating in another bag somewhere).
An orange binding made perfect sense.
 |
| Orange Binding |
 |
| Labelled |
 |
| Happiness |
 |
| Joyful |
I am calling this one Meanwhile. Meanwhile finished at 43" by 45" and it is so snuggly.
If you have been saving your flannel strips, take a look. They may have miraculously turned into a soft and soothing bundle of love.
I will be sharing with all my favorite linky parties as well as with Angela's So Scrappy Linky Party.
As usual, I'd love to hear your thoughts.