Showing posts with label Steam a Seam Lite 2. Show all posts

Tuesday, December 13, 2022

Tutorial - Mini Stocking Ornaments

As promised here is the tutorial to make mini stocking ornaments.

This tutorial will make three ornaments. Please read the entire tutorial before proceeding.

  • Batting Scrap -  5" by 9.5"
  • Assorted Fabric Strings - 1.5" wide
  • Backing Fabric - Three rectangles 3.5" by 5"
  • Zipper Tape/ Ribbon/ Ric Rac - Three 3" sections
  • Fabric Scraps for covering the slits
  • Steam A Seam 2 Lite

1. Print the stocking template file at 100%.  Trace on to a light cardboard (cereal box works fine) and cut out the template. Set aside.

Mini Stocking Template

2. On the batting scrap, in the center, lay out the first string at an angle. Place the second string on top of the first, right sides together. Stitch using a 1/4" seam. Open and press. Similarly add other strips till the batting scrap is full covered. See picture below.


3. Using a pen/pencil and the cardboard template, trace three stocking outlines on the quilted piece. Cut out on the traced outlines. See picture below.


4. Add the hanging loops. Fold the zipper tapes in half, pin the two ends to the middle of the top of the stocking. Stitch in place. See pictures below.


5. Add backing. Place each stocking, face down on a fabric rectangle 3.5" by 5". See picture below.
Pin in place and stitch 1/4" inside from the edge of the stocking shape.  Trim away the excess fabric.


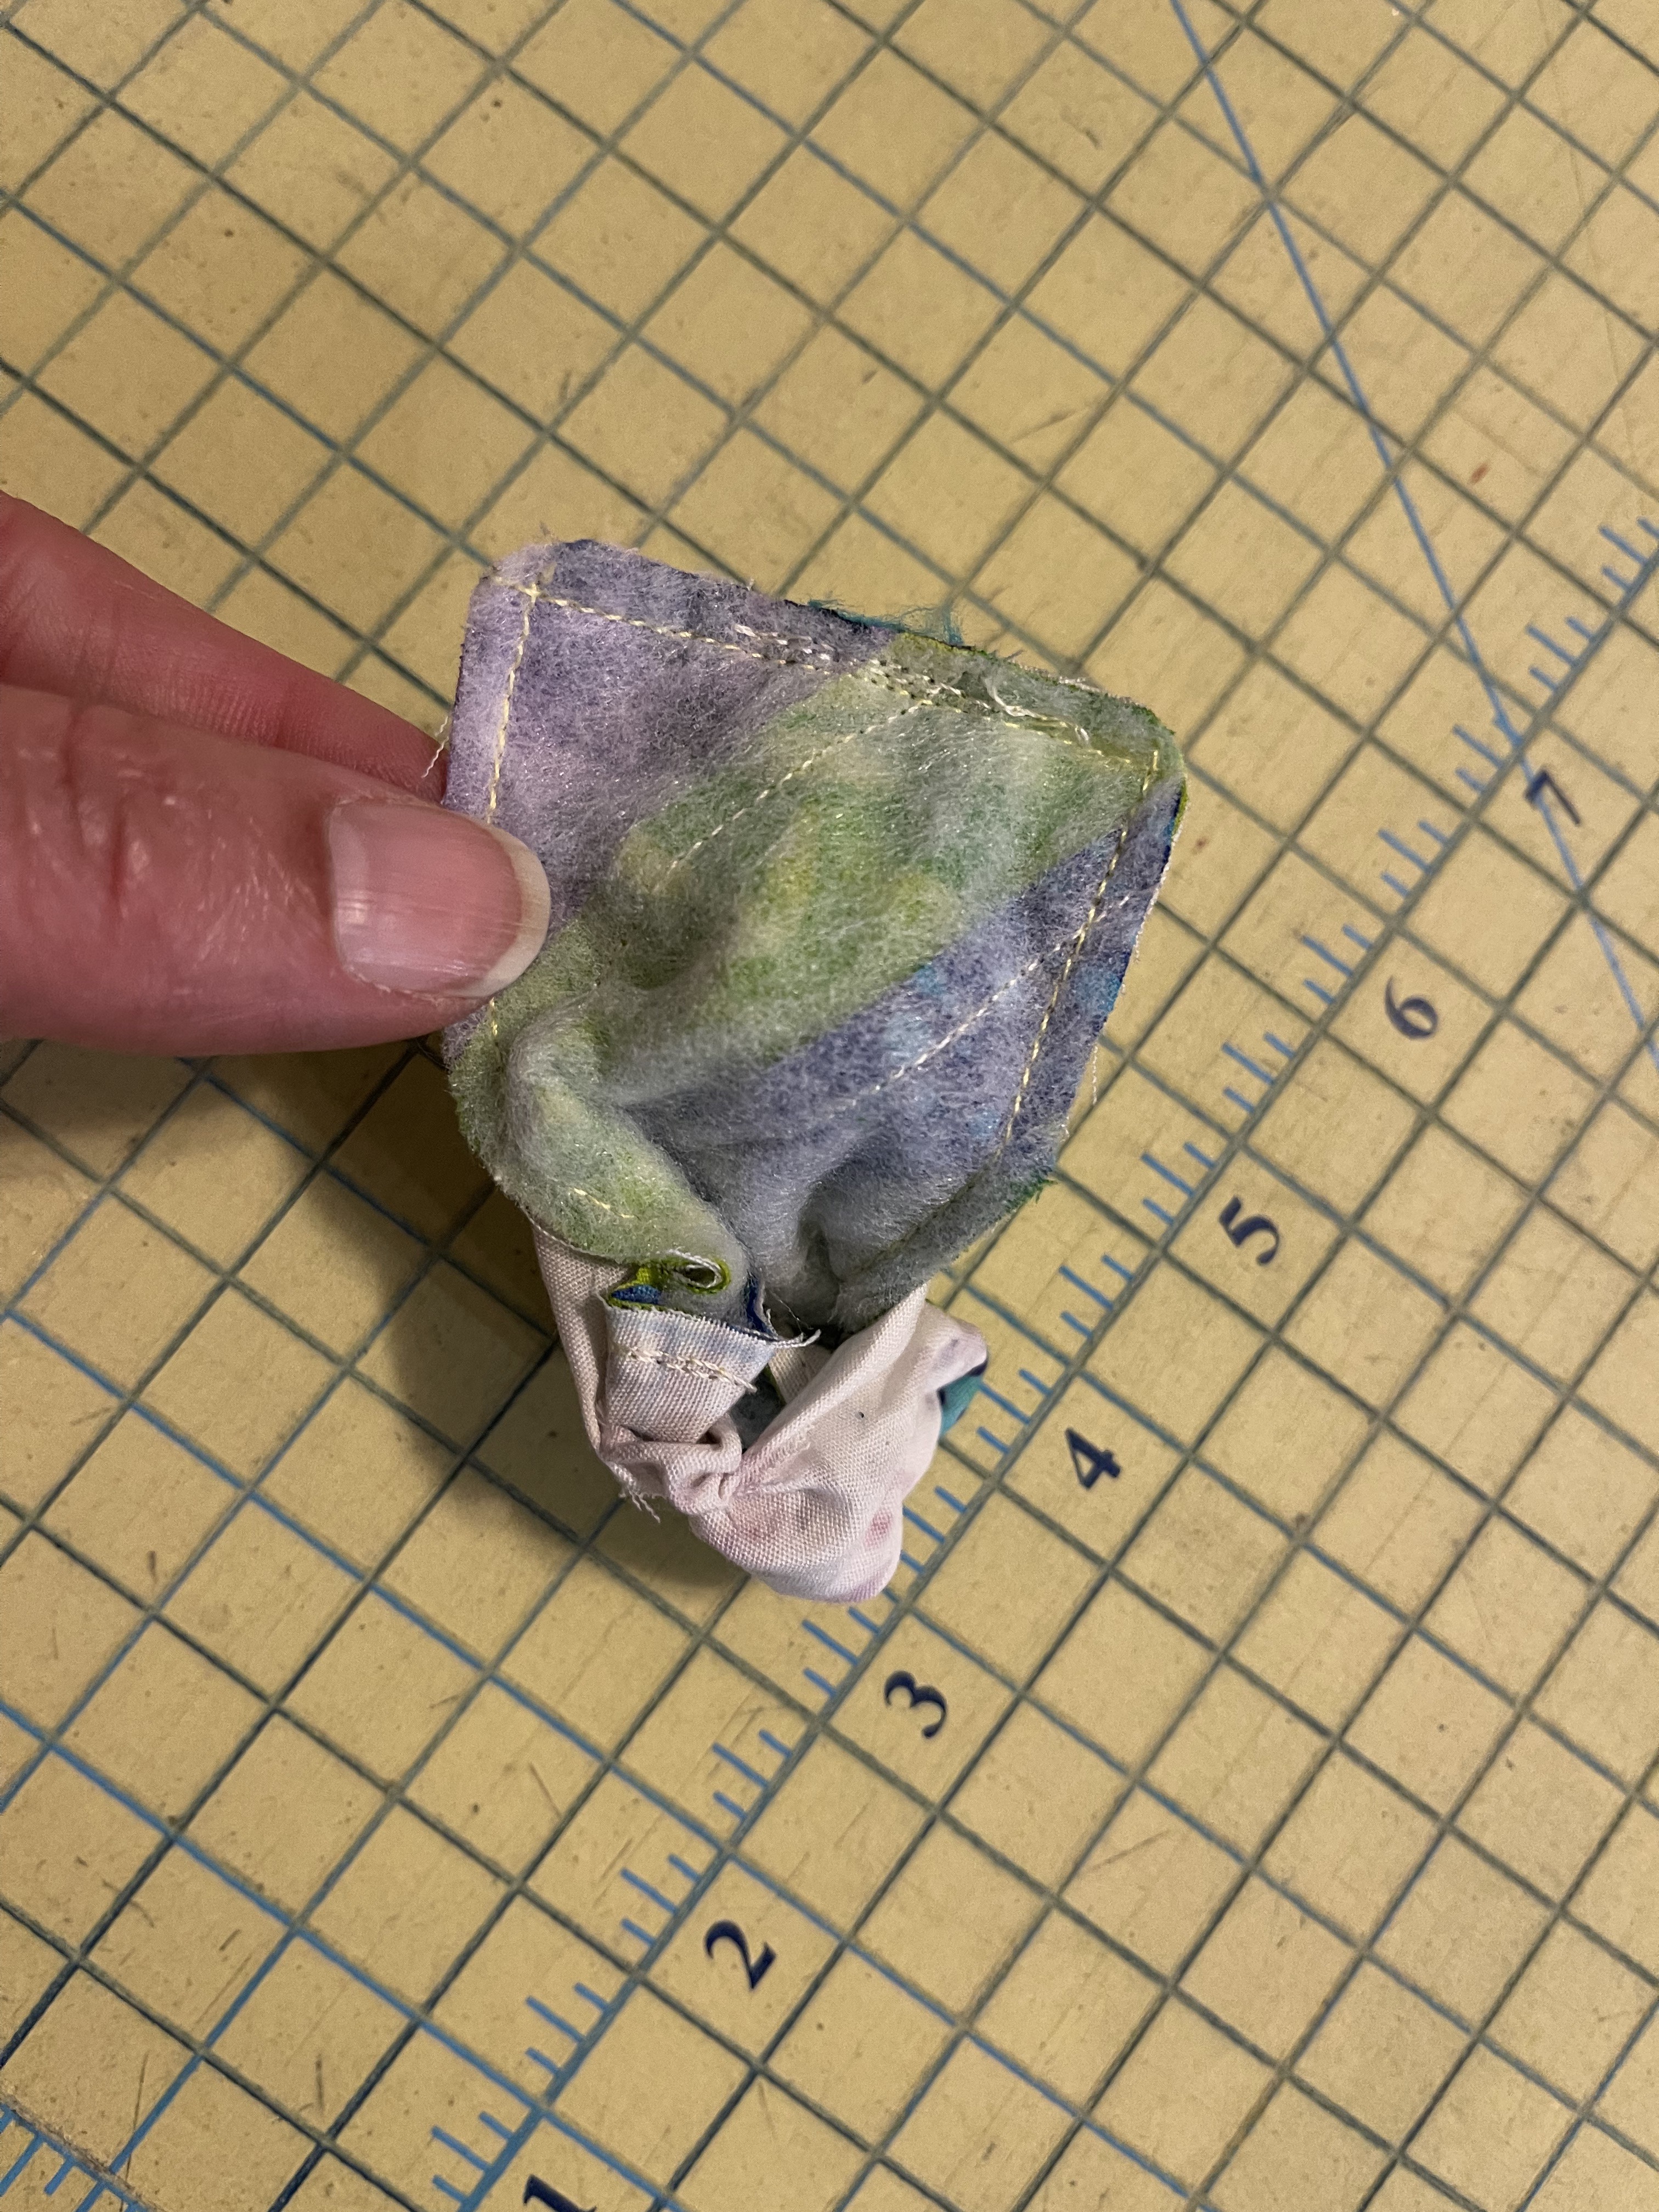
6. Carefully lift the backing and cut a slit (1" - 1½") as shown in the picture below. Turn the stocking inside out, pushing out the corners, using a blunt point. Press. See pictures below.


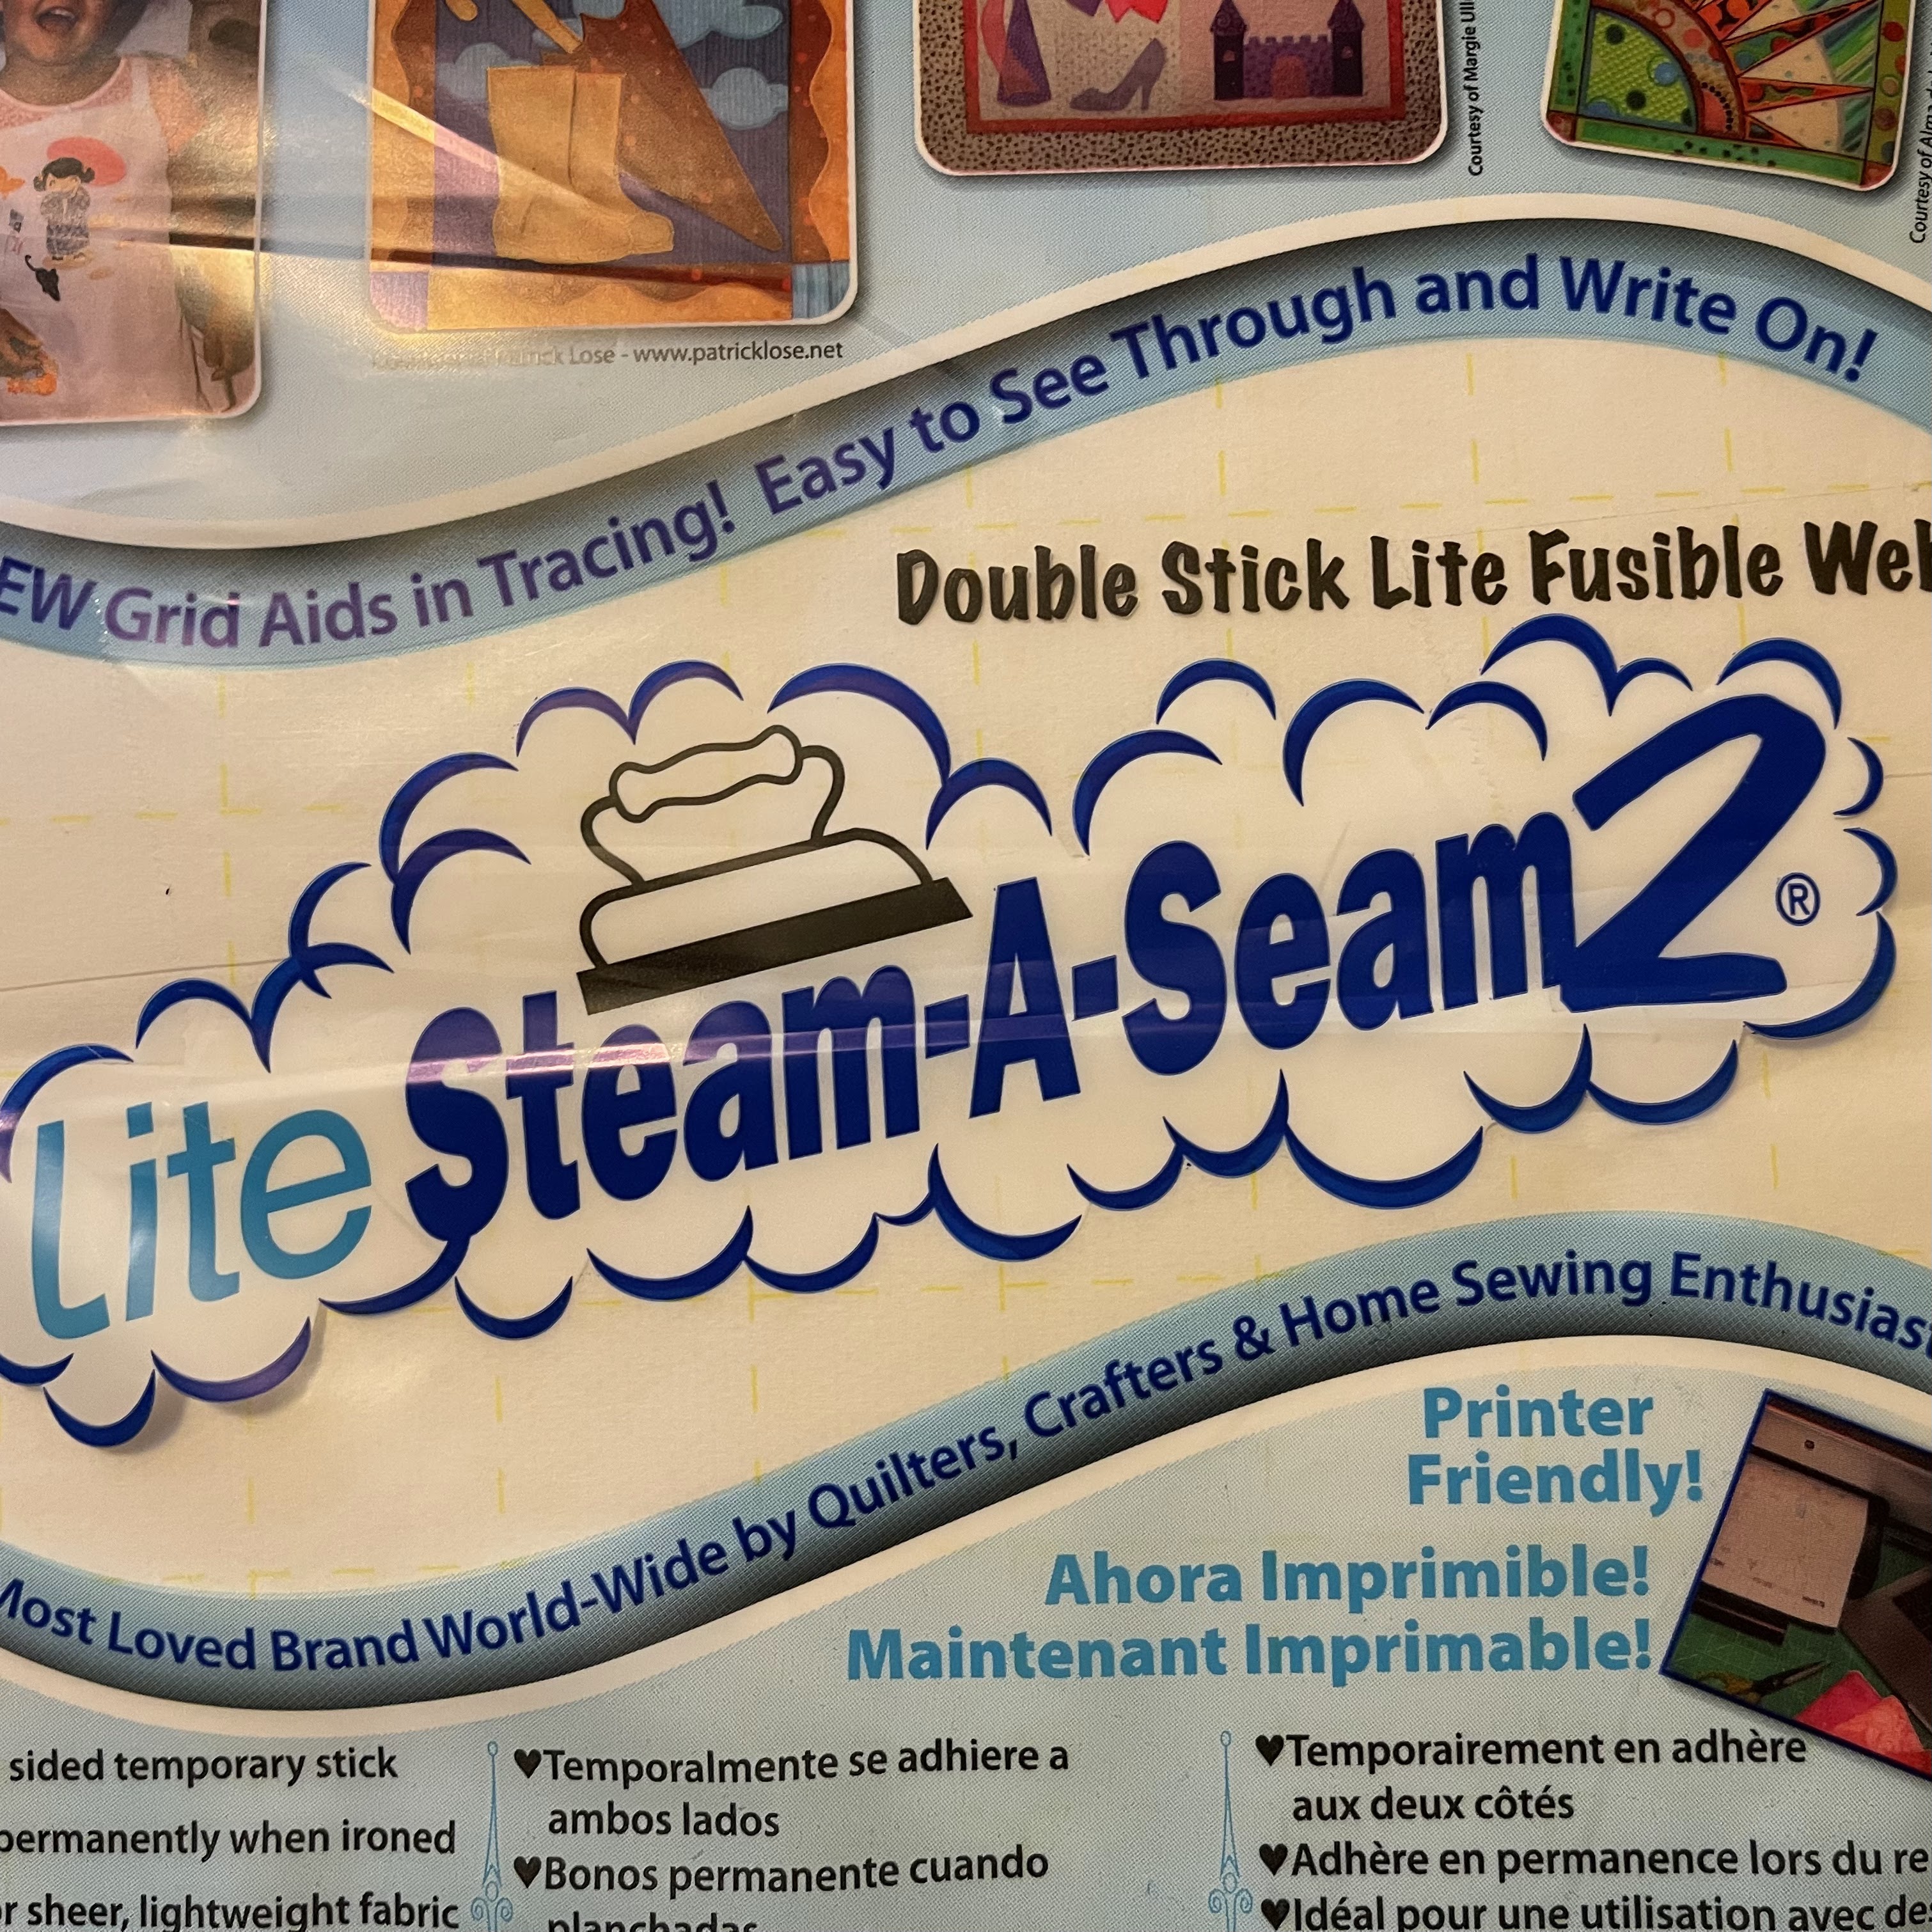
7. Cover the slit. Choose a suitable fabric (size and shape) to cover the slit. Rough cut around the shape. Press the appliqué stabilizer (Steam A Seam 2) on the wrong side of the fabric.  I prefer Steam a Seam 2, because it does not require sewing, especially for something that will not be washed or rough used. 

Steam A Seam 2 


Following manufacturer's instructions, cut neatly along the edges of the desired shape, peel off the paper, place on the slit, making sure it is fully covered, and iron in place.


Repeat for the other two stocking ornaments. Enjoy your double-sided mini stocking tree ornaments.


If you have questions, please ask in comments. I will respond here for all to see.

I will be sharing with all my favorite linky parties. See full list on the sidebar.

Make sure to check out Melanie's Advent Calendar with all sorts of goodies (cookie recipes, Christmas cartoons and free patterns) for the entire month of December.

Our Mini Christmas Tree


Happy Holidays!!!