I have a finish.
But let's start at the beginning.
When I made All Spruced Up, Julie of QuiltDivaJulie left a comment on the post.
When I made my very first tree block pair, I had used Amy's method using two 8.5" squares. That makes two trees - one positive and one negative. In this case I wanted to make only floral trees on a dark background. A dark tree on a floral background (negative version) would be eerie, like a ghost of a tree in a garden.
I needed a new strategy.
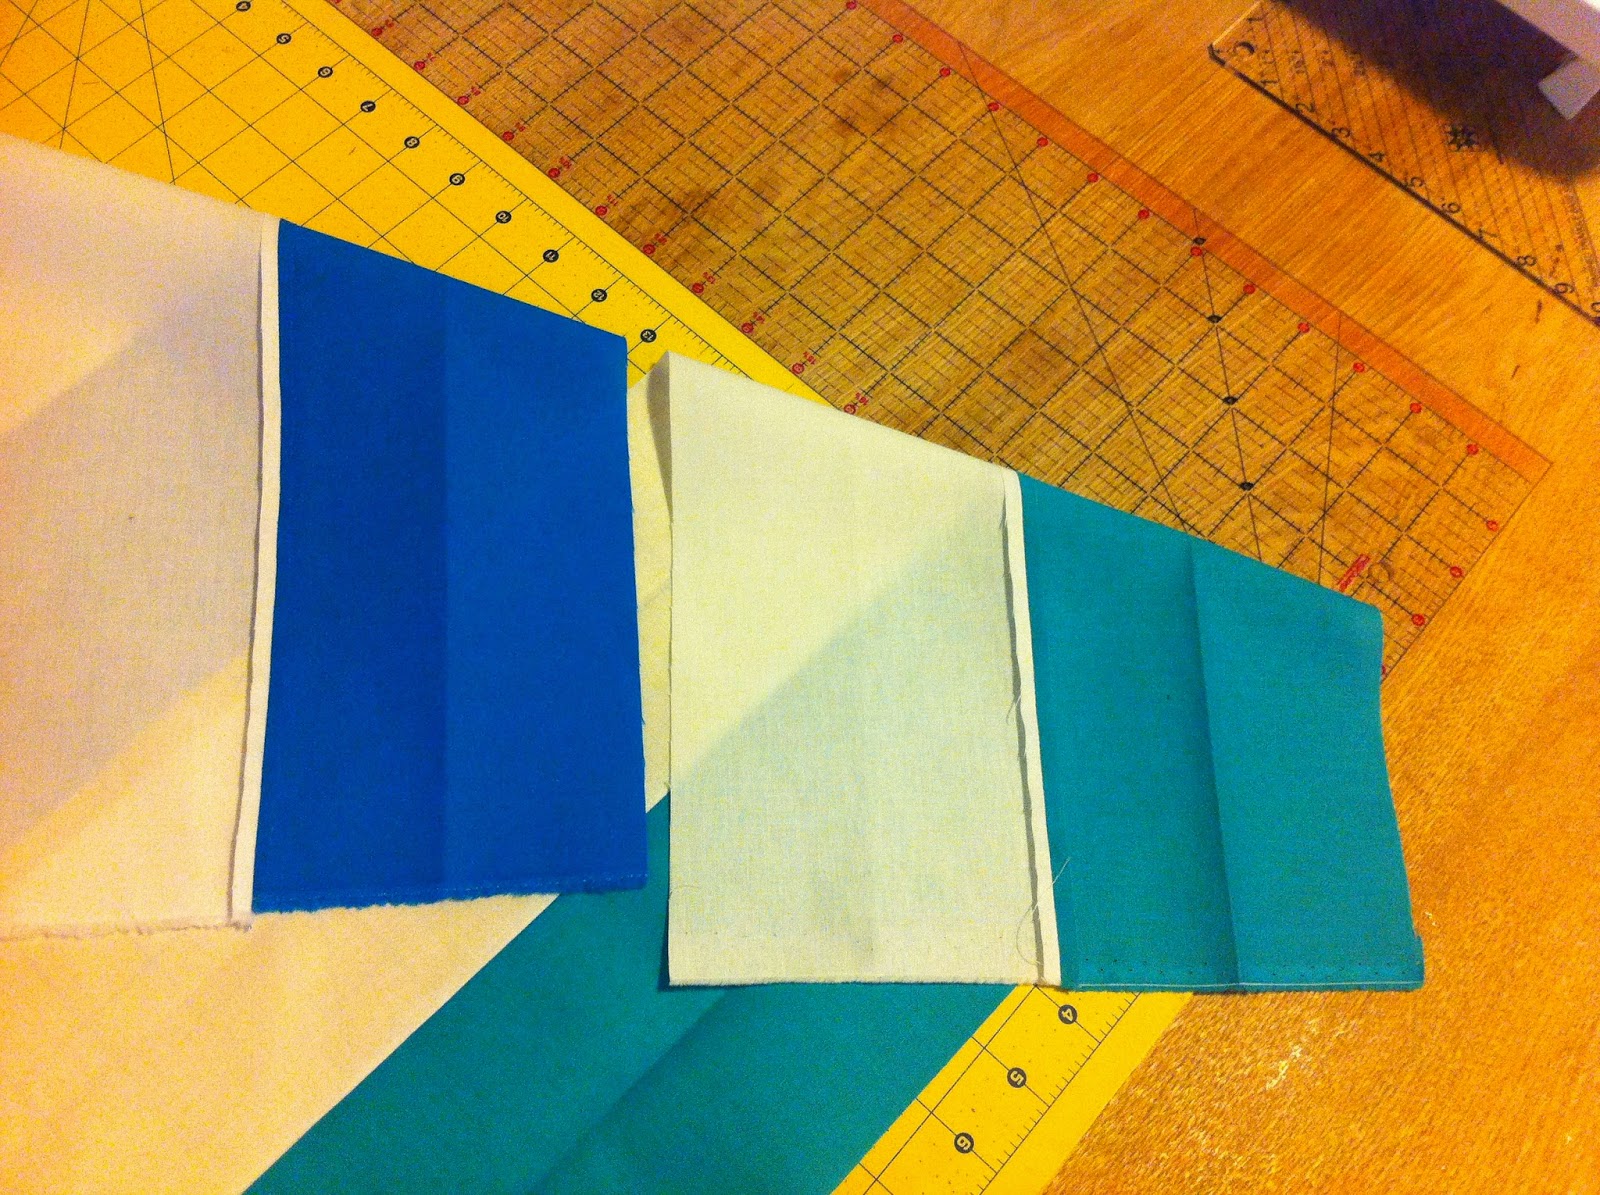
Instead of cutting out fabric, I cut out shapes from freezer paper (FP) - a tree, a left triangle and a right triangle that fit neatly. I numbered them 1.
I repeated the process, slightly varying the cuts and numbered these 2.
Now I could use the tree shaped (FP) unit to cut trees from my focus prints and use the side triangle (FP) units from the background fabrics.
This also allowed me to use fabrics that were smaller than 8.5". Scraps!!!! Yay!!!
I switched to a light background and made trees. Much better.

Paul: Are you making a day forest or a night forest?
Me: Well it started at night, but now the sun has come up. Things are brighter now.
Paul: I don't like the grey trees.
Me: Yeah, I am not so keen about them either.
Paul: So what will you do with these blocks?
Me: May be I can throw the dark trees in between the light ones.
 |
| Whimsy |
But let's start at the beginning.
When I made All Spruced Up, Julie of QuiltDivaJulie left a comment on the post.
Julie's comment - I want to make one of these - debating whether to go with the Christmas approach or make one for the rest of the year (perhaps rainbow colors for RSC next year).
Me - Try small print florals. It will look like a spring garden. I may just have to try that.
Julie's response - I LOVE IT — what a superb idea! I had thought about autumn trees since I have lots of oranges, browns, golds, rusts, and reds … you do spring and I’ll do fall.
The gauntlet was thrown. The challenge accepted.Me - Try small print florals. It will look like a spring garden. I may just have to try that.
Julie's response - I LOVE IT — what a superb idea! I had thought about autumn trees since I have lots of oranges, browns, golds, rusts, and reds … you do spring and I’ll do fall.
 |
| Initial Fabric Pull |
 |
| Grey Background |
 |
| These should work |
When I made my very first tree block pair, I had used Amy's method using two 8.5" squares. That makes two trees - one positive and one negative. In this case I wanted to make only floral trees on a dark background. A dark tree on a floral background (negative version) would be eerie, like a ghost of a tree in a garden.
I needed a new strategy.
Instead of cutting out fabric, I cut out shapes from freezer paper (FP) - a tree, a left triangle and a right triangle that fit neatly. I numbered them 1.
I repeated the process, slightly varying the cuts and numbered these 2.
 |
| Set 1 |
 |
| Set 2 |
Now I could use the tree shaped (FP) unit to cut trees from my focus prints and use the side triangle (FP) units from the background fabrics.
This also allowed me to use fabrics that were smaller than 8.5". Scraps!!!! Yay!!!
 |
| FP templates - Trees |
 |
| FP Templates - Backgrounds |
 |
| Piecing |
Of course, Julie was way ahead of me.
I trudged along slowly.
After I made about a dozen trees with the dark/gray background, I put them on the design wall. I stepped away and reviewed.
The idea seemed terrific inside my brain. Not so much on the design wall.
It was a very dark place. I needed to get away from it.
 |
| Using scraps |
 |
| Low Volume Backgrounds |
I switched to a light background and made trees. Much better.
 |
| Much better |

 |
| Bright |
 |
| Fun Background |
More trees grew out of the initial success.
Paul: Are you making a day forest or a night forest?
Me: Well it started at night, but now the sun has come up. Things are brighter now.
Paul: I don't like the grey trees.
Me: Yeah, I am not so keen about them either.
Paul: So what will you do with these blocks?
Me: May be I can throw the dark trees in between the light ones.
Paul (aghast): Randomly?
Me: Not sure. I can use them on the back to make a pieced backing. May be.
And then it came to me. A forest of light with darkness held back at the edges.
I needed 100 trees, 36 with dark background and 64 with light background.
I also wanted to add an element of whimsy to the quilt.
A fallen tree idea was considered and discarded.
A crashed plane in the woods? No, not feeling it.
A house in the woods? Blah.
But if there was a small clearing in the woods and some farm animals - cows, sheep and chickens - wandered there to graze. That will work.
I am sure that they will return to the farm at nightfall.
The flimsy was finished. It has 99 tree blocks and one block of whimsy.
 |
| Edge of Darkness |
I needed 100 trees, 36 with dark background and 64 with light background.
I also wanted to add an element of whimsy to the quilt.
A fallen tree idea was considered and discarded.
A crashed plane in the woods? No, not feeling it.
A house in the woods? Blah.
But if there was a small clearing in the woods and some farm animals - cows, sheep and chickens - wandered there to graze. That will work.
 |
| Touch of Whimsy |
They are not lost, just wandering.
 |
| Yay!!! |
The flimsy was finished. It has 99 tree blocks and one block of whimsy.
 |
| Finished Flimsy |
I set it aside to focus on the Colorwash 360 class.
I completed the Colorwash layout on Thursday and decided to return to my trees.
On Friday, I cut the batting, ironed the flimsy making sure that seams were not twisted, pressed the backing and layered the batting on top of the backing, smoothing as I went. As I reached for the basting spray, I realized that the can was only half full. I'd need a new can to complete the basting. I set the sandwich aside and made the binding.
On Saturday I bought a new can of basting spray and finished basting. I cleaned the bobbin area, put on the walking foot, changed the needle to 90/14, and switched threads from 50wt (for piecing) to 40wt (for quilting).
I began quilting. While NPR played in the back, I thought - if I can quilt one column in about 45 minutes, then the whole thing should be done in 3 days. Perfect!!!
A beep on the phone made me look at it. And I saw the horrible, devastating, and gut-wrenching news.
Eleven people were killed at the Tree of Life Synagogue. Tree of Life? Tree???
Me: Oh no.
Paul: Sup babe?
Me: A mass shooting at a synagogue called "Tree of Life" in Pittsburgh.
Paul: I just saw.
Me: Here I am making a tree quilt when I see this "Tree of Life" news.
Paul: Coincidence.
Me: I believe the universe just screamed in my face. Pay attention.
Paul: You always pay attention.
Me: Just for once, I wish the universe would stop talking to me. Because my ears are bleeding from the cacophony.
I cried, we hugged.
Paul: It was going to be loud when so many people died.
Me: Why can I not be indifferent to this stuff, just like so many others?
Paul: Because you care.
Me: It keeps happening. I cannot stop it, no matter how strongly I feel about it.
Paul: Maybe not alone. But together with others, we can stop it.
At this time, I had to put away the quilt, turn off the machine and cry for the senseless loss of life.
Eventually the quilting was completed. I set aside the green binding and chose a black binding to express my grief and anger.
I have also decided to change the quilt's name from "Woods of Whimsy" to "Trees of Life" with the hope that the misguided and wandering souls may find their way home to peace and eternal life.
I will share with all my usual linky parties but I'd love to hear your thoughts.
Please let me know I am not alone.
P.S. I am going to a nearby synagogue this evening to participate in the solidarity service. No, I am not Jewish. I don't have to be. Paul insists on accompanying me.
 |
| Love these trees |
 |
| Light shining through |
On Friday, I cut the batting, ironed the flimsy making sure that seams were not twisted, pressed the backing and layered the batting on top of the backing, smoothing as I went. As I reached for the basting spray, I realized that the can was only half full. I'd need a new can to complete the basting. I set the sandwich aside and made the binding.
 |
| Red Backing, Green Binding |
 |
| Green Binding Works |
On Saturday I bought a new can of basting spray and finished basting. I cleaned the bobbin area, put on the walking foot, changed the needle to 90/14, and switched threads from 50wt (for piecing) to 40wt (for quilting).
I began quilting. While NPR played in the back, I thought - if I can quilt one column in about 45 minutes, then the whole thing should be done in 3 days. Perfect!!!
 |
| Quilting in process |
 |
| Threads to bury |
A beep on the phone made me look at it. And I saw the horrible, devastating, and gut-wrenching news.
Eleven people were killed at the Tree of Life Synagogue. Tree of Life? Tree???
Me: Oh no.
Paul: Sup babe?
Me: A mass shooting at a synagogue called "Tree of Life" in Pittsburgh.
Paul: I just saw.
Me: Here I am making a tree quilt when I see this "Tree of Life" news.
Paul: Coincidence.
Me: I believe the universe just screamed in my face. Pay attention.
Paul: You always pay attention.
Me: Just for once, I wish the universe would stop talking to me. Because my ears are bleeding from the cacophony.
I cried, we hugged.
Paul: It was going to be loud when so many people died.
Me: Why can I not be indifferent to this stuff, just like so many others?
Paul: Because you care.
Me: It keeps happening. I cannot stop it, no matter how strongly I feel about it.
Paul: Maybe not alone. But together with others, we can stop it.
At this time, I had to put away the quilt, turn off the machine and cry for the senseless loss of life.
 |
| Black Binding |
 |
| Finished Quilt - 71" by 92" |
 |
| Trees of Life |
 |
| Quilting Texture |
 |
| Labelled |
 |
| Hope you find your way back |
I have also decided to change the quilt's name from "Woods of Whimsy" to "Trees of Life" with the hope that the misguided and wandering souls may find their way home to peace and eternal life.
 |
| Darkness is always with us |
 |
| And Light will destroy the darkness |
 |
| My favorite tree |
 |
| And this too |
 |
| Thank you Rekha |
I will share with all my usual linky parties but I'd love to hear your thoughts.
Please let me know I am not alone.
P.S. I am going to a nearby synagogue this evening to participate in the solidarity service. No, I am not Jewish. I don't have to be. Paul insists on accompanying me.