Showing posts with label Baby Quilts. Show all posts

Wednesday, October 23, 2024

Pesto Mushrooms

I have a new finish and I am so excited to show it to you!

Meet Pesto Mushrooms :-)

Pesto Mushrooms


When I was asked to make a Birthday Quilt for a 6-year old boy who loves the color Green and is fascinated with Mushrooms, I said Yes, please :-D

The Pesto (Green Fabrics) was the easy part.  I wasn't sure how to incorporate mushrooms.

Pieced or Appliqued? Small or Large? A mix of large portabellas and tiny enokis?

I turned to EQ8 and found a template for mushroom applique.  BINGO!!!! In EQ8, the dots are applique as well. I think I can do with using dotted fabric instead of adding each dot. Insert eye roll here.


EQ8 Mock-up


I had fun raiding my box of green scraps and I found plenty of 2.5" strips in various lengths. 
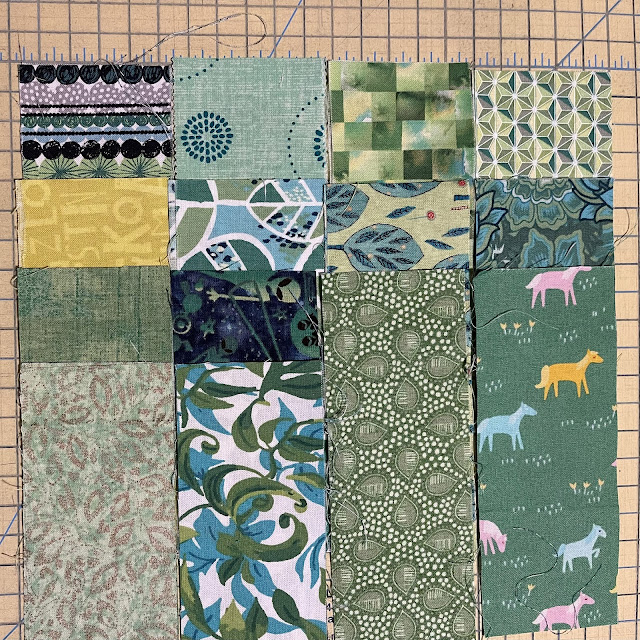
Variety of Greens!!!


Chocolate Dots Added


Making the base blocks was a simple process. Making the mushrooms was a fun albeit a multi-step process.

I transferred the three shapes - the mushroom cap, the gills, and the stem on to a thin cardboard from a box of cereal. I cut out the three shapes and traced them on to the Steam-A-Seam 2 sheets. Repeat 24 times :-) It took six sheets.

I then rough cut all 75 shapes out of the Steam-A-Seam 2. 

Then I chose fun fabrics. Bright dots for the caps, light yellow/beige for the gills and brown for the stems. The next step required peeling the 75 paper slivers and sticking the sticky side (of Steam-A-Seam 2) to the wrong side of the fabrics.

Now I had to carefully cut the exact shapes, ensuring the slight curve of the mushroom caps and the gentle line of the gills. This took a while. Oh but it was so worth it.


The first Mushroom

The second one!


One 5" square

Two Mushroom Caps (very carefully cut)


Was I ready to add the mushrooms to my blocks? Not yet. 

I arranged the base blocks on my design wall in the desired layout, making sure that no two white squares were touching.

I did not add the mushrooms to the individual blocks until after the layout was finalized. I wanted to make sure that all mushrooms were upright, whereas the blocks could be oriented in any way.

Once I was happy with the layout, I started adding the mushrooms, one column at a time.
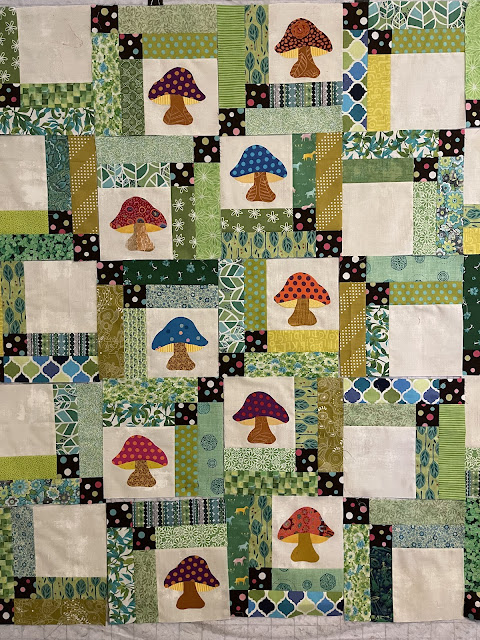

Adding Shrooms

I added one mushroom at a time, peeling away the paper, ironing and stitching in place and returning it to the design wall, before picking the next block.
 

Stitched in place

Step 1 - Make the Base Blocks. Set aside.

Step 2 - Make the Mushroom Parts (Cap, Gills and Stem). Set aside.

Step 3 - Finalize the Layout, separating the white squares.

Step 4 - Working with one block at a time, place and iron the Mushrooms. Gills first, followed by the stem and lastly the cap on top of both (I messed up the first one). Stitch in place.

Oops NO!!!

Step 5 - Stitch the mushroom blocks into a flimsy, making sure that the layout stays intact.

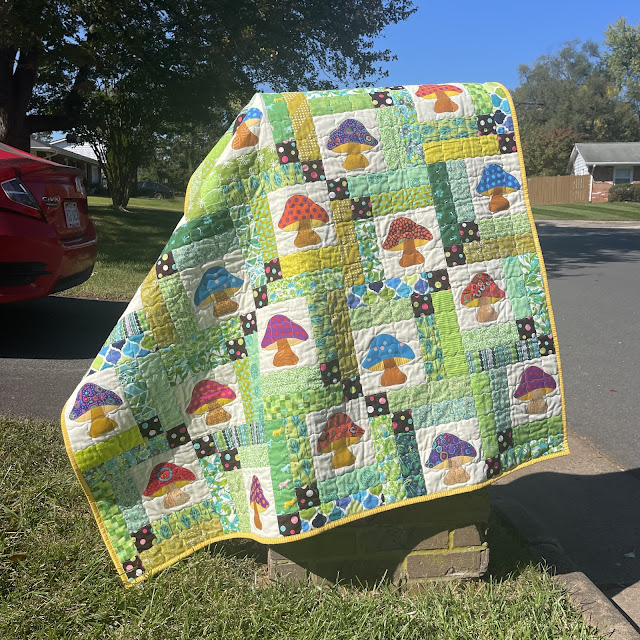
It is fun and looks simple but there are many steps and the order of the steps is important! Here is the completed quilt!

Such a happy quilt, 50" by 50"

Honestly, I think the whole quilt is a tad too busy, with so many greens, chocolate dots and all the bright mushroom caps. I could have used fewer greens, or a solid brown instead of dots. But for a six-year old, who needs a lot of stimulation, it will do just fine.

Pesto Mushrooms finished at 50" square. The backing is pieced from a directional mushroom fabric. I added narrow brown strips (when joining two pieces) to avoid the weird look of an ill-matched pieced print. All mushrooms are upright - even in the backing!


Pieced Backing

A yellow striped binding completes the look. 

Yellow Striped Binding

Let me show a few close-ups. These mushrooms are so stinking cute.

Labelled


Bright and Dotty


Thank you, Kaffe


Who says mushrooms grow in damp, dark places. Look at these beauties thrive in the bright sun :-)

My Happiness Mushrooms


Red and Pink


And one last look!

Such Fun Guys!


Once the quilt reaches its intended recipient, I will add another picture. I am hoping for big smiles. If Pesto Mushrooms made you smile, please let me know. 

Sharing with all my favorite linky parties. See full list on the sidebar.


Saturday, April 27, 2024

Peach on Earth

Although I had completed Blush, I had plenty of strips left over. It was time to play improv. 

Strips and Scraps

Pop of Green


As I pieced strips of varying lengths together, I added a skinny strip of green fabric to add a pop of contrast! What do you think?

Peach, Coral, Gold and Green :-)


Here is the finished quilt. I have named it "Peach on Earth". 

Peach on Earth, 42" by 45"


Giraffes on the Backing

Finishing at 42" by 45", "Peach on Earth" will be making an appearance in the Quilts (Throw or Larger) category. 

Here are a few closeups. 


Walking Foot Quilting


Pink Lions and Peachy Giraffes


White Binding


Labelled


There was just one more thing. I wanted a picture with a Pink Dogwood in Bloom. I scouted our neighborhood, knocked on doors, asking for permission to take pictures, promising no harm shall befall the blooms. I was lucky. Here are the best three (of 27) shots.


I will be sharing with the Pantone Quilt Challenge 2024 Linky Party hosted by Sarah Ruiz Quilts and Quilting Jetgirl's Favorite Finish for April. 

I will also be sharing with all my favorite linky parties. See full list on the sidebar.  


Sunday, May 8, 2022

Mari's Star - Tutorial for Hands to Help

Mari was feeling overwhelmed. 
I was only too happy to lend a helping hand. After all, this tutorial is for Hands to Help :-)

If you have a layer cake in your stash, that hasn't found a perfect quilt, this is for you. Usually Layer Cakes have 20 fabrics, two squares of each fabric for a total of 40 squares. Of course you don't need a layer cake to make this block. 

This tutorial is in two parts. In Part 1, we will make the four identical units. In Part 2, we will look at ways to make blocks from those units.

PART 1 - Making the units

Focus fabric 
One square 9.5"
One rectangle 5" by 10"
(Or you could use two identical squares from a layer cake, as shown in the pictures below.)

Background 
One rectangle 5" by 10"


10" square of focus fabric (if using a layer cake square)

1. Cut the 10" square of focus fabric (if using a layer cake) into half for two rectangles 5" by 10". Set one aside.

Cut into half, two rectangles 5" by 10"

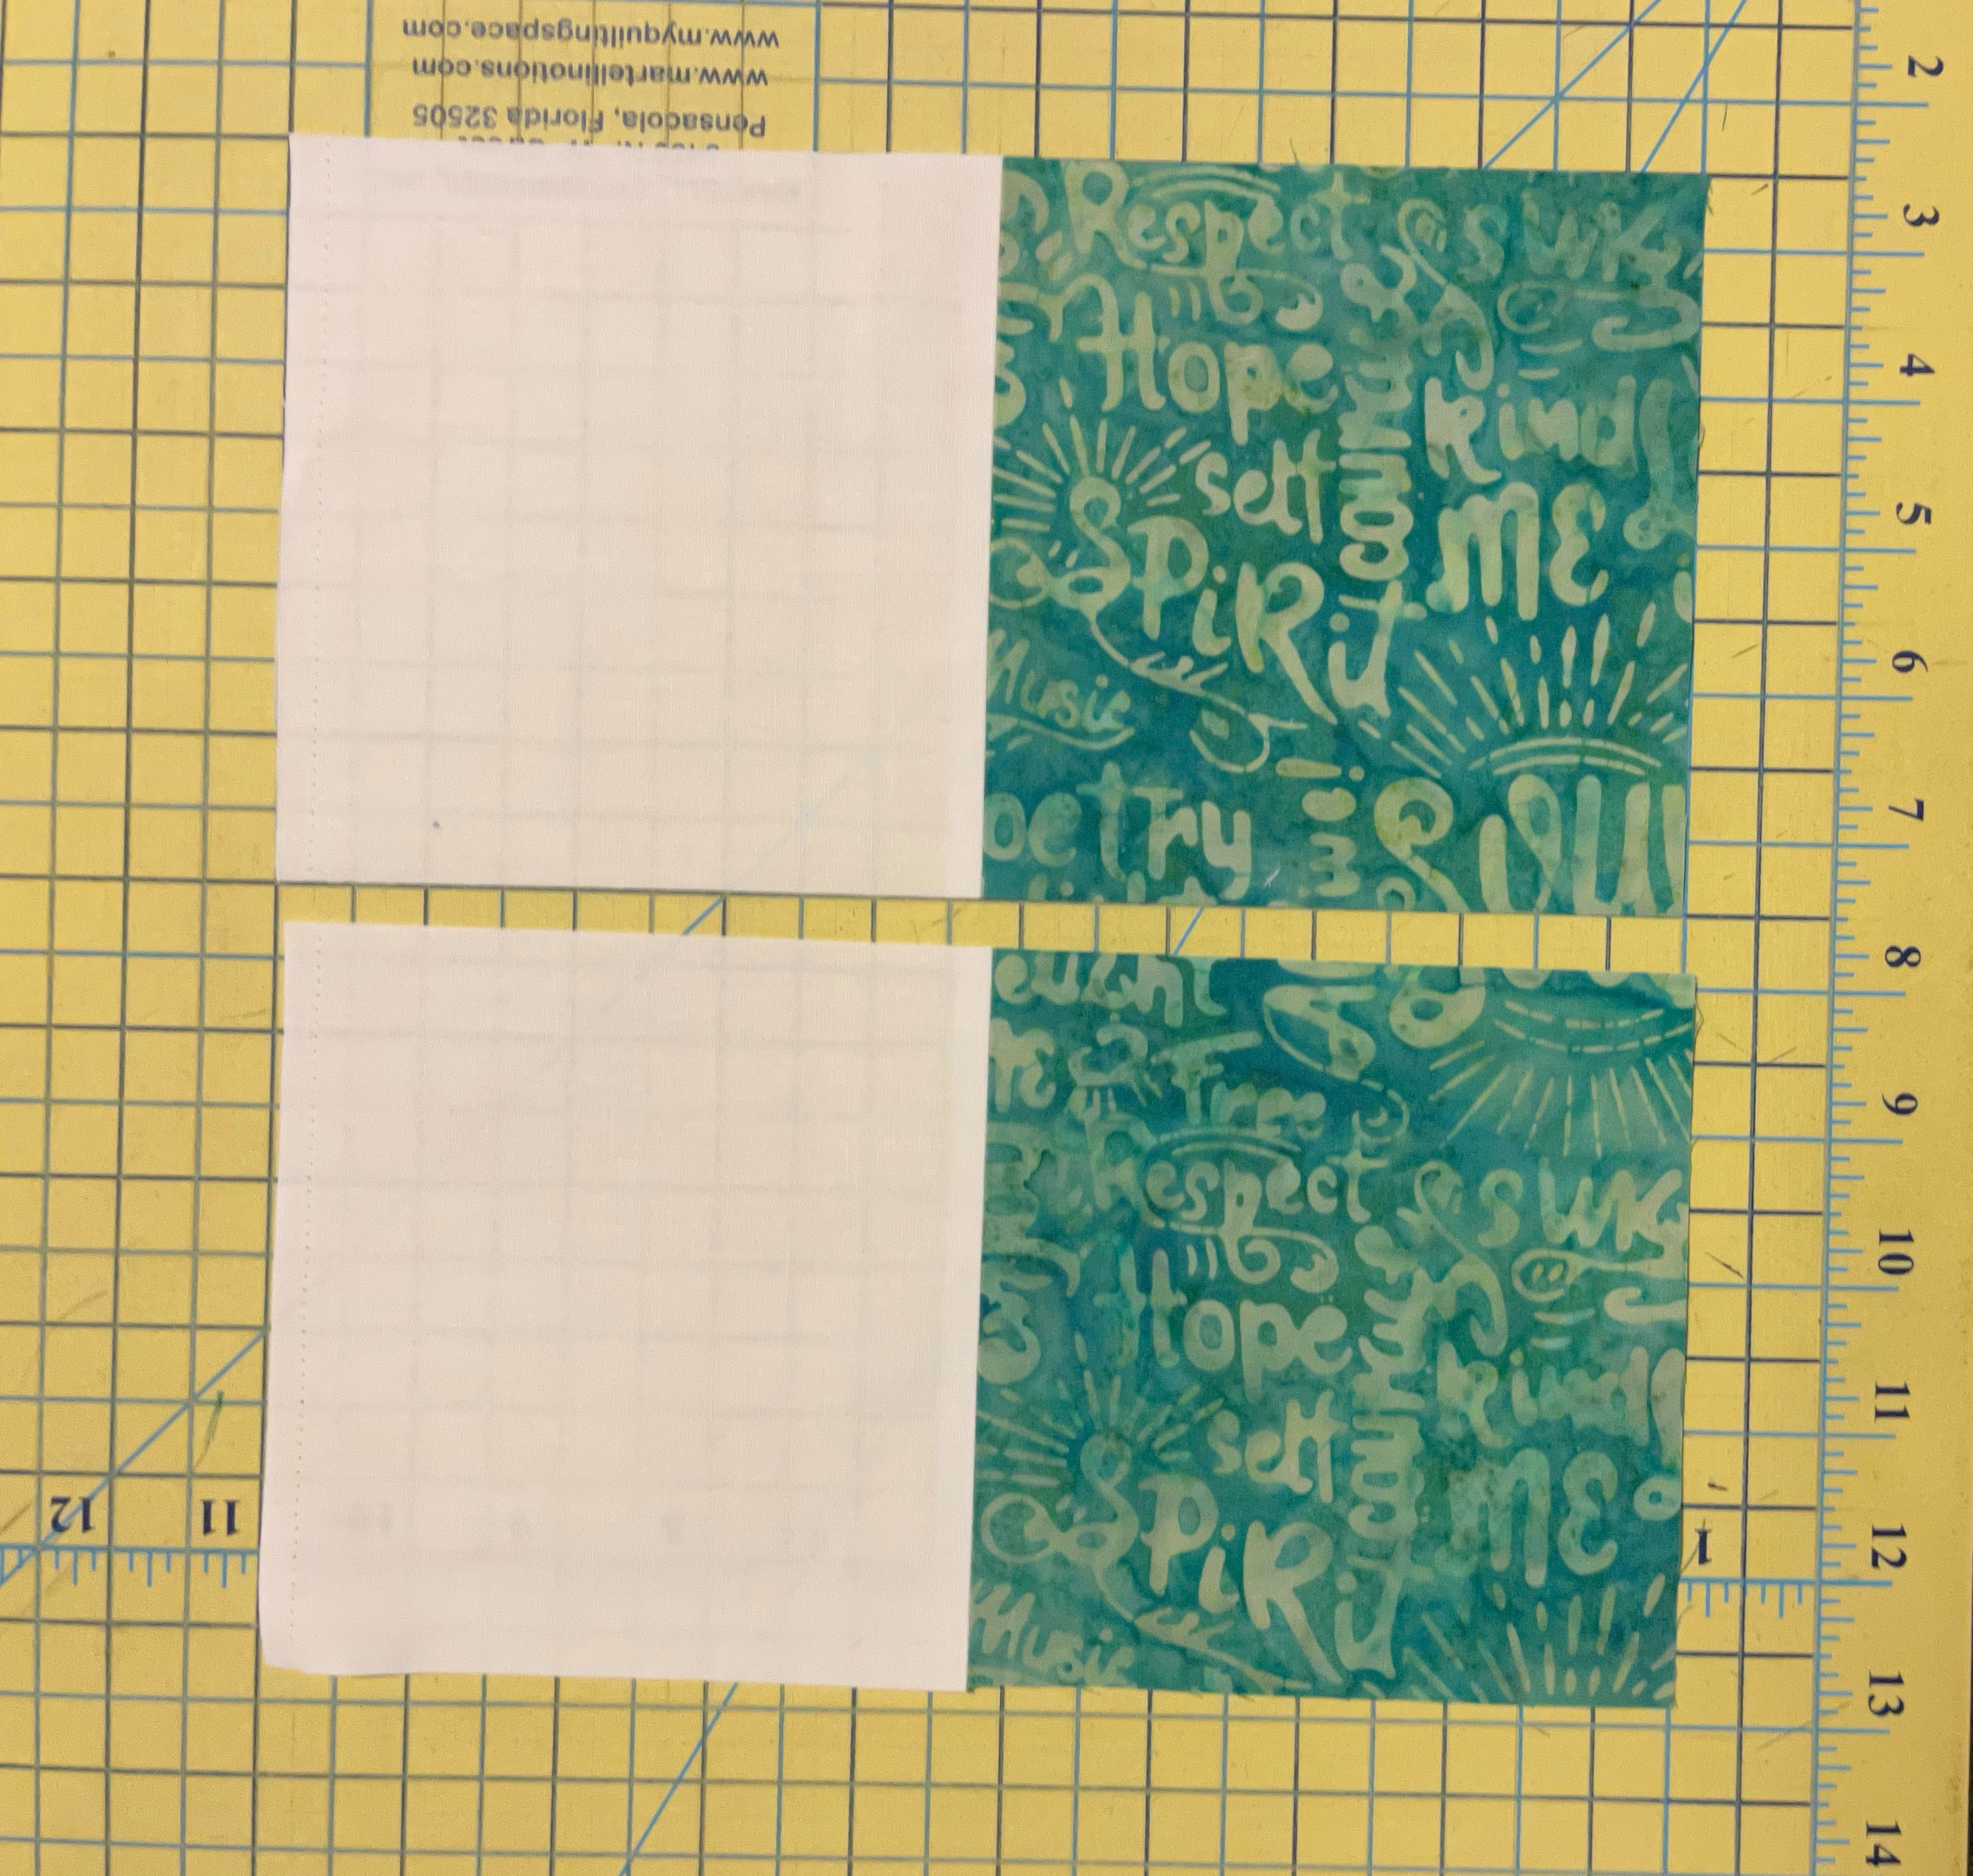
2. Pair the other rectangle with a 5" by 10" rectangle of background fabric and sew along the length. Press seams open.

Focus Fabric Rectangle paired with Background Rectangle

Stitched and Pressed

3. Cut this unit into half as shown below. Turn around one half and stitch together to make a 4-patch block. Press seams open and square to 9.5".

Cut in half

Turned around

4-patch block, 9.5" square


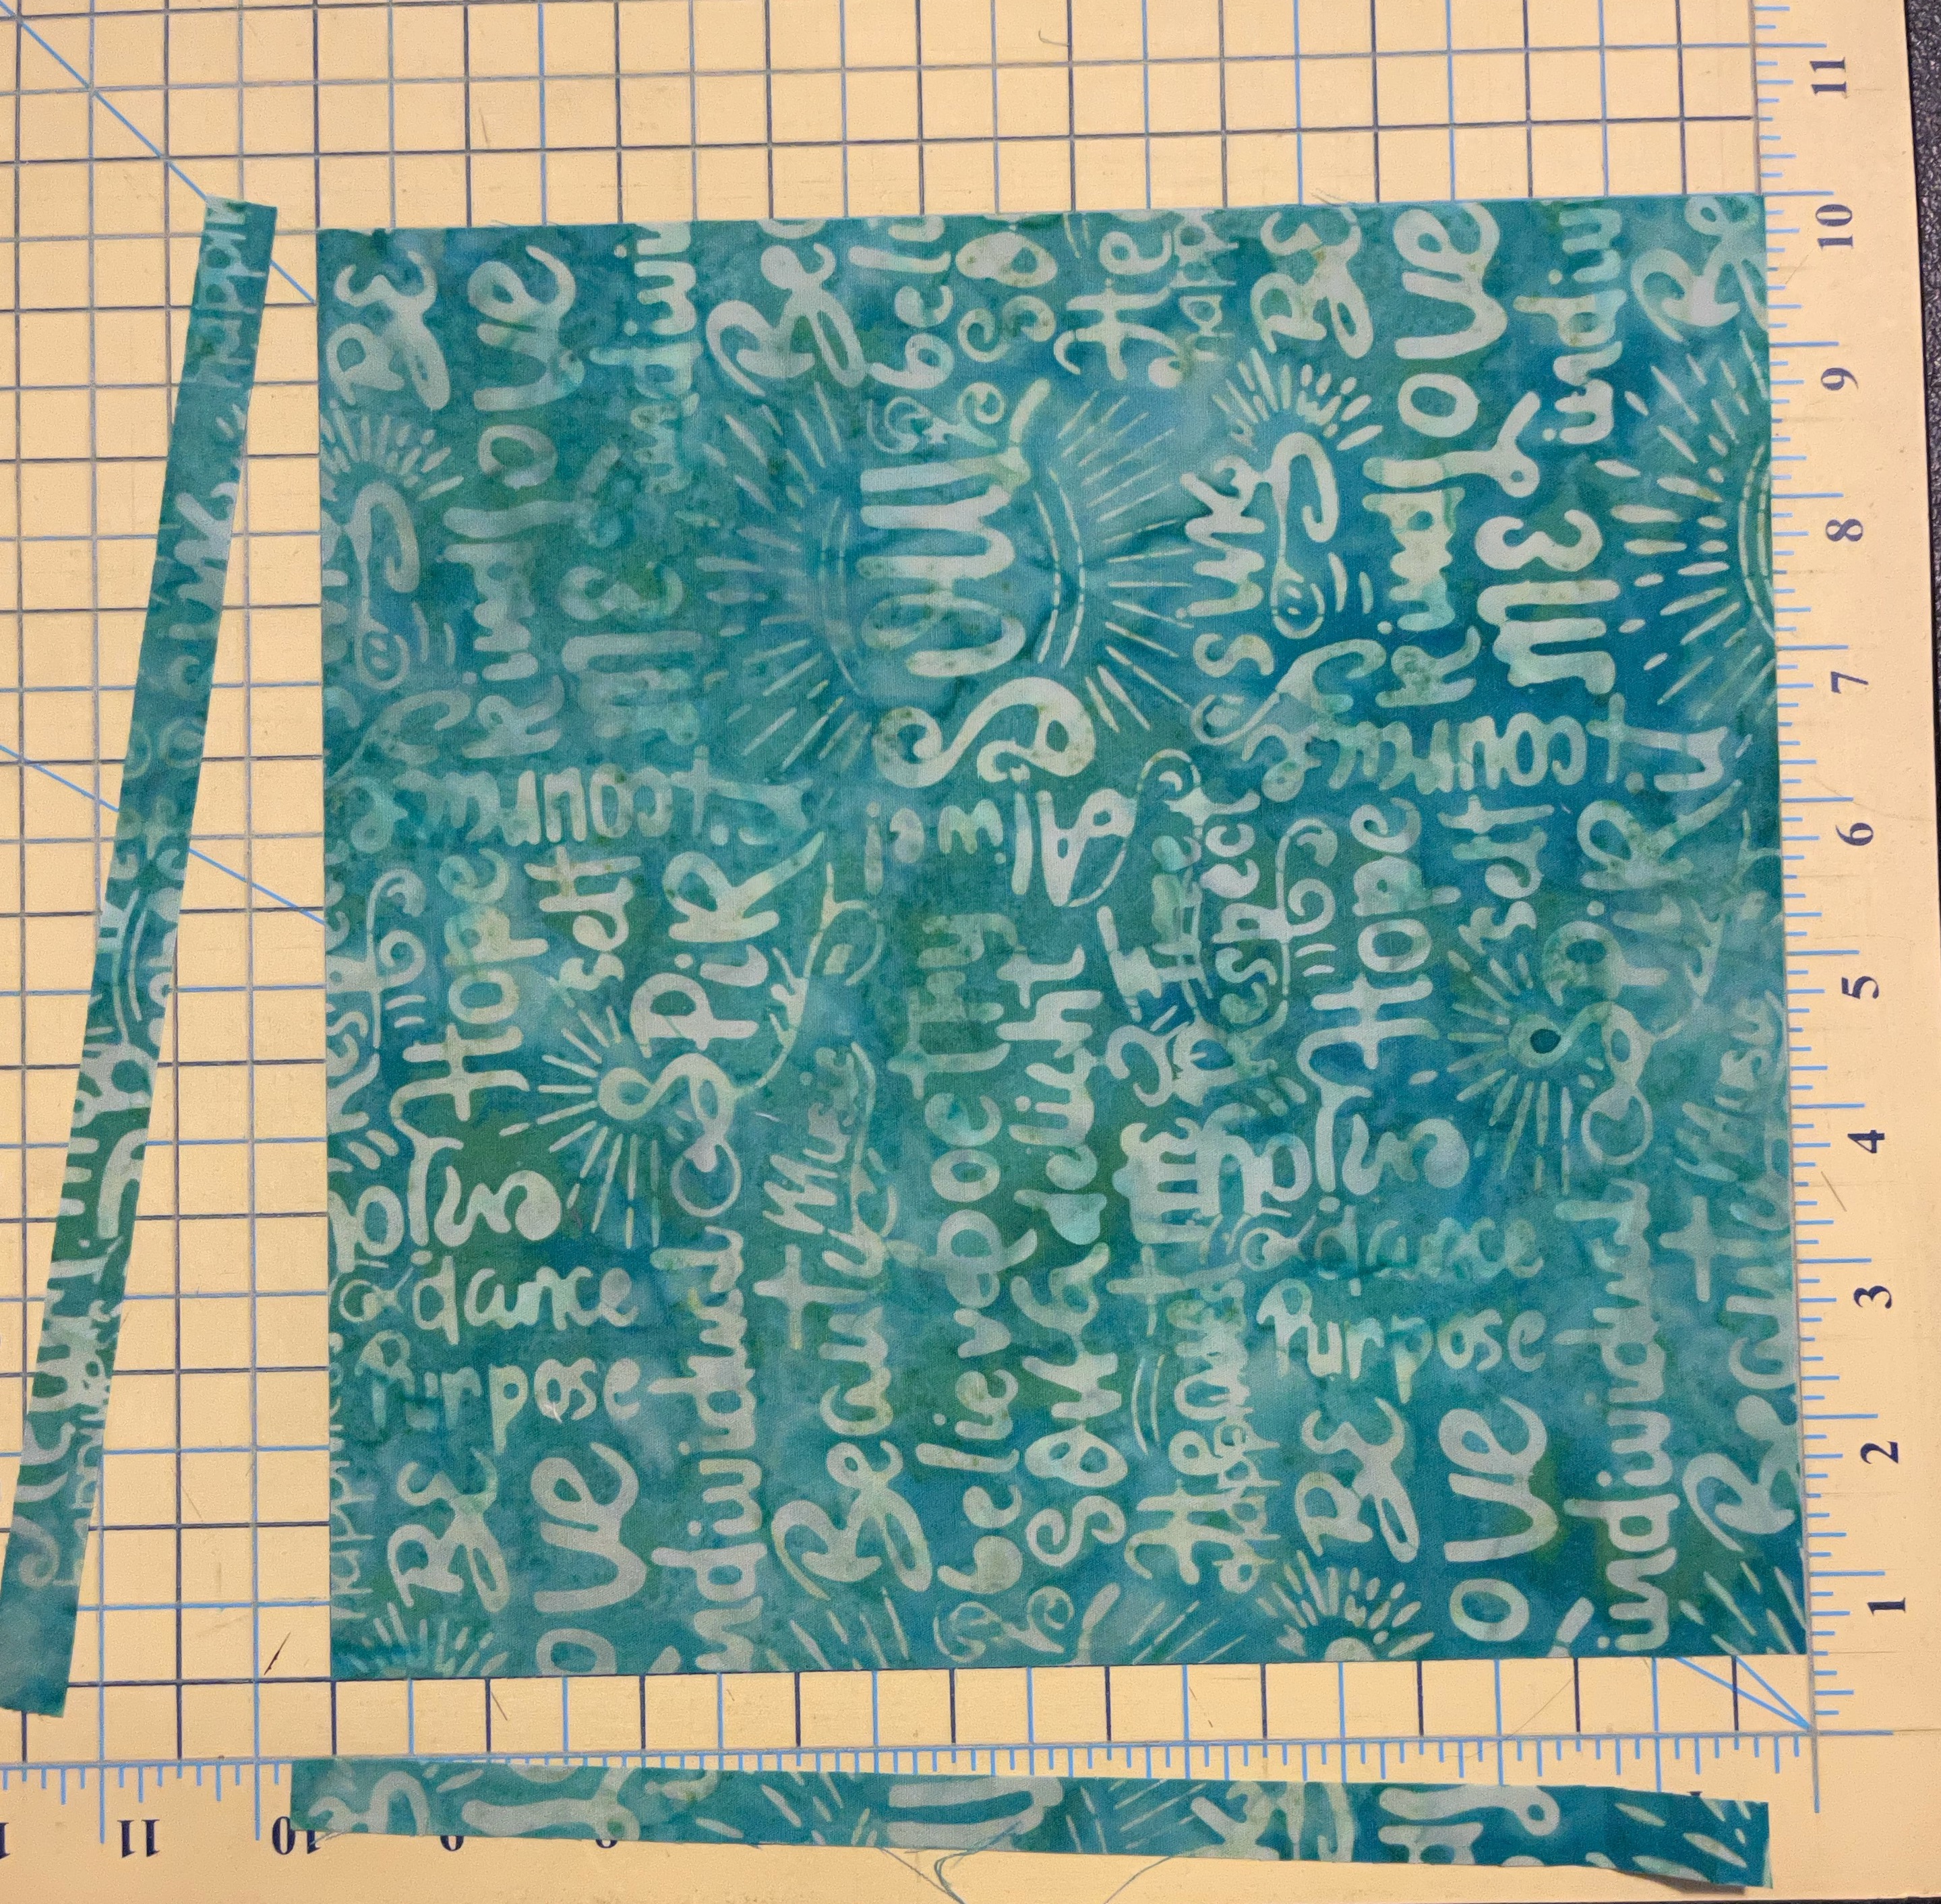
4. Take the 9.5" square of focus fabric and place right sides together with the 4-patch block. Stitch along all four sides. Cut on both diagonals to get four units.

Trim to 9.5" square (if using a layer cake square)

Place right sides together with the 4-patch block

Stitched on all four sides

Cut on the diagonal, twice

5. The next step shows how to trim these units. 
  • Align the diagonal seams of the block with the 45 degree lines on the cutting mat. See picture below. Your block should lie fully within a 7" square on the mat.

    Align the seams with the diagonal lines on the mat

  • Trim the two sides first, making sure that you trim exactly half inch inside from the edge of the 7" square. 
Trim sides first
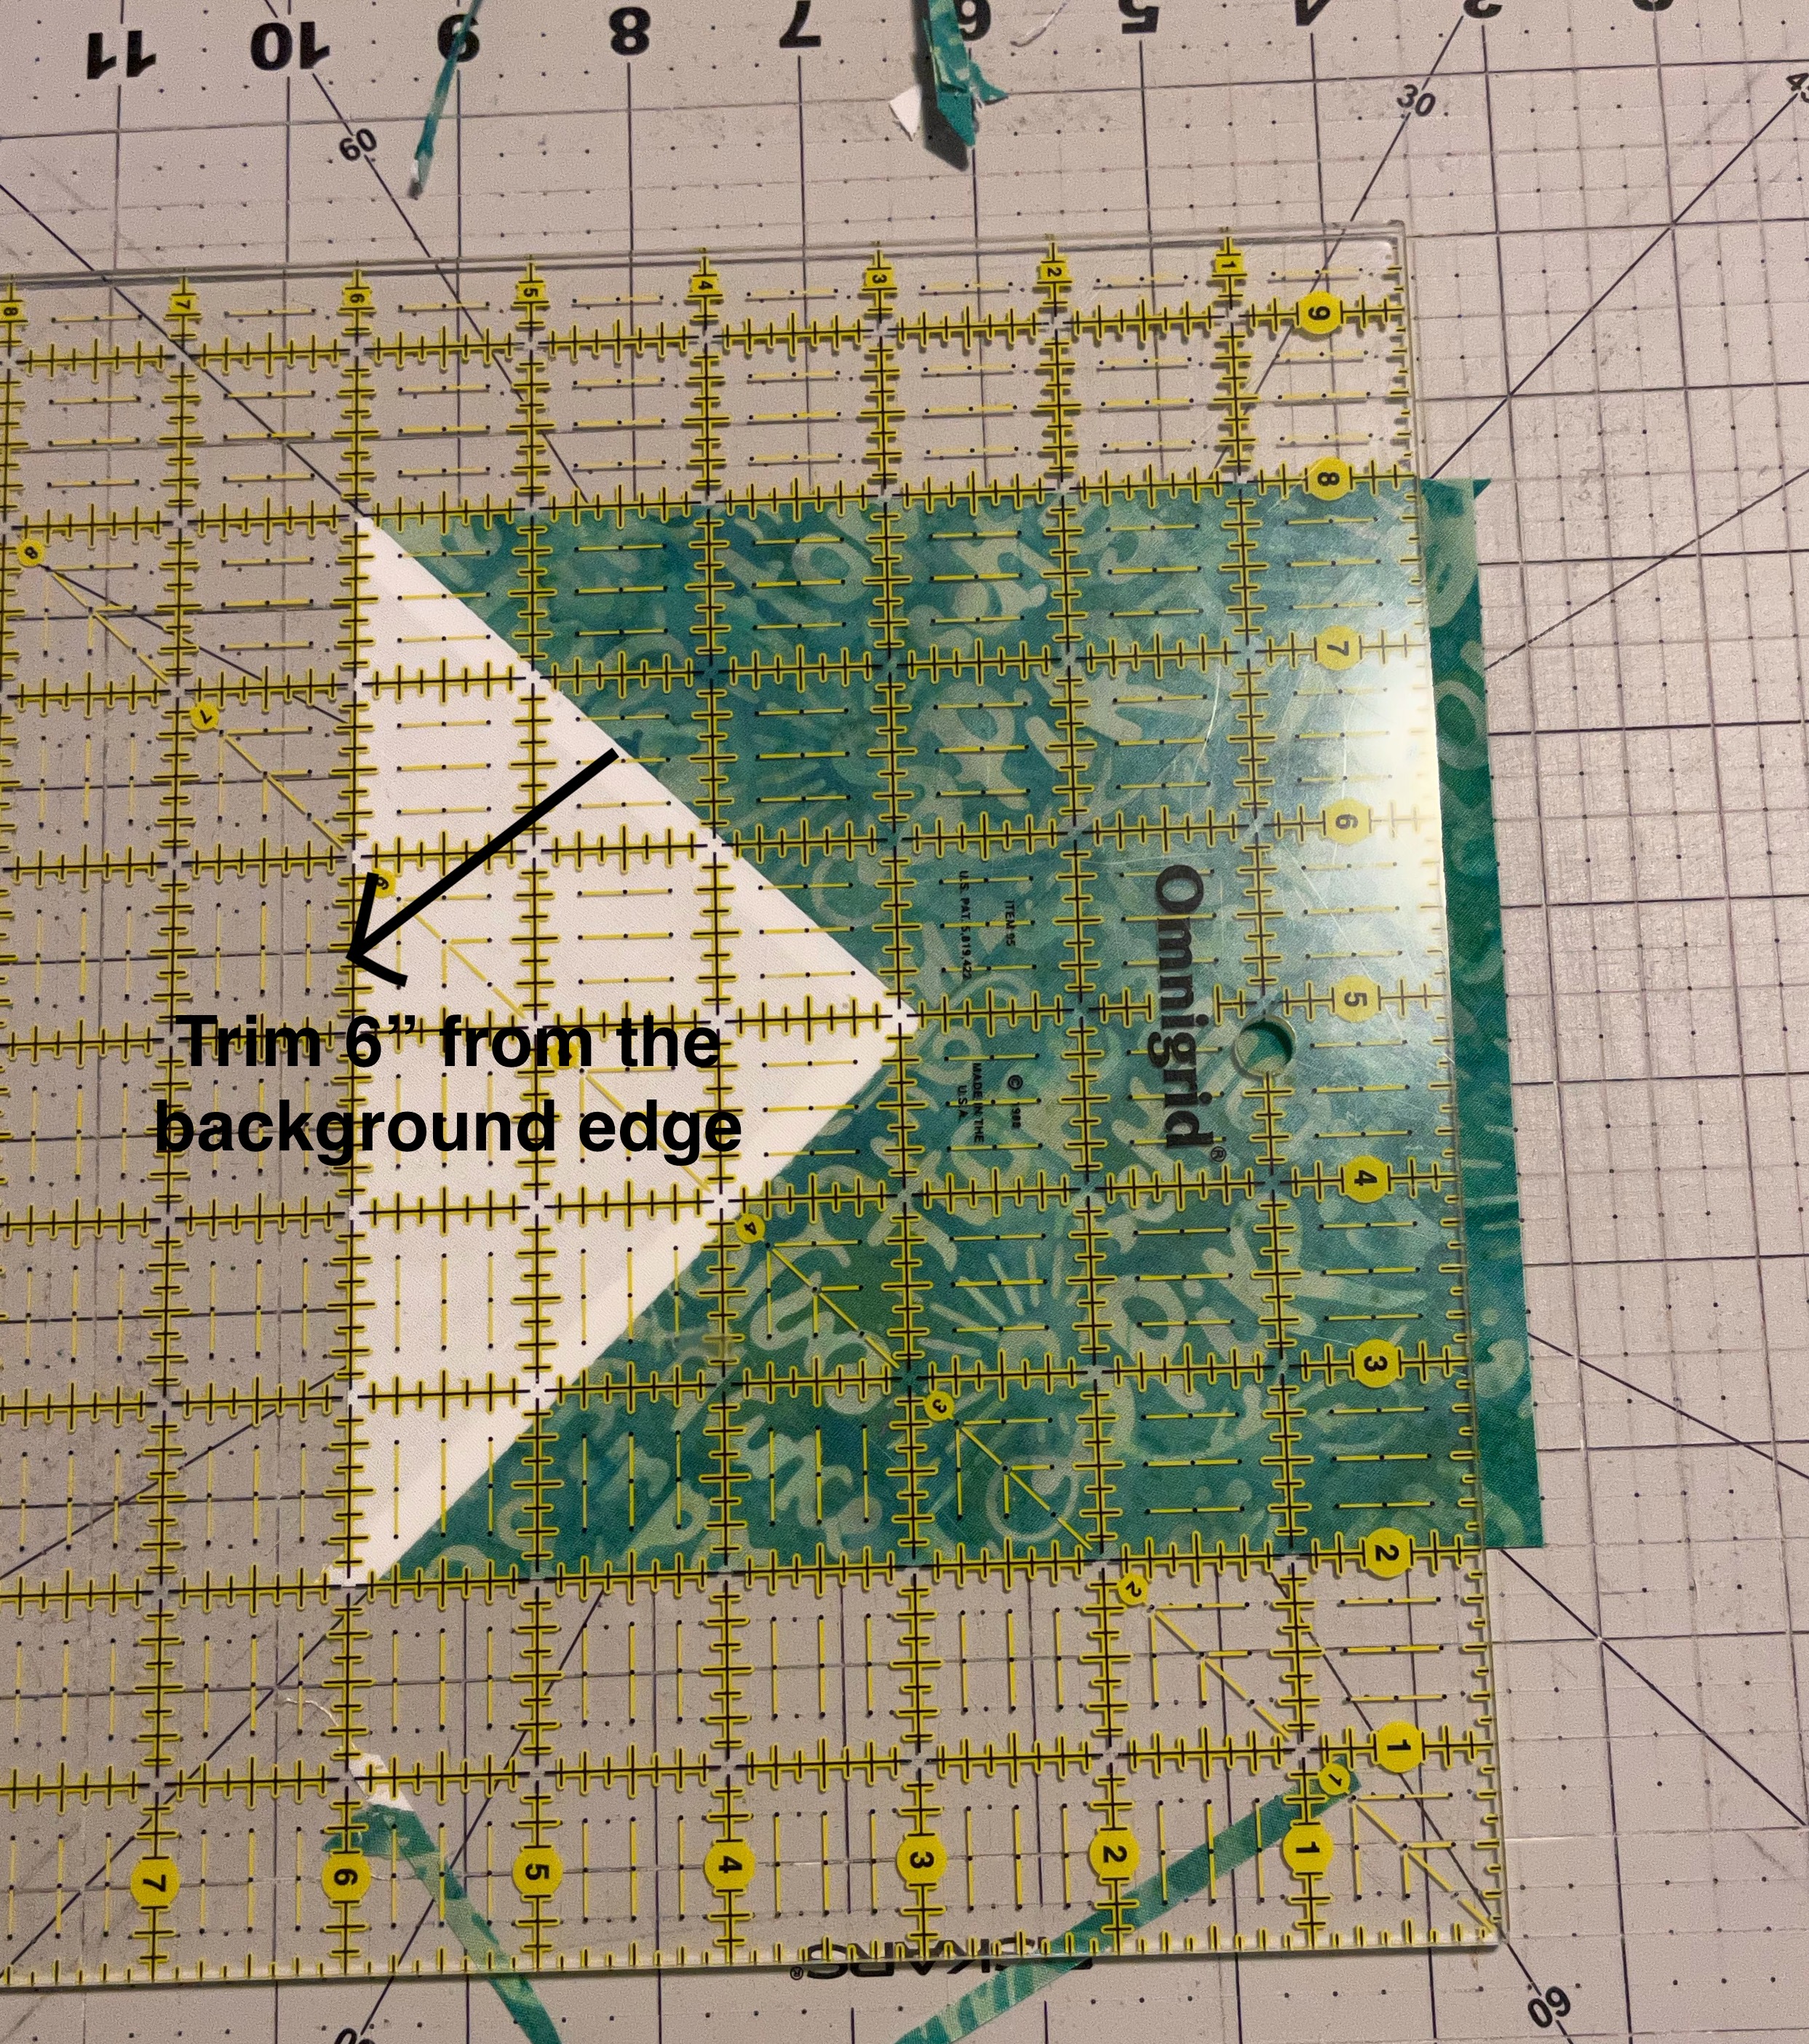
  • Then trim exactly 6" from the background edge of the unit. See picture below.
Trim 6" away from the background edge
  • Do not trim the edge with the background fabric. This is very important, if you wish to maintain your points. 
Similarly trim all four units. 


PART 2 - Assembling the units
There are two basic ways to assemble these four units. We could arrange them in a 4-patch or in a 9-patch. See options below.

4-patch options (11" finished block)
Pinwheel


Swirl


In my opinion, this Swirl Block looks dense in the center. If you agree, you can snowball the inside corners, as shown in the following two pictures.  

Swirl with Snowballed Inside Corners

Swirl with Bowtie Center

Other options with four units continue.

Diamonds

Peaks and Valleys


Arrange them as shown and sew like a 4-patch. Square to 11.5". 


9-patch option (16.5" finished block)

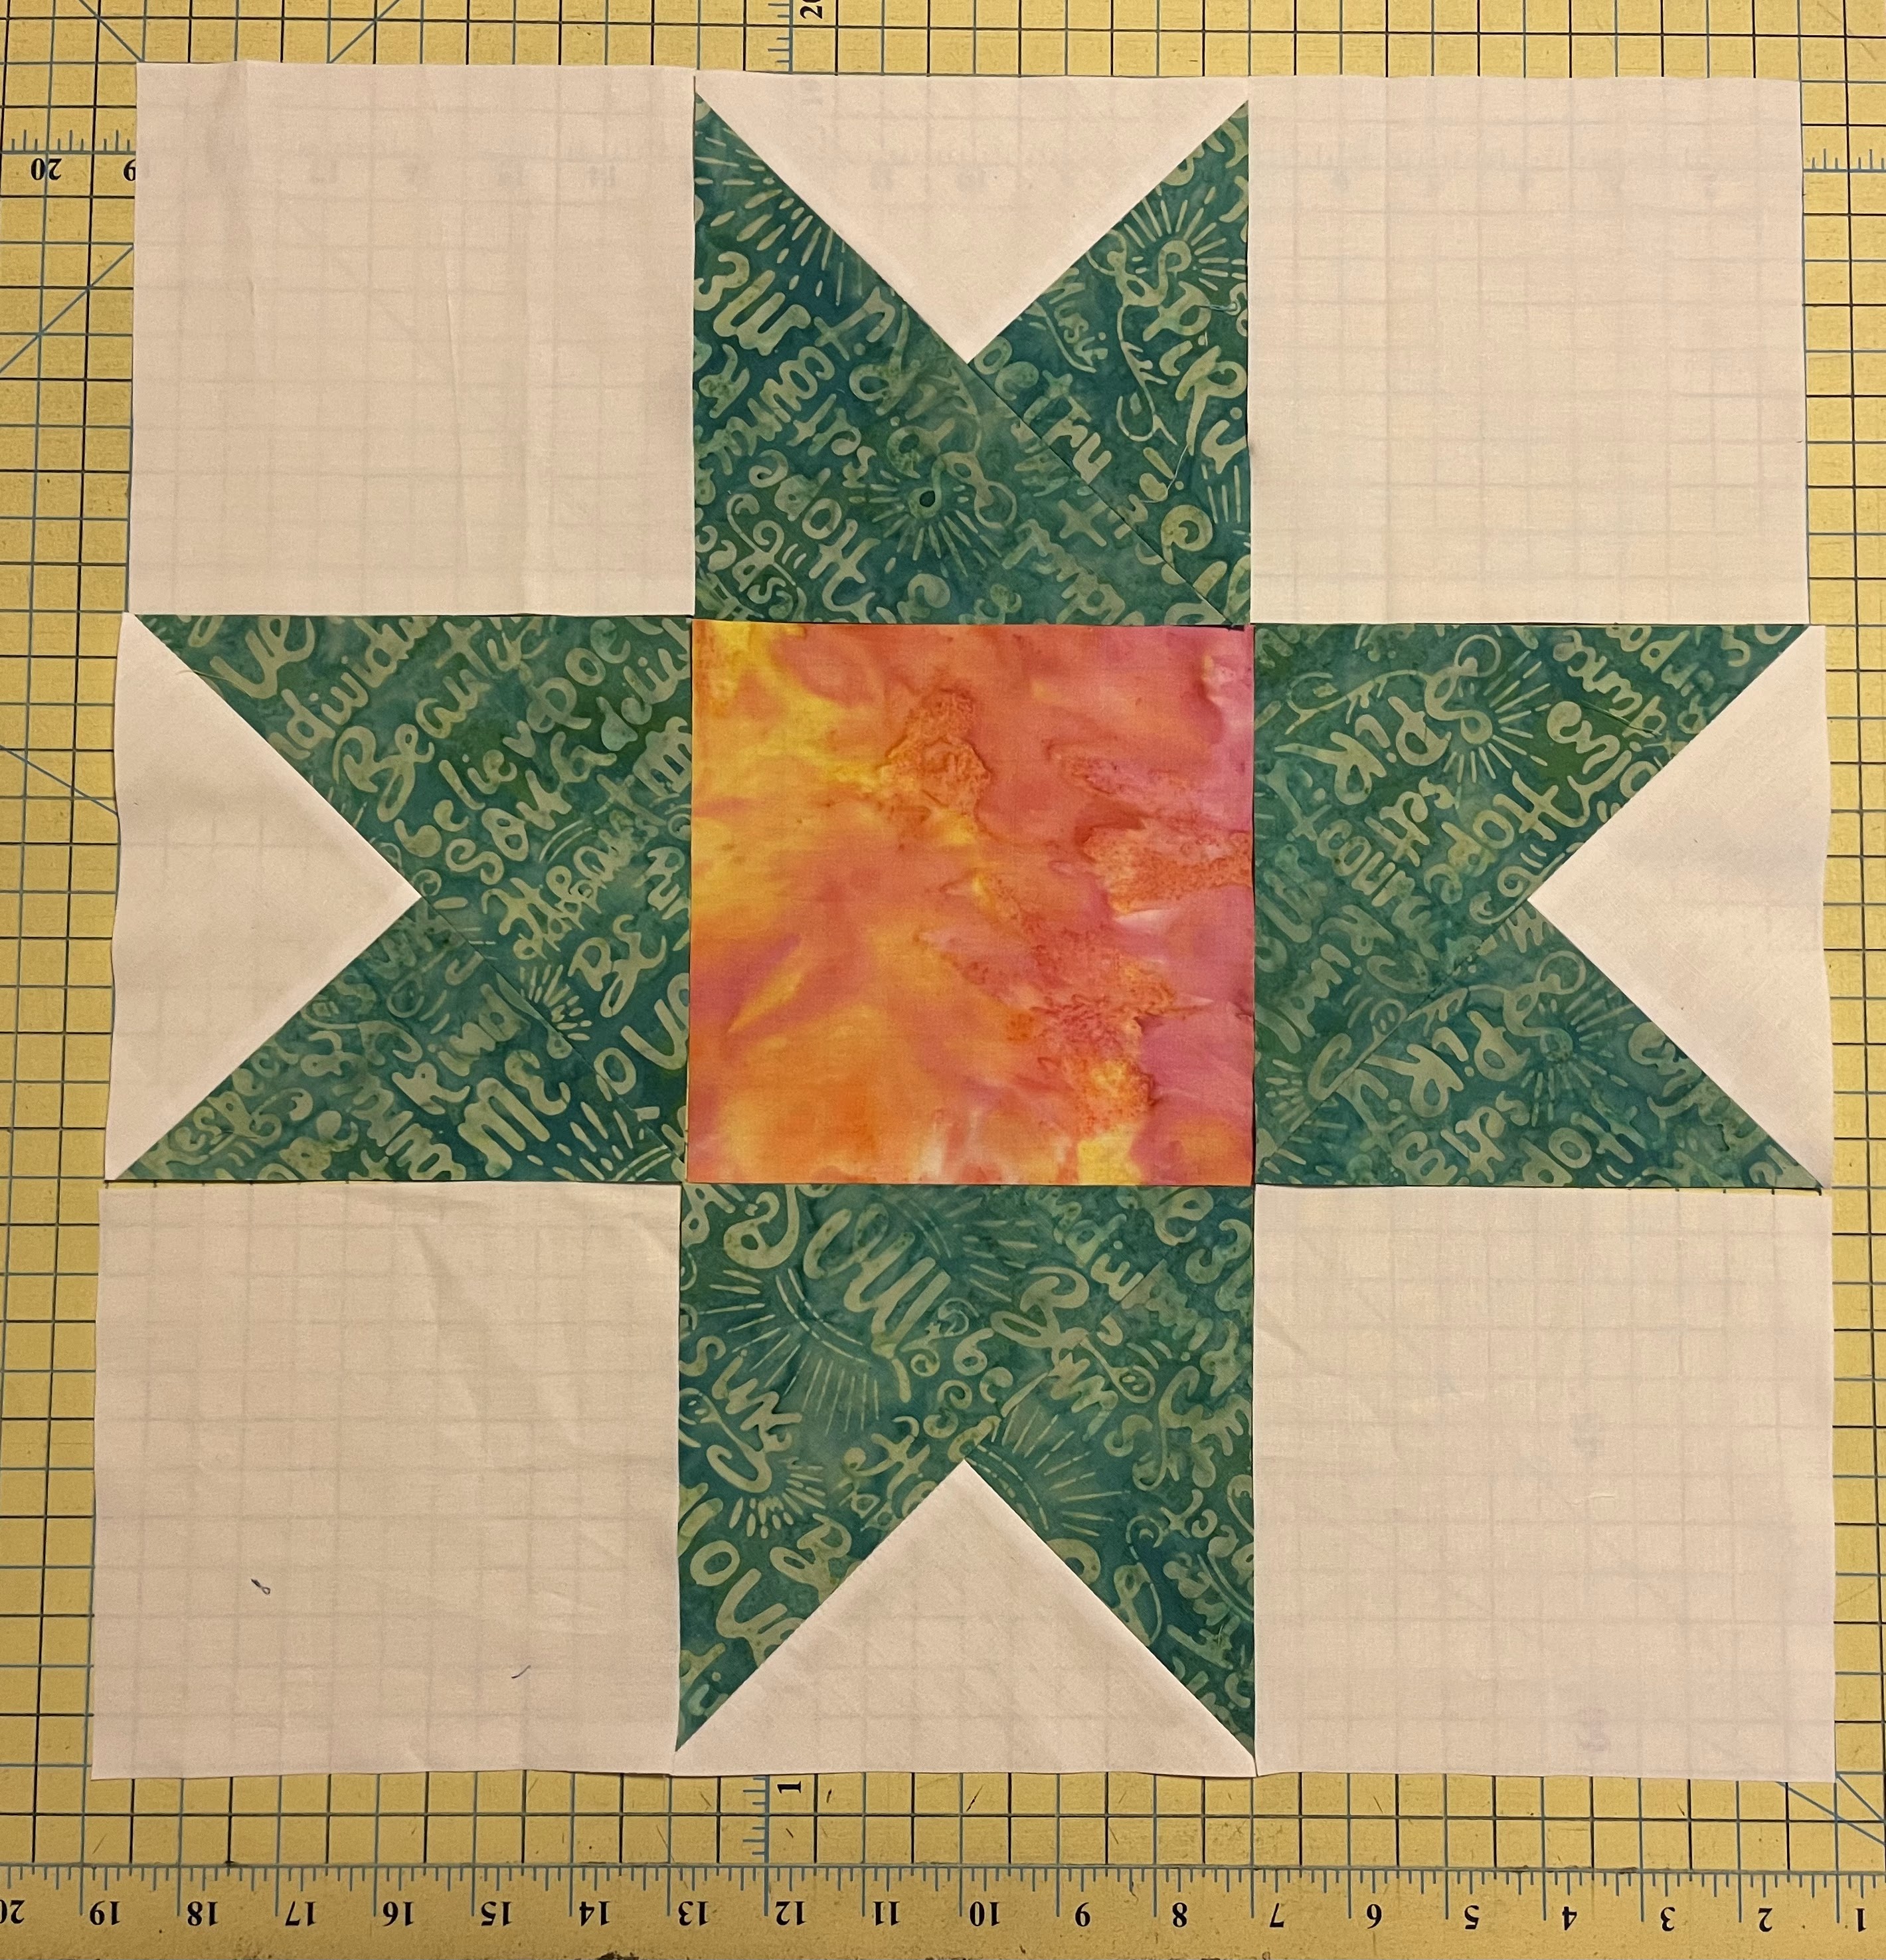
Using the four units and four background squares (6") plus one square of contrasting fabric (6"), arrange as shown.

Star Block

Pin at the seams and sew like a 9-patch block.

Pinned

Square at 17"

Points safely away from the edge

If you followed the cutting instructions, you will notice that the star points are more than a 1/4" away from the edge, ensuring that they will not be cut off even when you sew a full 1/4" seam.

This is my favorite block to make from this method. Do you have a favorite? 

Please note that since the blocks are on a bias, there will be some wonkiness. It is okay to be imperfect. 

  • Nine blocks (arranged 3 by 3) will make a baby quilt. 
  • 20 blocks (4 by 5) will make a Lap/Throw/Mercyful Quilt.

Questions? Ask away and I will answer here so that all can see.