If the
machine breaks, that is a tragedy. If I am not careful and injure myself
with a rotary cutter, that is an accident. But if my points don't match -
well, that is just the process. Try again, maybe.

Thanks to Bernie, today I am happy to shamelessly share my mistakes with you.
For ease of understanding, I will be discussing three kinds of mistakes.
This really is the worst mistake, in my opinion. It is pure disaster. And mostly the project cannot be salvaged. I love you all who comfort me with kind words (the depth of your kindness far exceeds the height of your brutal honesty). Moving along.
EXPERIMENTATION - IDEAS TRANSLATION
See contrast!!! Makes all the difference.
If I was making quilts from kits and not deviating one bit, this would not be a problem. But I want to play and I want to experiment and I wonder - what if?
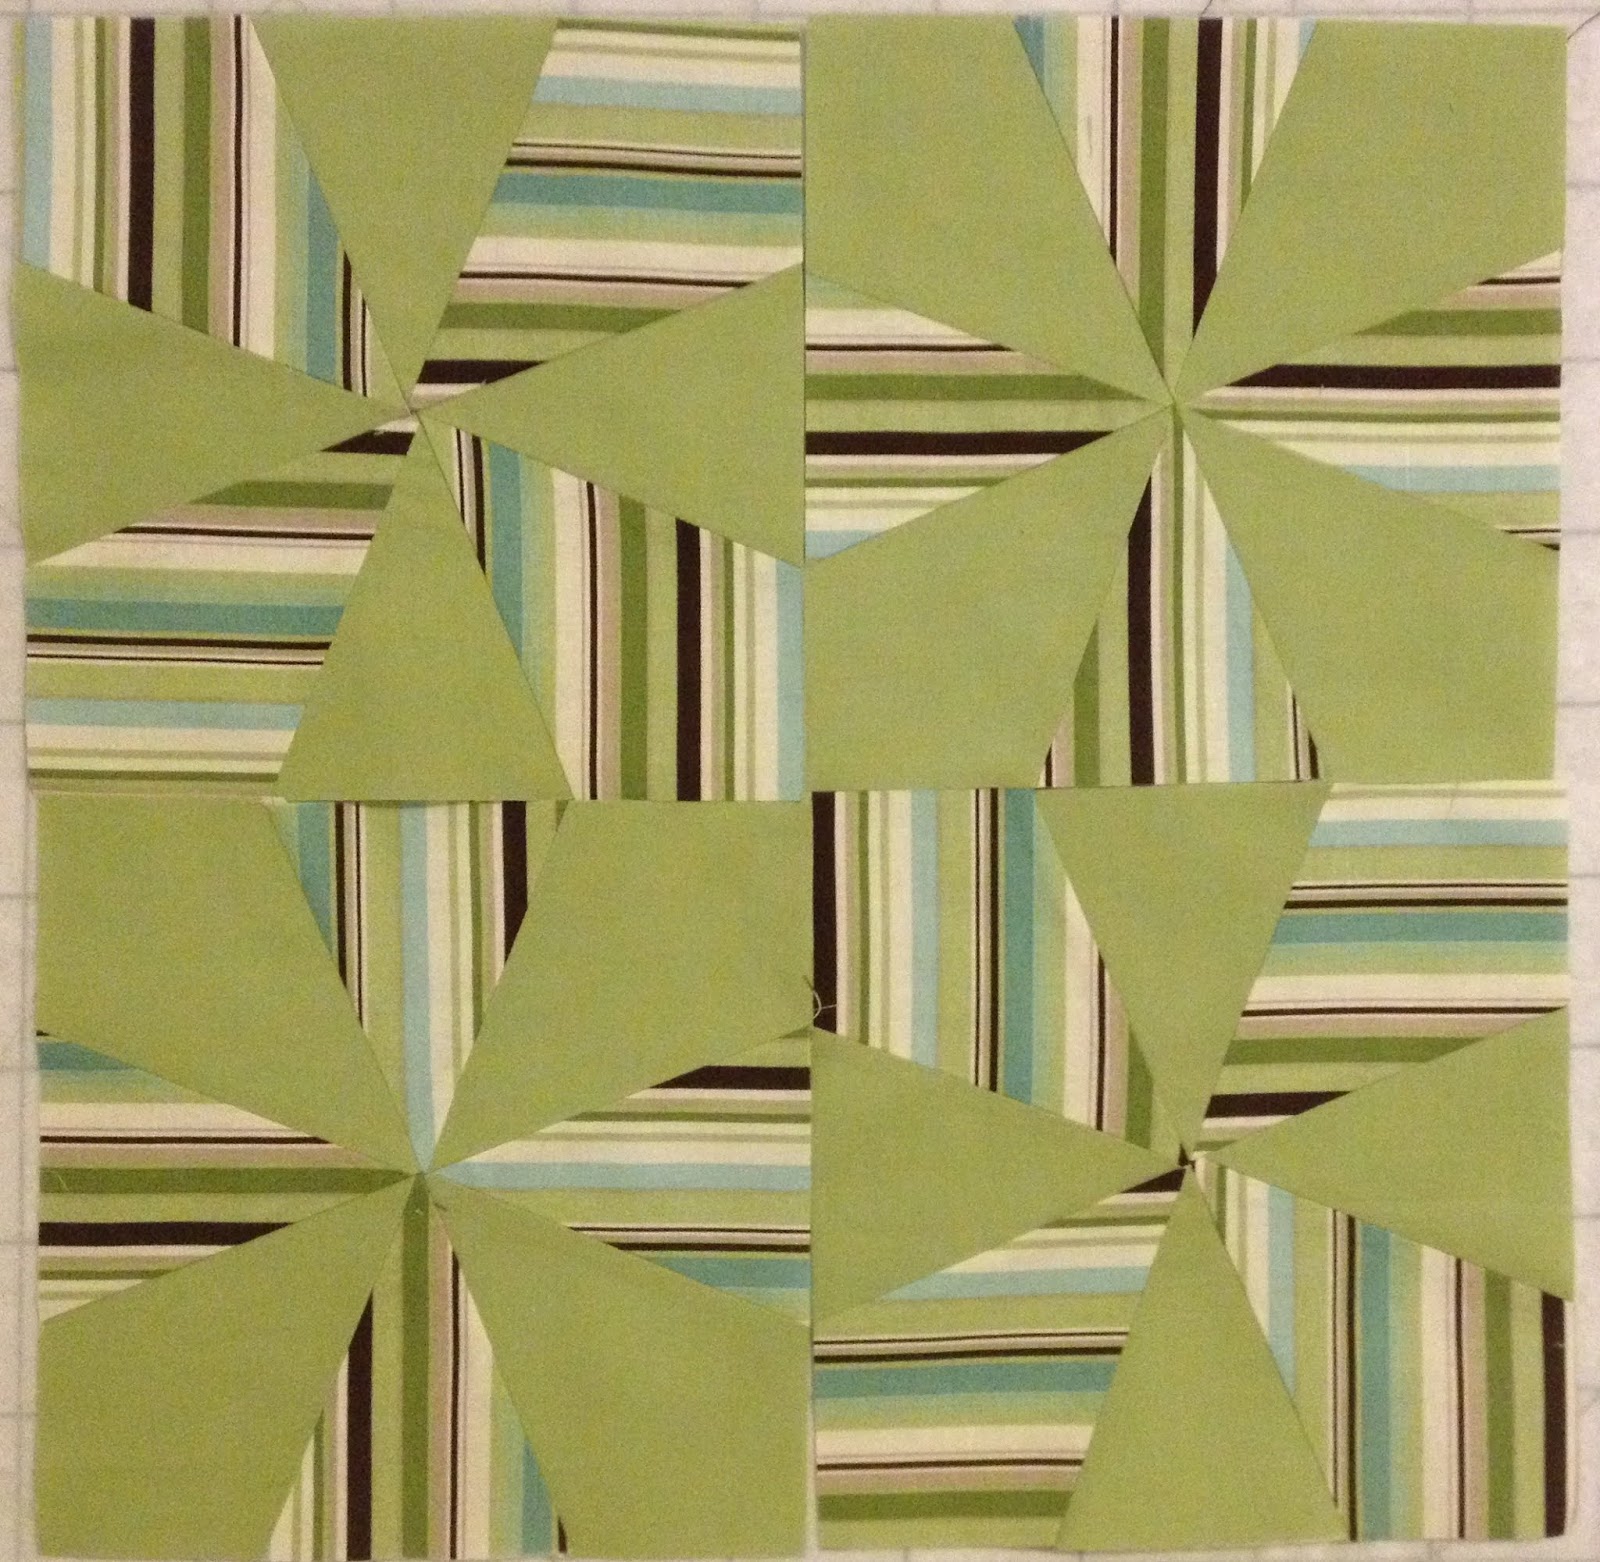
You can ask her to dance :-) because her palms are open.
But when it happened in "A Walk in thePark", the mistake was structural and needed to be fixed.
Since the quilt sandwich was already basted, I was reluctant to take it apart. To make up for the shortfall in the backing, I added 2.5" strips all around the back in the Quilt-As-You-Go fashion.
This added a stitch line in the front which could pass off as quilting.
Thanks to Bernie, today I am happy to shamelessly share my mistakes with you.
For ease of understanding, I will be discussing three kinds of mistakes.
1. Ignoring the Golden rule - Never do this.
2. Experimentation - Do this often
3. Stitching Errors -
IGNORING THE GOLDEN RULE
The biggest mistake that I have made is ignoring
the 10-foot rule.
Not stepping away from the design wall to look
at your work from a distance is a huge No-No.
 |
| Murky & Meh |
In American Hustle, the blocks had no contrast and the design was impossible to discern. I tried to add sashing and borders but in the end I decided to give it away. It was not going to get better.
In Strawberry Salad with Pepto-bismol Dressing, I was working with a bag of scraps. I chose a square block with partial seams. The first block looked fine.
But the whole quilt was too much.
 |
| Not much better |
 |
| Audition Block |
But the whole quilt was too much.
Since the fabrics were so busy, I should have kept the design simple.
Or added contrast fabrics to balance the muddy pinkness or the pink muddiness.
Hindsight is 20/20.
Or added contrast fabrics to balance the muddy pinkness or the pink muddiness.
Hindsight is 20/20.
 |
| Strawberry Salad +Pepto Bismol Dressing |
This really is the worst mistake, in my opinion. It is pure disaster. And mostly the project cannot be salvaged. I love you all who comfort me with kind words (the depth of your kindness far exceeds the height of your brutal honesty). Moving along.
Now I agonize over contrast. The 10-foot rule helps me evaluate this contrast.
Some quilters use red glasses or see the layout in grayscale.
I chose blue and green solids for Neel. The 10-foot rule revealed that one particular blue would be too dark and not have enough contrast against the midnight background. Swapped it. Killed it. No mercy.
I chose only light and medium values and alternated blue and green stars in the layout.
Some quilters use red glasses or see the layout in grayscale.
I chose blue and green solids for Neel. The 10-foot rule revealed that one particular blue would be too dark and not have enough contrast against the midnight background. Swapped it. Killed it. No mercy.
 |
| Blue (top right) was too dark |
I chose only light and medium values and alternated blue and green stars in the layout.
 |
| Neel |
When I was making Esmeralda, it was a fabric
line sent by Moda. I picked and chose and discarded those squares that
were too light.
They were used in another quilt - Charlie's Birds - with contrasting fabrics.
Similarly when I was making Meet Cute, I discarded those fabrics that would have a poor contrast against the white background.
 |
| Esmeralda's discards |
They were used in another quilt - Charlie's Birds - with contrasting fabrics.
 |
| Paired with aqua and navy |
 |
| Charlie's Birds - Pop of orange |
Similarly when I was making Meet Cute, I discarded those fabrics that would have a poor contrast against the white background.
 |
| No way |
 |
| Yes!!! |
 |
| Meet Cute |
Most other times, I choose my own fabric. Even
when I am using precuts I add/subtract fabrics based on contrast.
Let's compare two quilts - Esmeralda and Queen's Necklace. Same design but different fabrics.
You can see the interlocking circles in Esmeralda but in Queen's Necklace, they jump out at you.
Contrast creates the dramatic difference between the two quilts. There is not a right or a wrong approach here. Once you know how to work with different values - lightest to darkest - you can create the desired effect. Gentle contrasts for a subtle quilt or sharp contrasts for a bold impressive one.
Whatever you do, remember the 10-foot rule!!!
Let's compare two quilts - Esmeralda and Queen's Necklace. Same design but different fabrics.
You can see the interlocking circles in Esmeralda but in Queen's Necklace, they jump out at you.
 |
| Esmeralda - Subtle |
 |
| Queen's Necklace - Bold |
Contrast creates the dramatic difference between the two quilts. There is not a right or a wrong approach here. Once you know how to work with different values - lightest to darkest - you can create the desired effect. Gentle contrasts for a subtle quilt or sharp contrasts for a bold impressive one.
Whatever you do, remember the 10-foot rule!!!
EXPERIMENTATION - IDEAS TRANSLATION
An idea in my head always seems terrific.
When it is applied to fabric, it sometimes gets lost in translation. When I was making Trees of Life, I
thought that bright floral trees on a dark background will pop and
sparkle. They did not quite impress in reality.
They looked hideous. I took no pictures of those ugly blocks by themselves.
I switched to low volume backgrounds and liked the results much better.
 |
| Looks good |
I switched to low volume backgrounds and liked the results much better.
 |
| Looks better |
I did not wish to discard those dark background blocks and
considered throwing them in the mix randomly or using them as a part of pieced
backing. Using them as a border was probably the best decision.
 |
| Light blocks framed by a border of dark blocks |
If I was making quilts from kits and not deviating one bit, this would not be a problem. But I want to play and I want to experiment and I wonder - what if?
And this "mistake" is really one which I suggest
you try to make. Playing with fabric, trying a new block, or just making
alterations to an existing block and discovering something is the joyful part
of the process.
Paul: What if your "experiment" does not pan
out?
Me: Like what?
Paul: Like when you used cinnamon instead of vanilla in the chocolate
cookies
Me: Well then I know what does not work. Besides, my co-workers liked those cookies.
Paul: Why not just stick to the recipe or the
pattern in this case?
Me: Firstly, I was out of vanilla. More importantly, experimenting is great because then I discovered a new method for making QSTs. Just like the combination of mint chutney with
mayonnaise elevates a mundane turkey sandwich to gourmet food.
 |
| QST Tutorial |
 |
| Four QSTs |
Paul: When I am painting my models I stick to the suggested color scheme.
Me: I know. You are a cook but I am a chef.
Paul: Sometimes. Sometimes you are a chef.
Me: Yes. Because I experiment and willing to make mistakes.
What eventually became the Serendipity tutorial began as an experiment.
But it worked. And it is a really popular tutorial.
Paul: Sometimes. Sometimes you are a chef.
Me: Yes. Because I experiment and willing to make mistakes.
 |
| Serendipity |
 |
| Tube Technique |
What eventually became the Serendipity tutorial began as an experiment.
But it worked. And it is a really popular tutorial.
 |
| Loving it |
 |
| Yummy |
STITCHING ERRORS
We all make these. Sewing the wrong sides
together happens all the time.
Paul: Do you fix a mistake when you see it?
Me: Not usually. Mostly, I let it be. Like the
artist's signature. Someday someone will go over my quilts and look
for these stitching errors - like clues in a mystery case.
Paul: You are so full of yourself
Me: There are three such mistakes in your quilt.
Paul (aghast): In Paulitiks?
Me: Yep. You did not even know and you sleep under
it every night.
Paul: I must check.
Me: Let me know when you find them. It takes skill.
Paul: I don't think it takes skill to make mistakes.
Me: It takes skill to hide things in plain sight.
Talk to me after you find them.
Paul: What if this is a wild goose chase? What if
there is no mistake?
Me: If you cannot find it, you can admit defeat and
I will show you.
The blocks in Paulitiks had black strips going anti clockwise. All but three. And when the rogue block was next to the regular block the black strips connected. See the block above. This was unintended.
I saw no reason to correct these mistakes and so I left them there.
 |
| Clockwise Block |
The blocks in Paulitiks had black strips going anti clockwise. All but three. And when the rogue block was next to the regular block the black strips connected. See the block above. This was unintended.
 |
| Can you find all three? |
I left it in Mayflower. You cannot even see it unless you are looking for it.
Do click on the link above for my discussion with a knitter about her mistakes.
Do click on the link above for my discussion with a knitter about her mistakes.
 |
| Bottom Right Corner |
And if the lady is not ready to dance her palms are closed. Did I make a mistake in piecing?
May be. But if she does not want to dance, it is up to her. That is my story and I am sticking to it.
May be. But if she does not want to dance, it is up to her. That is my story and I am sticking to it.
 |
| Closed Palms = No, Thank you |
 |
| Open Palms = Ready to dance |
But when it happened in "A Walk in thePark", the mistake was structural and needed to be fixed.
 |
| Front - Looked fine |
 |
| Backing falls short |
 |
| Added border strips on the back |
Since the quilt sandwich was already basted, I was reluctant to take it apart. To make up for the shortfall in the backing, I added 2.5" strips all around the back in the Quilt-As-You-Go fashion.
 |
| Sew line in the front |
 |
| Finished Front |
 |
| Salvaged Back |
Since the whole point of this exercise is to laugh at our mistakes and have fun, here is an excerpt from one of the episodes of Big Bang Theory.
Raj
Koothrappali : Has
Bernadette found a cure for something?
Howard
Wolowitz : In a
way. She was working on a dandruff shampoo that has the unfortunate side effect
of horrible anal leakage.
Raj
Koothrappali : That's
too bad. But then, is there any good anal leakage?
Howard
Wolowitz : On the
upside, they decided to market it as a constipation remedy.
In conclusion, it is a mistake only if you learn nothing from it.
Learning, growth, joy and inspiration lie along the journey. Perfection is the destination.
And even when we strive for perfection once (if) we get there it will be the end of the journey. And who wants that? I want to continue on this ride - missteps, bumps and turbulence notwithstanding.
Hope your seat-belts are fastened :-D