Last Thursday (10/23) was Diwali - the festival of lights. I decided to take the day off.
What did I do most of the day? SEW!!! Ha Ha Ha Ha.
I was making mug rugs. They are the perfect little gifts that are sure to be used. Not too involved/time-consuming as a quilt but thoughtful, all the same. Further, it is a perfect way to use up batting scraps, orphan blocks and fabric scraps that are too small for anything else.
I am sure there are plenty of mug rug tutorials all over the internet/blogland. And, I am not claiming that this is a new revolutionary technique. I am just honoring a request made by a dear friend at the M* forum. GrammaBabs, this one is for you!!!
MugRug1- Quilt-as-you-go (QAYG)
Here are the basic steps
1. Start with the backing fabric 81/2" square.
2. Batting size 7" square
3. We will piece the top as we quilt the three layers together
4. Fold over the excess backing on to the front and top stitch it
The actual process is described in the pictures below
You should be able to see 3/4" of the backing on each side of the batting square
Just peel off a corner of the backing, a quick spray and smooth the backing in place.
Using a soft pencil, mark dots on the batting along the entire length of the batting/backing.
Flip and iron. Next we will add the other two strips to frame our doggie darling!
Keep adding strips around the center. This is free-form so the widths can vary and do not worry too much about precision. Add triangles in the corners.
Fold the backing corner over to the front so that it just touches the top corner. Finger press the folded edge and cut at that folded edge. Repeat on all sides.
In hindsight, I should have chosen a brighter backing fabric. Oh well, the next one will be improved. One Christmas present done!!! 23 to go...
I know that was TOO much detail and TOO many pictures. Not for the faint of heart. Do not worry. For those of us (including me) who have only 15 minutes to make something, here is a 15-minute MugRug/Coaster Tutorial.
MugRug2 - Super simplified, 15 minute project
1. Start with an orphan block (or just use a fun fabric), minimum size is 6" square
2. Place on top of batting and quilt the two layers as you please. Trim excess batting.
3. Measure the backing piece same size as the trimmed top+batting.
4. Place the backing, RST with the top+batting and mark two pins at least 2" apart.
5. Sew around using a 5/8" seam, making sure you back stitch at the beginning and end.
6. Trim the corners carefully and turn it inside out.
7. Iron flat and top stitch all around to secure the opening shut.
See pictures below
Just a very quick squiggly stitch around the central square. You can quilt as you desire!!!
Yes, you can slip stitch it by hand, but then this will be a 20-minute project. UNACCEPTABLE!!!
This MugRug will have rounded corners and the edges may be a bit wavy. However, it is the fastest quilted project and is really handy when you need to make a dozen or more. Here is my recommendation - use supercute fabric, bright gorgeous prints that will draw the eye away from wavy edges :-p
As you can see. most of the Diwali day was dedicated to sewing!!! One of the things folks do on Diwali is make Rangoli. A couple years ago, we did too. Here is a picture.
This year, as I was busy sewing, I wondered - Hmmm, a Rangoli would be nice. How about a fabric Rangoli? Something that does not get washed away in the rain or blown away by wind and is beautiful too. And the following happened!!!
I chose the brightest fabric I could find in auspicious colors - red, green and yellow. Fussy cut the pattern. Framed it with a skinny strip of green and added red and gold border mitering the corners.


What did I do most of the day? SEW!!! Ha Ha Ha Ha.
I was making mug rugs. They are the perfect little gifts that are sure to be used. Not too involved/time-consuming as a quilt but thoughtful, all the same. Further, it is a perfect way to use up batting scraps, orphan blocks and fabric scraps that are too small for anything else.
 |
| Used Leftover Block from "Coming of Age" |
I am sure there are plenty of mug rug tutorials all over the internet/blogland. And, I am not claiming that this is a new revolutionary technique. I am just honoring a request made by a dear friend at the M* forum. GrammaBabs, this one is for you!!!
MugRug1- Quilt-as-you-go (QAYG)
Here are the basic steps
1. Start with the backing fabric 81/2" square.
2. Batting size 7" square
3. We will piece the top as we quilt the three layers together
4. Fold over the excess backing on to the front and top stitch it
The actual process is described in the pictures below
 |
| Backing Fabric - 81/2" square |
 |
| Leftover Batting Scrap |
 |
| Batting Scraps placed together with a 1/2" overlap |
 |
| Place ruler's edge in the middle of the overlapping portion |
 |
| Cut through both layers of batting |
 |
| Remove the skinny strip from top |
 |
| Remove the skinny strip from the bottom |
 |
| Put on the walking foot |
 |
| Choose a ZigZag stitch |
 |
| Bring the two batting scraps to the machine, making sure that they abut snugly against each other and zigzag. |
 |
| Batting Scraps joined together, ready for use!!! |
 |
| Trim to 7" square |
 |
| Place Batting Square in the Middle of the Backing (wrong side up) |
 |
| Baste. Just a small spray in the middle of the block is enough |
Now we are ready to piece our top and quilt it too. It sounds like - having my cake and eating it too. Yes, I love QAYG!!!
I am making this one for a co-worker who has five dogs. Fitting, isn't it?
 |
| Focus Piece, placed at 45 degrees in the center |
 |
| Dark Charcoal strips to frame the doggie |
 |
| Place the strip on the focus square, RST, matching the edge. Place the ruler so that 1/4" of the strip is to the right of the ruler's edge |
 |
| These dots serve as a sewing guide |
 |
| Sew along the entire piece from backing edge to edge. This way there are no start and stop points in quilting. |
 |
| This way you have a neat quilting line and no knots to bury!!! |
 |
| Add strip on the other side, make dots, stitch edge to edge. |
 |
| Placed RST, marked the dots |
 |
| Stitched on both sides edge to edge |
 |
| Flip and iron - looking good, already. |
 |
| Add next batch of strips (using scraps) |
 |
| Stitched edge to edge |
 |
| The second frame (yellow strips) added just like the first |
 |
| Love the neat quilting lines on the back!!! |
 |
| The MugRug is pieced AND quilted. Ready to trim. |
 |
| Fold back the backing and trim the excess fabric, very carefully. DO not cut the backing fabric |
 |
| Get rid of those scraps. Trim on all four sides, same way CAREFULLY!!! |
 |
| Top trimmed, backing is intact (phew!!!) |
 |
| To avoid binding bulk in corners, trim off the backing corners |
 |
| Stitch a scant 1/4" along the edges. This will make it easier to bind. |
 |
| Ready to Bind |
 |
| First, we will fold the two opposite sides. Fold the excess backing fabric in half and then fold over on to the front. Secure with pins/clips |
 |
| Now the remaining two sides. Fold the corner, first. Finger press. |
 |
| Fold the excess backing fabric in half along this edge, catching the folded corner |
 |
| Folded in half, with corner tucked neatly |
 |
| A second fold and the binding is inplace. Secure with pins/clips |
 |
| I secured the first two opposite sides with pins and the second ones with clips. |
 |
| Finished MugRug |
 |
| Here is the detail showing squiggly stitch I used to secure the binding. |
 |
| Neat quilting lines on the back |
I know that was TOO much detail and TOO many pictures. Not for the faint of heart. Do not worry. For those of us (including me) who have only 15 minutes to make something, here is a 15-minute MugRug/Coaster Tutorial.
MugRug2 - Super simplified, 15 minute project
1. Start with an orphan block (or just use a fun fabric), minimum size is 6" square
2. Place on top of batting and quilt the two layers as you please. Trim excess batting.
3. Measure the backing piece same size as the trimmed top+batting.
4. Place the backing, RST with the top+batting and mark two pins at least 2" apart.
5. Sew around using a 5/8" seam, making sure you back stitch at the beginning and end.
6. Trim the corners carefully and turn it inside out.
7. Iron flat and top stitch all around to secure the opening shut.
See pictures below
 |
| I started with an orphan block, left over from Charmed |
 |
| Placed it on top of batting and quilted it. |
 |
| Bright, super bright backing fabric!!! |
 |
| Placed the quilted top on top of the backing, RST |
 |
| Place two pins, 3" apart - start and stop points for sewing |
 |
| Sew all around using a 1/4" seam. Remember to back stitch at start and stop points |
 |
| Trim the corners to avoid bulk. Turn it inside out through the opening |
 |
| See the opening. We need to shut it |
So, we will just top stitch it.
First, push out the corners using a dull point. Iron the layers flat, carefully tucking in the fabric at the opening. Top stitch to secure the opening shut and ta-da you have a 15-minute coaster/mug rug done!!!
 |
| Backing - Bright & Beautiful |
 |
| Finished in 15!!! |
This MugRug will have rounded corners and the edges may be a bit wavy. However, it is the fastest quilted project and is really handy when you need to make a dozen or more. Here is my recommendation - use supercute fabric, bright gorgeous prints that will draw the eye away from wavy edges :-p
As you can see. most of the Diwali day was dedicated to sewing!!! One of the things folks do on Diwali is make Rangoli. A couple years ago, we did too. Here is a picture.
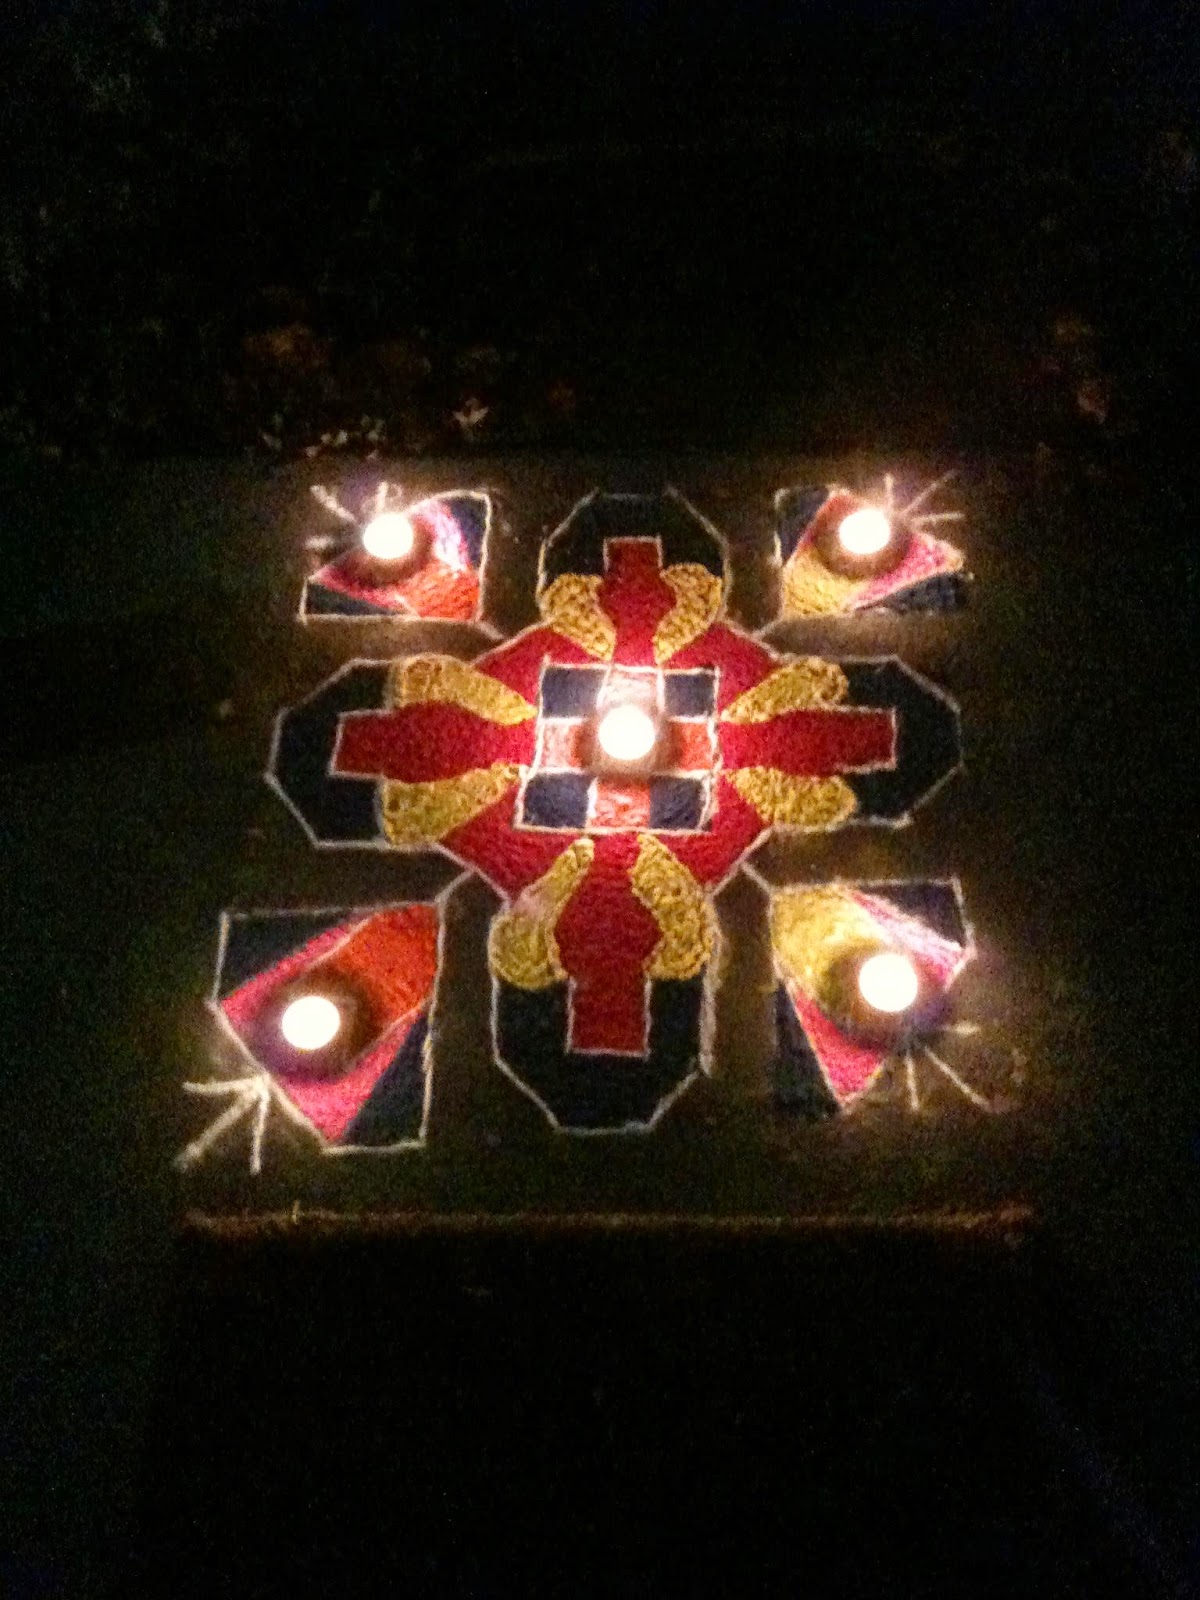 |
| Rangoli (Colored Chalk, Tea Lights) by Paul & Preeti. |
This year, as I was busy sewing, I wondered - Hmmm, a Rangoli would be nice. How about a fabric Rangoli? Something that does not get washed away in the rain or blown away by wind and is beautiful too. And the following happened!!!
I chose the brightest fabric I could find in auspicious colors - red, green and yellow. Fussy cut the pattern. Framed it with a skinny strip of green and added red and gold border mitering the corners.
For the backing I chose this fabric. It is bright, beautiful and the math formulas are correct too. I love that the fabric is extremely nerdy and beautifully bright. I got it in a swap from a very dear friend Jake!!!
Quilted the three layers, and folded the backing fabric onto the front as binding. And here is my finished MugRug. Yes, this one is MINE!!!
 |
| Rangoli Mug Rug |
This MugRug was a labor of love. Thanks to Jacquie Gering's Class (Walking Foot Quilting Techniques), I "tried" concentric circles quilting. I even added decorative quilting on the green strip. For all the labor and love that went into it, I will selfishly keep it for me.
 |
| Quilting Detail |
 |
| Concentric Circles Quilting |
The moment I finished making this one, Paul wanted one.
Ooh, I like this coaster. May I have one please? And I want that engineering fabric on the back.
Why is that?
Well, it is like you - bright Indian on the front and like me - engineering nerd on the back!!!
With that argument, I was completely floored. So, I did - the 15-minute version of it (Ha Ha Ha).
 |
| Paul's Coaster - Front (like me) |
 |
| Paul's Coaster - Back (like him) |
You will never guess what he said.
He asked for another one. The nerve of that man.
Whatever do you need a SECOND coaster for, I asked.
So that I can keep one here and take the other to work!!!
I happily (almost) made him the second coaster. After all, it only took me 15 minutes!!!
Hey, if you found this blogpost tutorial useful, please give me shout out. I LOVE hearing from you!!!