What can I say about 2022? The most significant world event has to be the unprovoked attack on Ukraine.
The most significant events in the US would include anti-LGBTQ policies and violence, continuing gun violence, and the monumental decision to overturn the landmark ruling Roe v. Wade.
Sadly (or appropriately) I made a quilt inspired (or disgusted) by each of those events.
1.
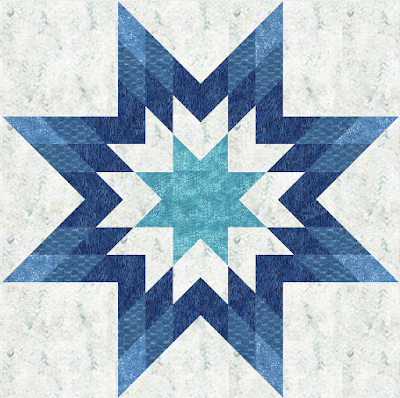
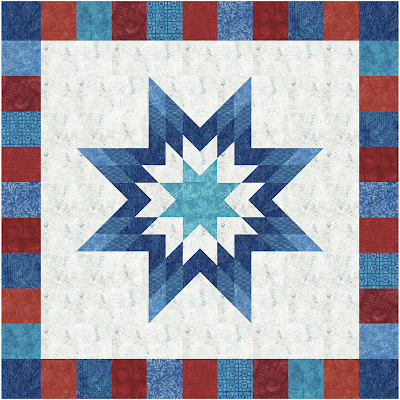
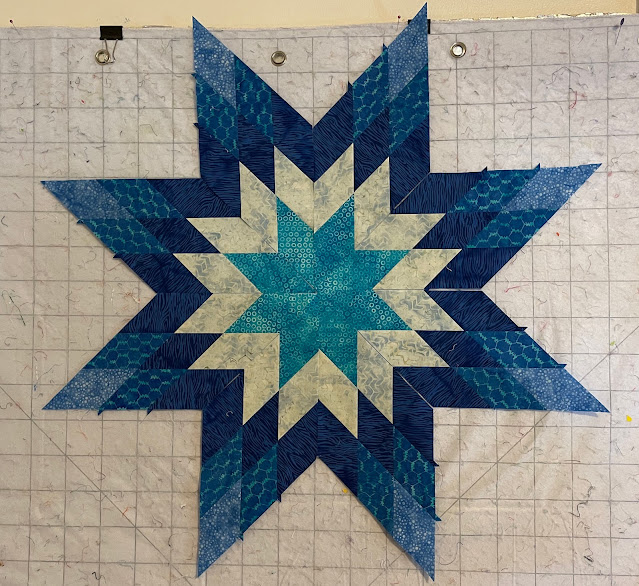
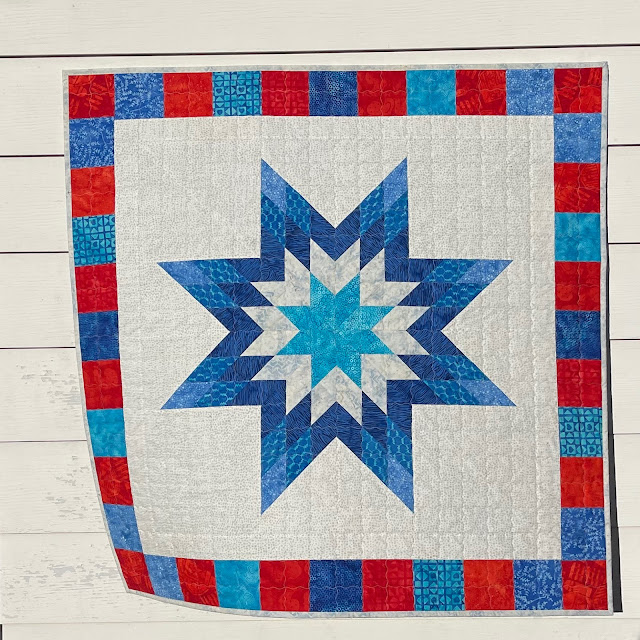
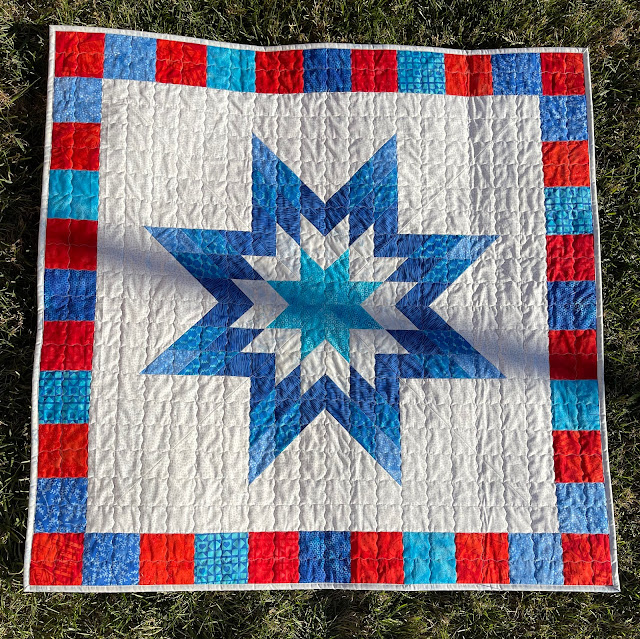
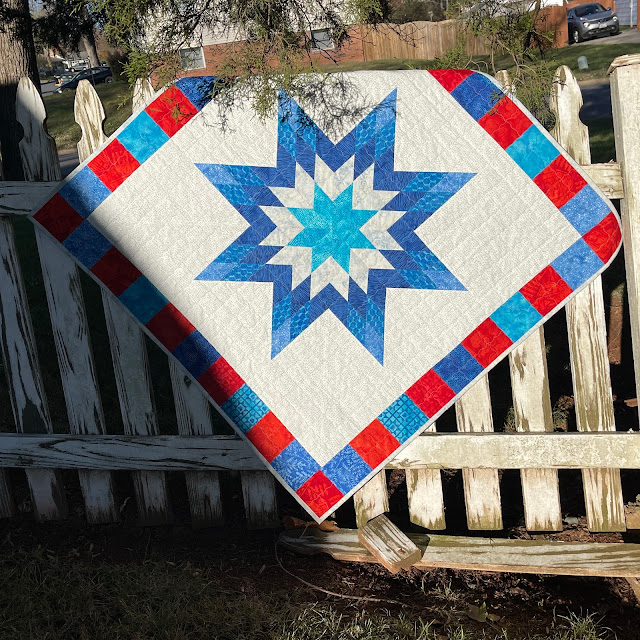
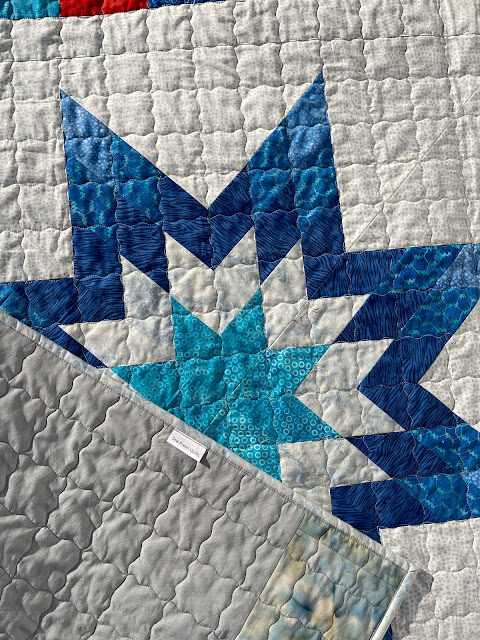
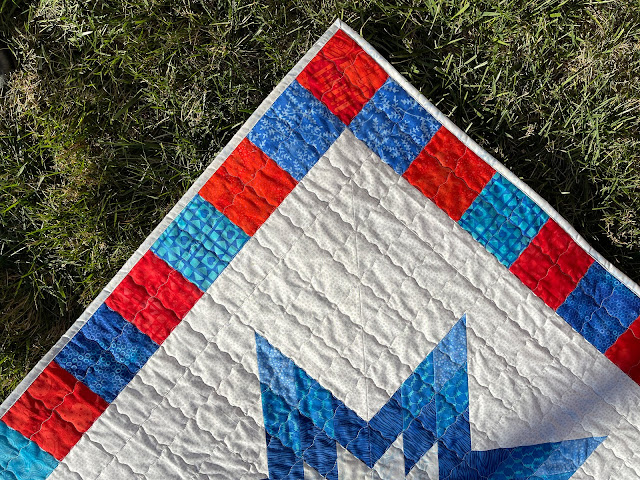
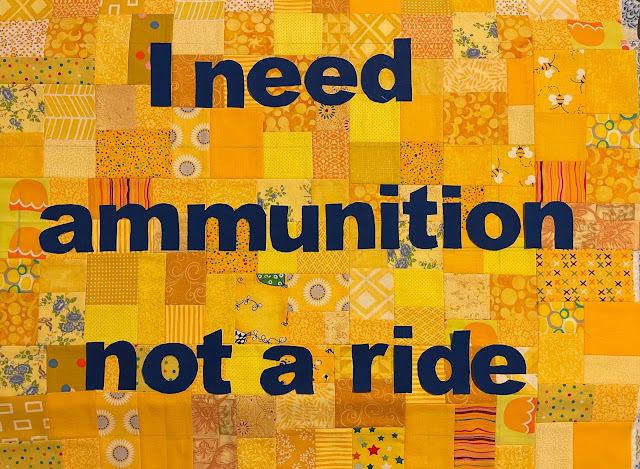
Quilt for Ukraine - In March, I made this quilt to memorialize Zelenkyy's famous words - "I need ammunition, not a ride." It was my attempt to salute the courage of a nation and her leader in the face of most adverse circumstances.
 |
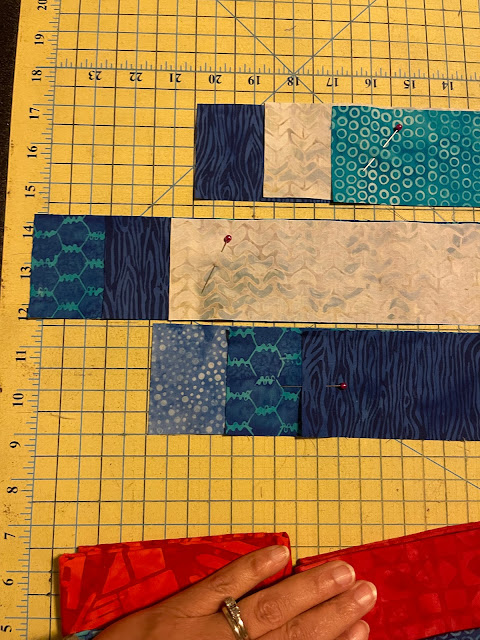
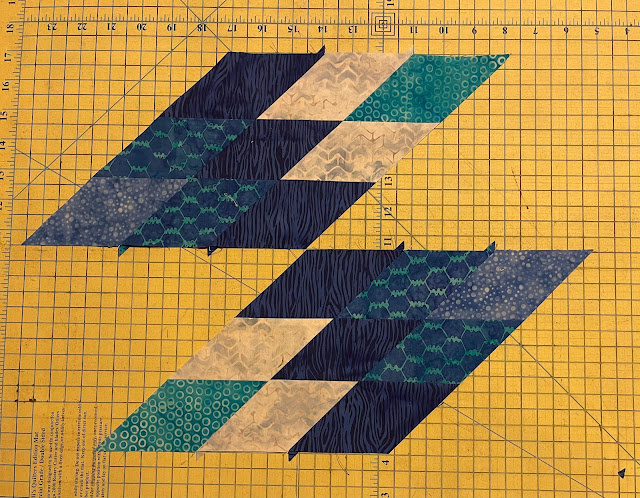
| Improv base of yellow |
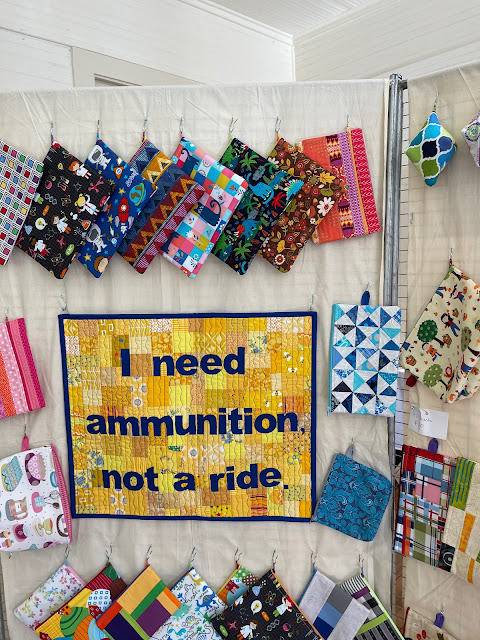
On October 16, I participated in a small local craft fair. I had set up the displays showing off cute zippered pouches, a table runner and some quilted placements. The Ukraine quilt was also displayed - because it just made the perfect focal point. I did not expect to sell it because it is something so specific that unless you are personally aligned with the cause, it is not for you.
 |
| Vale Club Craft Fair |
That is when I met Luda. Acting the smiling/engaging salesperson, I said Good Morning. Luda mentioned the deep meaning of the words on the Ukraine quilt. Realization dawned on me as I noticed her blue/yellow t-shirt, blue/yellow earrings and a blue/yellow plume in her hair - Luda is UKRAINIAN!!! She, along with others, was representing US Ukrainian Activists, selling post cards, tree ornaments and jewelry to raise money to support Ukraine. I unpinned the Ukraine quilt, handed it to her and said, "this belongs with you."
 |
| US Ukrainian Activists |
When Luda asked me to pose at her booth with other activists, I agreed. I hugged each one of them. If I had tears in my eyes during the shot, so be it.
2.
Harmony (supporting LGBTQ folks) - In 2022, at least 320 anti-LGBTQ+ bills were pushed through state legislatures. Lawmakers in statehouses nationwide sought to ban transgender youth from participating in sports; criminalize medically necessary, life-saving healthcare for transgender youth; and ban discussion of LGBTQ+ youth and families in classrooms. I channeled my disgust into a rainbow colored runner.
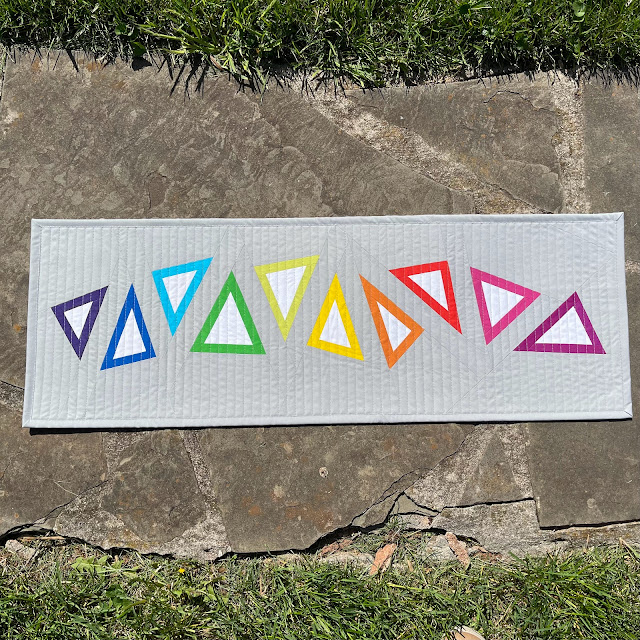 |
| Harmony |
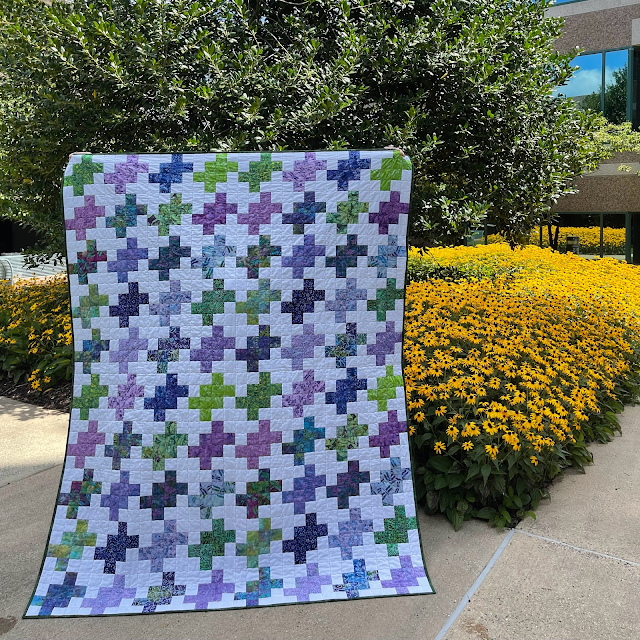
Continuing my support of LGBTQ youth, I donated
Synergy Quilt to
GSAFE (for a Silent Auction). Thanks to Lisa who pointed me to GSAFE.
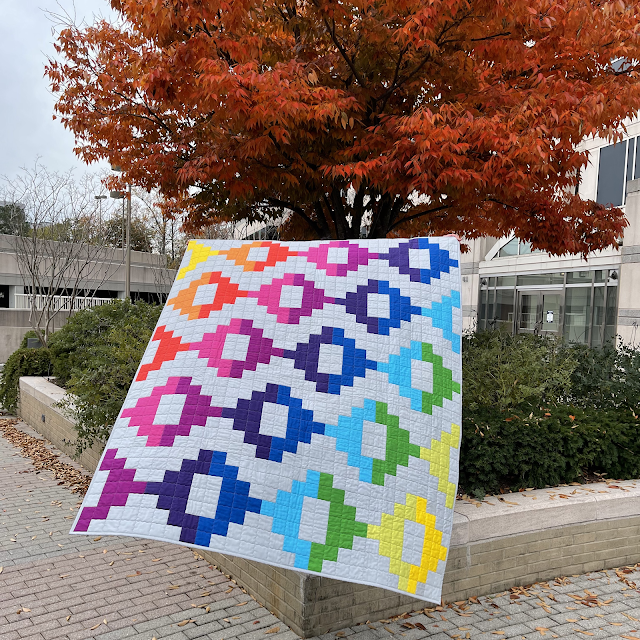 |
| Synergy |
3.
Father's Day (processing grief) - The shooting at the Robb Elementary School in Uvalde, Texas was gut wrenching. As details emerged, it only got worse and worse. How the law enforcement failed the community, how the politicians continued to offer empty platitudes, while making sure their interests are protected and pockets well-lined. The world condemned the shooting, the nation grieved, and most of us moved on. I made a quilt.
 |
| Father's Day |
4.
We Persist (continuing the fight) - The monumental decision to overturn the landmark ruling Roe v. Wade is the most controversial in American history.
The partisan nature of the decision is particularly distressing. There is no concern for women's health or popular opinion, or any acknowledgement of changing times. When Roe v. Wade was decided in 1973 it was a 7-2 decision, with several Conservative judges siding with the majority opinion. Not today. The decision was split along party lines.
According to the dissenting justices "young women today will come of age with fewer rights than their mothers and grandmothers." Indeed, they said the court's opinion means that "from the very moment of fertilization, a woman has no rights to speak of. A state can force her to bring a pregnancy to term even at the steepest personal and familial costs." "With sorrow — for this Court, but more, for the many millions of American women who have today lost a fundamental constitutional protection — we dissent," they wrote.
The following image (from the New Yorker magazine) showing the burden of an unwanted pregnancy that many will be forced to carry in a post-Roe America aptly captures what is difficult to put into words.
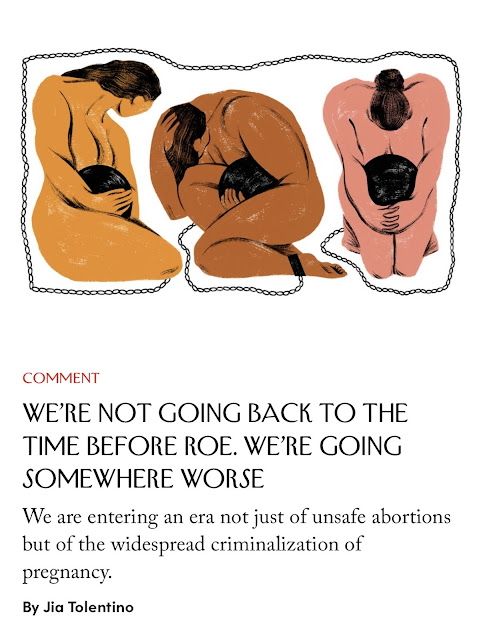 |
| From the New Yorker Magazine |
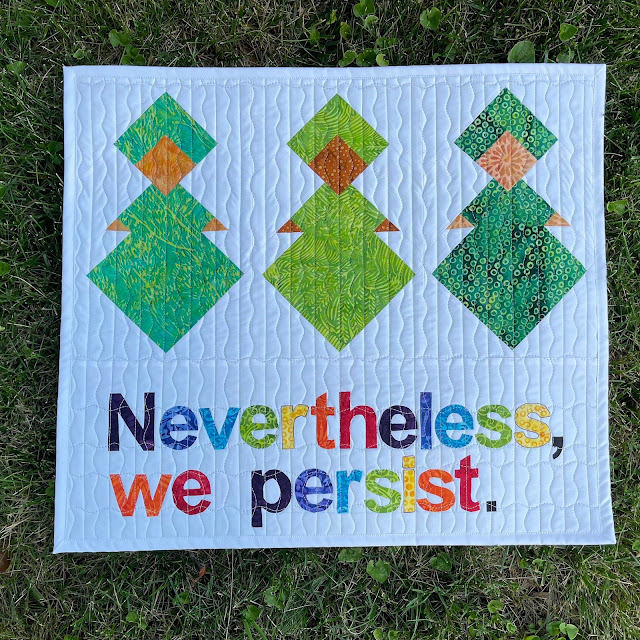 |
| We Persist |
While there is so much upheaval in the world, in our country, and in our lives, we continued to live and love and hope for a better tomorrow. Here are my favorite quilts that convey love and joy.
1.
Innamorato (In Love) - Made as a response to the Island Batik and Aurifil challenge, I celebrated my love for Paul in this mini quilt.
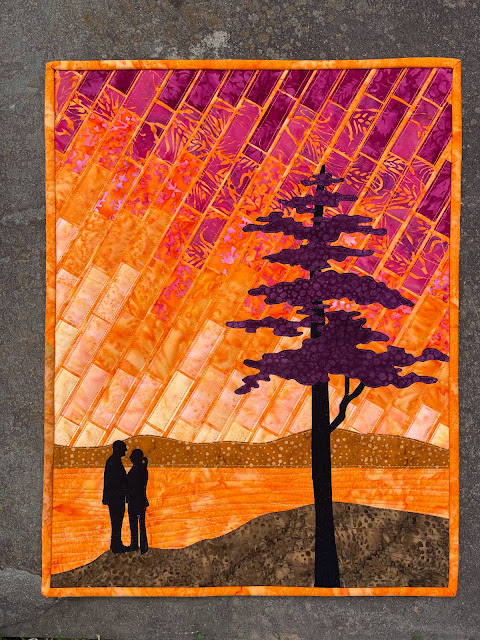 |
| Paul and me - In love |
2. Pobody's Nerfect - A row by row quilt made for the Island Batik challenge and blog hop. This quilt just makes me so happy. Every row has a mistake - on purpose!!! It does not have to be perfect to be joyful.
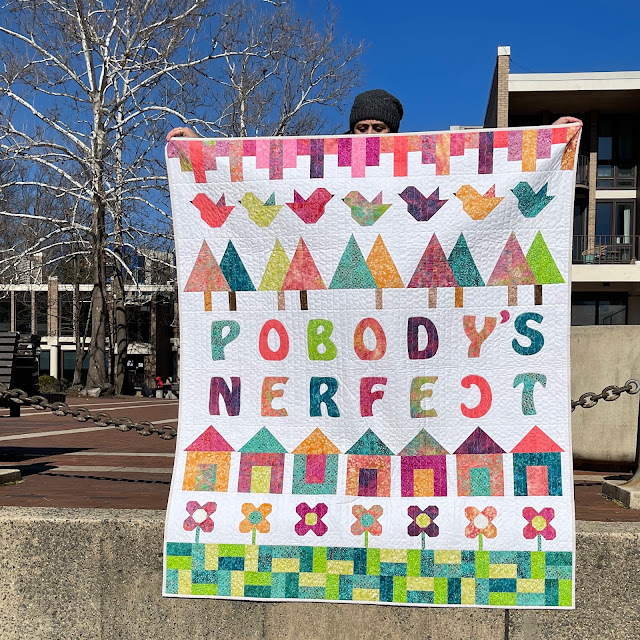 |
| Pobody's Nerfect |
3. Bollywood Beats - Made in response to the Island Batik & Studio 180 Design Tool challenge and Blog Hop, I am thrilled with this quilt.
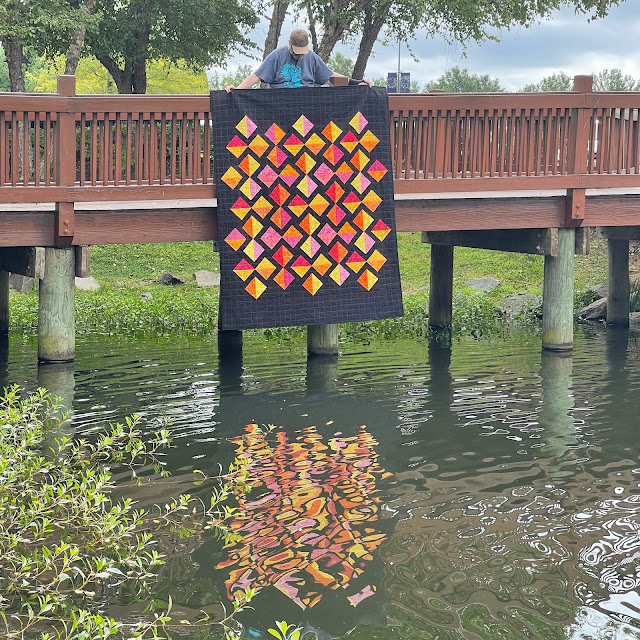 |
| Thank you Paul - the best model ever! |
Bernie supported me in the second Positivity QAL. I was disappointed because the responses did not meet my expectations, initially. Then there was more. I was thrilled and humbled.
 |
| Naman for Mercyful Quilts |
____________________________________________________________________
2022 was also the year I got published! Here is a list of the quilts/projects that were published in three different publications - Quiltmaker (Golden Peak Media), Quilters World (Annie's Publishing) and Make Modern.
1. Make Modern #44 - Synergy
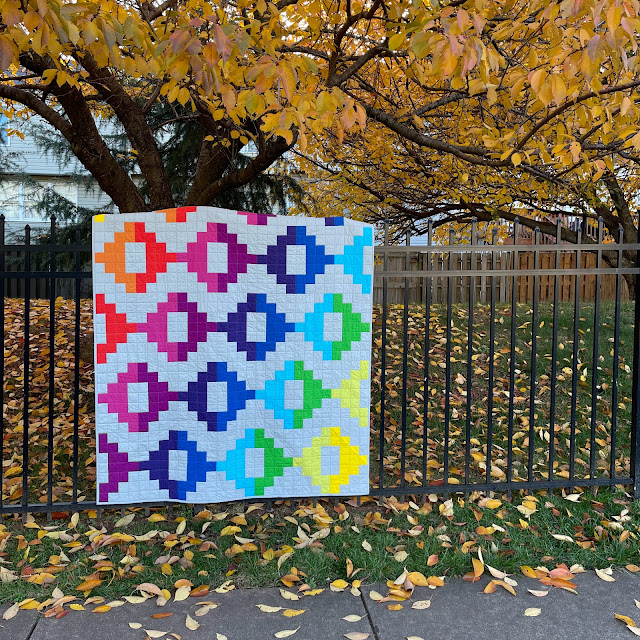 |
| Fall Foliage, Rainbow Colors |
2. Make Modern #47 - Topsy Turvy. Also featured as "Meet the Maker"
 |
| Topsy Turvy |
3. Make Modern #48 - Frolicking Fish (scroll down)
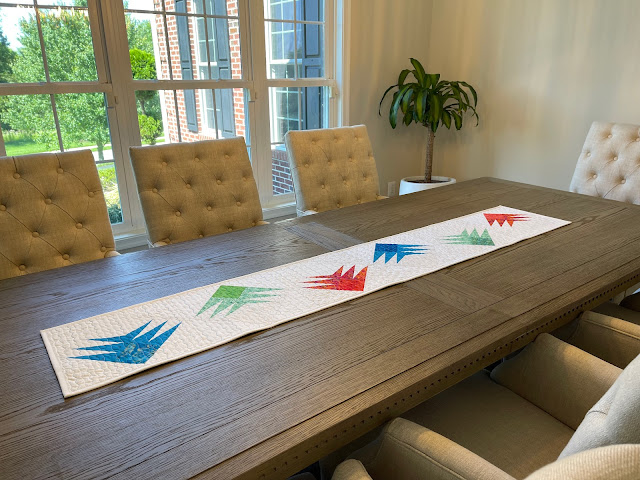 |
| Frolicking Fish. Location Courtesy - Raj & Manveen |
4. Annie's Publishing - Stars & Swirls
 |
| Stars & Swirls |
 |
| Diwali Lights. Picture by Quiltmaker Magazine |
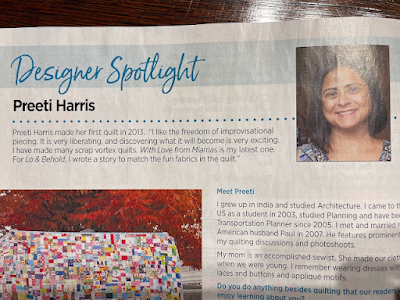 |
| Designer Spotlight in Quiltmaker Magazine |
____________________________________________________________________
And one last thing.
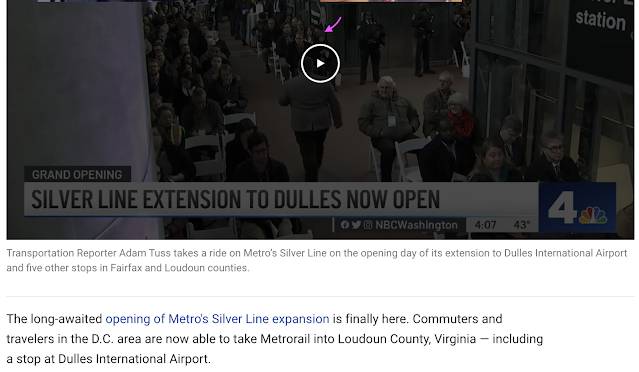
I work as a transportation planner in the DC Metro region. For the last 7+ years I have been working on the Dulles Corridor Metrorail Project, connecting downtown DC to the Dulles Airport through Metrorail. This project has been in the making for 60 years, when the right of way (in the median of the toll road 267) was dedicated to a future transit line. The project was so large and so ambitious that it was split into two Phases. Phase 1 consisted of five new stations and was opened to the public in 2014. Phase 2 (six new stations and a maintenance yard for the trains) connects the end of Phase 1 to the Dulles Airport was opened for revenue service on November 15, 2022.
I was there to witness the ribbon cutting and take the inaugural ride. It was a momentous occasion and I was thrilled. Transportation Secretary Pete Buttigieg was the guest of honor.
Here is the NBC news clip. I am in it at 1:34, wearing a hat. Yes, it was freezing. Don't blink, or you'll miss it.
From my seat, I walked up towards the stage, as far as I could, without getting into a scuffle with security. Handed my phone to a random stranger and shamelessly asked them to take a picture making sure that "Pete and I are in the same frame". I took off my hat, ran quick fingers through my hair, and beamed 1000 watts into the camera.
 |
| Transportation Secretary Pete Buttigieg |
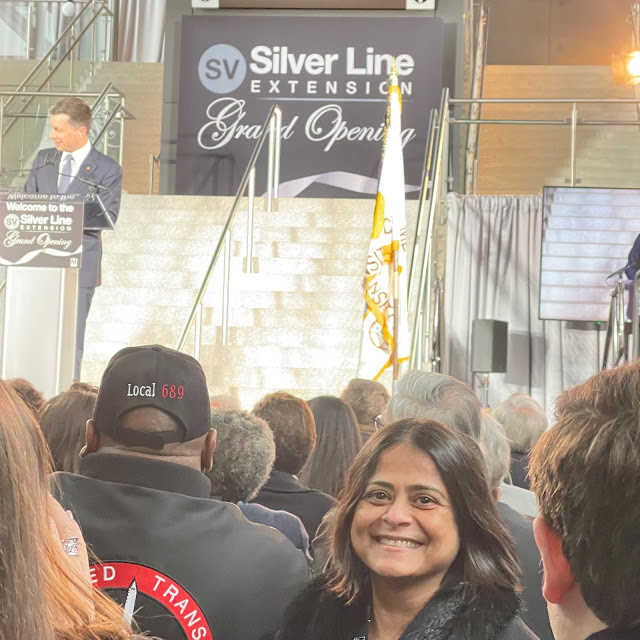 |
| Beaming me!!! |
In retrospect, 2022 has been a rollercoaster year with a complete spectrum of emotions - love, loss, grief, anger, disgust, joy, hope and more. But if I have to choose just one theme to end this blogpost, it will be gratitude.
Thanks to friends (Manveen,
Mell,
Connie,
Bernie and
Mari) who kept me sane. Thanks to Island Batik for the opportunities to play with fabric, to push me beyond my comfort zone, and for their support in my publication projects. Most importantly, thanks to Paul! You love me when I am unlovable.
Wishing you joy, peace and creativity in the new year!