Thursday, November 9, 2023

Rooms with a View (PHEW)!

Island Batik's November Challenge and Blog Hop is sponsored by ByAnnie. 


I chose the project - Room with a View.  I chose to make all three sizes. 


The pattern and all supplies including vinyl, mesh, Soft and Stable, zippers etc. were provided, thanks to our generous industry partners at ByAnnie.
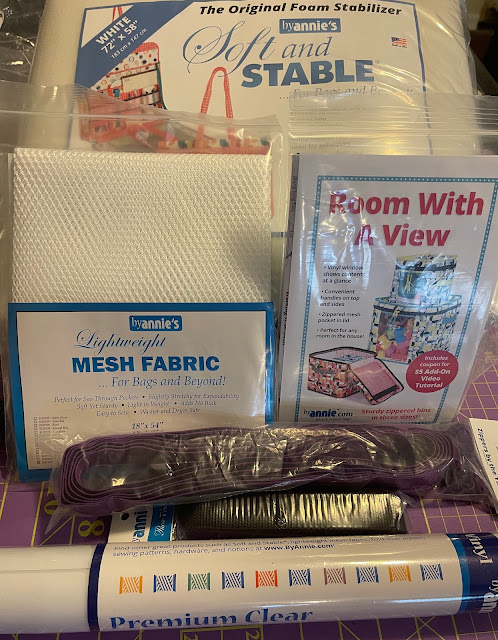
Supplies


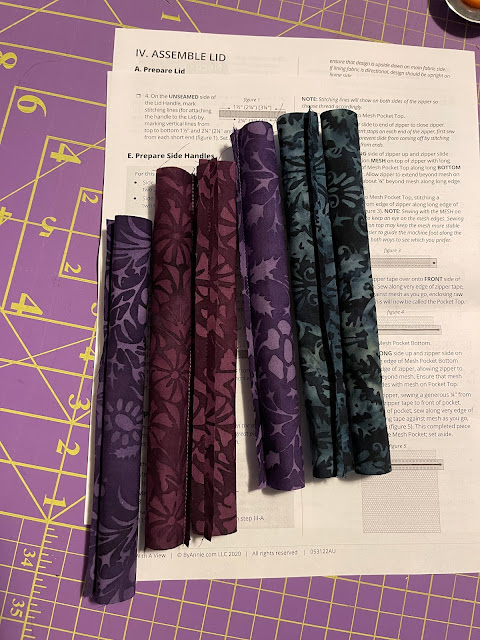
I received fabrics from the Morris Mist collection. 


Morris Mist is a signature collection by Kathy Engle for Sherry Shish of Powered by Quilting. 

It should be shipping to a quilt stores in November 2023.


The Fabrics


ByAnnie patterns are very detailed with excellent step-by-step directions.  Once you make a bag/project using these directions, you are kinda spoiled.  They also come with additional videos to guide you through tricky/difficult steps.


Getting Started

The very first thing to do (even before reading the pattern very carefully) was to buy 100 clips. No, this is not an exaggeration :-D You will see. 

Secondly, I changed the needle. A Schmetz Microtex 90/14 Needle is an absolute must to sew through multiple thick layers.

I quilted the fabrics with Soft and Stable. I made bias binding. I made handles - top and sides.


Quilted!


Bias Binding


Handles


Zipper Loops


Yes, the project was challenging. I struggled with vinyl and zipper interface. The vinyl is sticky and the zipper tape is wobbly. It was not as neat as I'd hoped. There was cursing and whining. 

I could not listen to a book/podcast/music during this time. This project required my complete attention.


Mesh Pocket inside the Lid and lots of clips

Each bag has three bindings, one on the lid, second where the lid connects with the body and the third on the base. I am NOT a hand sewing person. Seriously, by the time I get to the binding (for a quilt), I am already thinking about the next project and cannot finish the current one soon enough. So machine binding is my default method. 

But in the case of ByAnnie patterns, I have accepted that it is impossible to maneuver the thick layers under the needle. I can stitch the binding by machine but must finish it by hand. This view is corroborated by other Island Batik ambassadors. After I completed the hand sewing of first three bindings, I was in a foul mood. My thumb and forefinger felt raw and painful.

The fact that there were two more bindings to stitch per bag, six in all brought out the worst in me. I was beyond hating this project. I didn't care about neatness any more. I had a deadline approaching and I was frustrated and stressed.

So I did something that I had never done before. I finished the second binding by machine. PHEW.

It isn't neat but it is done. 

Getting close


My thumb and forefinger thanked me. It was time to attach the base. Could I finish the last binding by machine? I had to try. I started with the small bag. I machine stitched the binding, folded it over and "tried" to finish it by machine stitching it from the front using stitch in the ditch method. I missed the binding around the corners. Removed a few stitches, smoothened the fabric, glued it in place and FINISHED it by machine stitching. 


Small Bag's Base - Kinda Ugly


Of course it is ugly. A war is ugly. In the end the only thing that matters is that I won! No PTSD for my thumb and forefinger. 

The second bag went smoother, slightly. Still missed a couple of places and had to redo.

Medium Bag's Base - Missed a Spot


The last bag went much better; no missed spots. After machine-stitching the binding, I folded it over and glued the entire thing, and then clipped it using about 40 clips (told ya). 


About 40 clips on the base


Then I turned it over and machine marched victoriously (but slowly), needle in the ditch. More or less, you know.  Since I was killing it, neatness be damned.


Finishing Binding by Machine - Stitching in the Ditch


Large Bag's Base - Not Too Ugly, Not Perfect.


The binding is far from neat or uniform. I am sharing this with only you (so don't tell anyone else). If I can manage it, you can too :-) Besides this would be on the bottom of the bag.

There was just one last step - adding zipper pulls. I don't like the fabric pulls. So I found these little beauties for the final flourish in my conquest.


Fancy Zipper Pulls

One more challenge conquered! 

Once the war is over and debris is cleared, there comes the photo shoot and glorious celebrations.

Happy Fall!


Small, Medium and Large


All Lined up!


The Small bag is perfect to store Island Batik stash builders. The fat quarter bundles fit neatly inside the Medium bag. The Large bag is tailor-made for 10" Squares (Layer Cakes). See for yourself.

What is inside?


I am Small & Cute


I am Medium & Pretty


I am Large & Spacious


Rooms With a View


Fabulous Finish!

Paul: Do you still hate this project?
Me (suspiciously): WHYYYYY?
Paul: We are going to see Mom for Thanksgiving. She'd appreciate them, you know.
Me: No, I love these beauties and they are perfect for my storage needs.
Paul (eyes twinkling): That's what I thought.


I will be sharing with all my favorite linky parties. See full list on the sidebar.  

Make sure you check the Island Batik Blog for fabulous giveaways every week! The full list of Ambassadors’ names, collections they will be using in their projects, and their post dates are as follows:

November 1:

November 2:


November 6:

November 7:

November 8:

November 9:


November 13:

November 14:

November 15:

November 16:


November 20:


Friday, October 13, 2023

Tesu

Mom asked me to make a quilt for a young girl. Of course I said yes.

What is her name, I asked. She did not know. 

How old, I enquired. Not sure, she replied.


Orange, Pink and Sparkly

At this point, I gave up. There is only so much eye-rolling I can do. I set about picking fabrics. Since I knew nothing about the recipient, my aim was to please my mother.

I chose a simple block using cream, pink and orange fabrics.


Design Wall


25 blocks


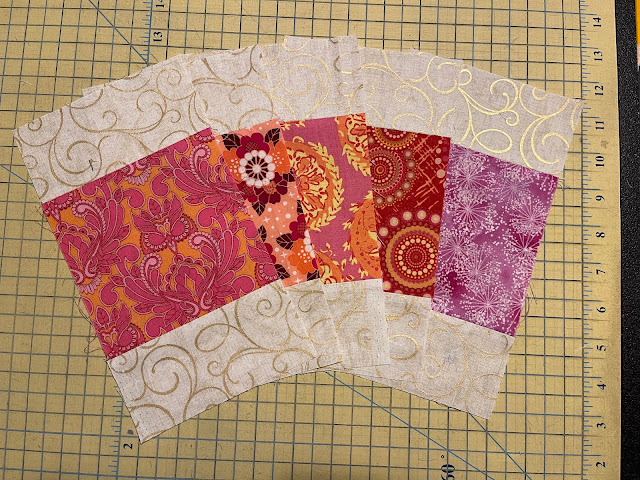
Ruby Star and Alison Glass Fabrics


Paul: Who is this for?

Me: Some little girl in India...
Paul: Do you know her?
Me: All I know is that her father helped mom with some hard to find medications.
Paul: That is it?
Me: Mom wants to express her gratitude.
Paul: So she asked you...
Me: From across the Atlantic Ocean...
Paul: Are you going to mail it to India?
Me: No, just to Pennsylvania.
Paul: Your sister is going to India?
Me: Yes. End of October.


Festive Elephants Backing


I have been hoarding this elephant fabric since 2016, I think. I know Mom will love it. In fact, Paul loves it too and has asked me to make him a pillow (he already has mug rugs and zippered pouches) from the remaining 16". That is a separate project and blogpost.  Insert eye-roll here.

Here is the finished quilt.

Tesu


I have named her Tesu.  Tesu is the Hindi name for the Butea Monosperma flower. Tesu finished at 43" square. The block is made up of 5" squares framed with 2.5" strips. 


Flame of the Forest :-)


Sunny and Warm


Here are some close-up shots.

Hello Birdie!


Pink and Orange? Well, yes!


Labelled


Love the Striped Binding


Tesu was a fun and fast quilt. 
I especially enjoyed working on her after completing the much complicated Radiance.

I will be sharing with all my favorite linky parties. See full list on the sidebar.


The next Island Batik project is sponsored by Bags by Annie.  I am making Room with a View in three sizes. 

I will be using the Morris Mist collection. I will post on November 9. 


_____________________________________________________________________


Paul: We are hosting our next gaming session. Right?
Me: Yes.
Paul: What are you making?
Me: Chicken Biryani
Paul: Will I be able to eat it?
Me: Yes. I will adjust the ingredients. 
Paul: Do you use a rotisserie chicken?
Me: No, I will use drumsticks.
Paul: Bone-in?
Me: Yes. Very much so. The bone keeps the meat moist. Also, dark meat is more flavorful. I never cook with breasts.
Paul (smiling naughtily): Babe, you always cook with breasts!!!

Sunday, October 1, 2023

Radiance

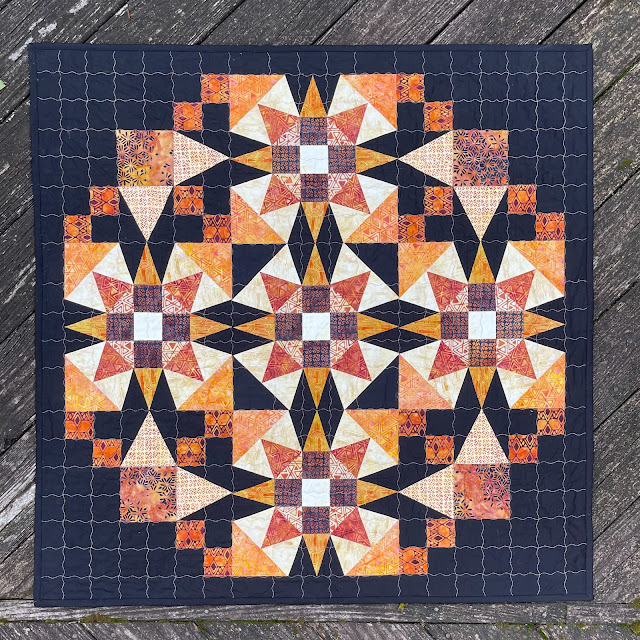
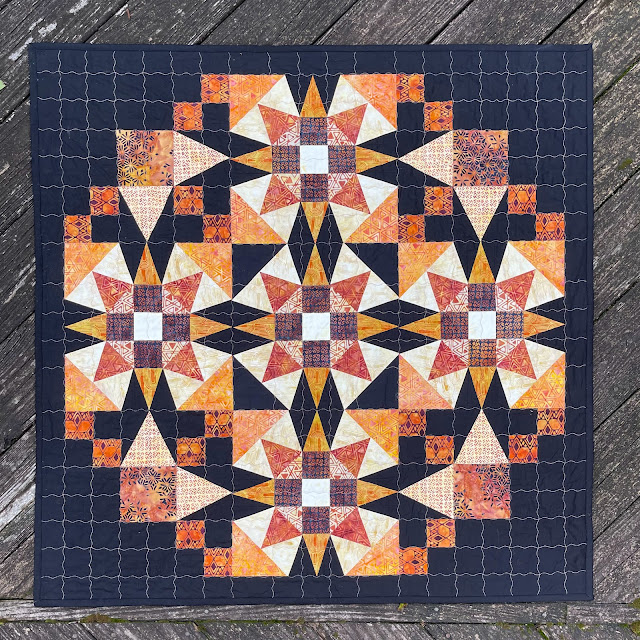
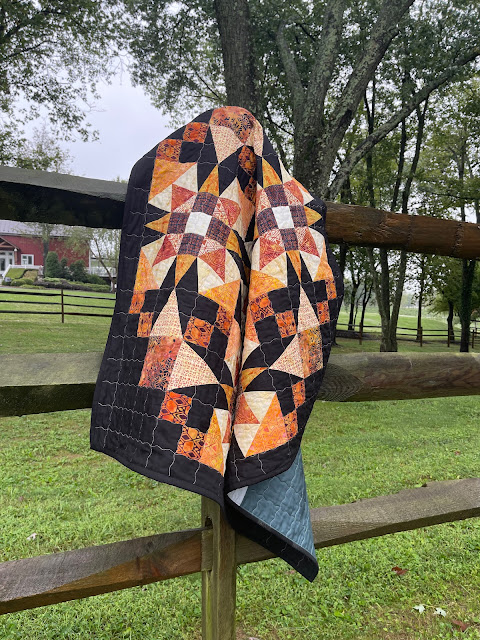
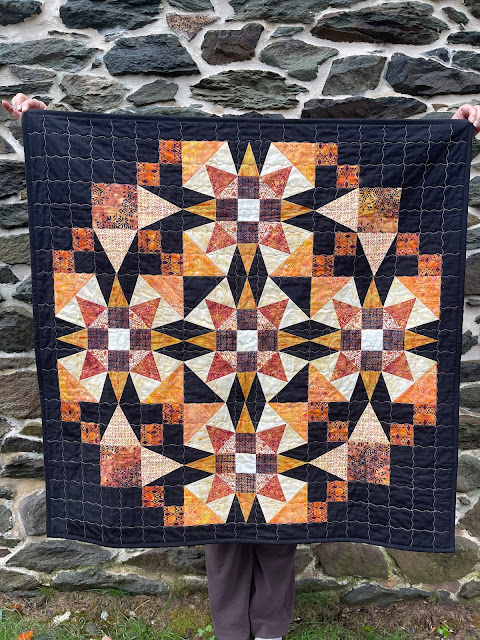
Meet Radiance. She is my response to the October challenge.

Radiance!


Let's start from the beginning.

October's Challenge is sponsored by Accuquilt. In our Island Batik Ambassador Box, we received the Accuquilt Block on Board Die - North Carolina Star.

Accuquilt Die for North Carolina Star


Star of North Carolina is a traditional block made with paper-piecing AND partial seams - two of my absolute nemeses ganged up against me!!!


Star of North Carolina in EQ8 Block Library

Fortunately, Accuquilt has simplified the block such that there are no partial seams. However, in doing so the number of fabric pieces per block increased from 28 (in the original) to 56, resulting in 55 seams per block. Read Rebecca's blogpost, for a detailed analysis. 

Here is the "challenge" - there are 55 ways to mess up this block. 55 pitfalls. How many could I avoid?

I was supremely apprehensive about this challenge. When in doubt, go back and read the instructions.

"Get ready for an exciting quilting challenge that will leave you feeling inspired and creative! AccuQuilt is thrilled to present the GO! North Carolina Star as the die for the October challenge, a fantastic opportunity to showcase your quilting skills and creativity.

Throughout the month of October, we invite you to create a stunning quilt using the GO! North Carolina Star Die from AccuQuilt. This quilt block is complex when paper piecing, but with their die, it’s never been easier to make!

This die features precise cuts and effortless fabric alignment, plus it’s fat quarter friendly.

You don’t have to make a North Carolina Star block, feel free to come up with a new block design using the pieces of this die! There is no requirement to what kind of project you make: table runner, wall hanging, throw quilt, sleeping bag, tote bag - let your imagination run wild!"


Wild? This was wild enough.

I needed to tame this beast. 

This sentence jumped out - You don’t have to make a North Carolina Star block, feel free to come up with a new block design using the pieces of this die!


I had  to simplify this complicated block, while maintaining the spirit of the challenge. See my audition block below.


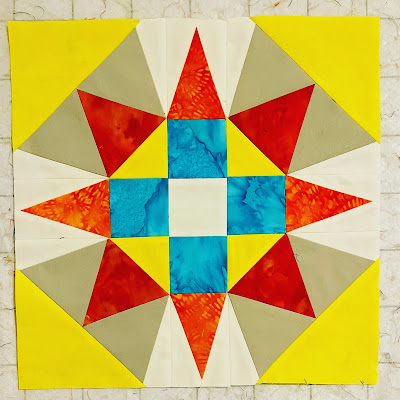
Audition Block

Each of the aqua squares was a quarter square triangle in the original/traditional block. Changing the QST into a simple square definitely simplified the block, reduced the number of seams (fewer mistakes/mismatched seams), while still keeping the overall look of the block.


Time to design. I turned to EQ8.

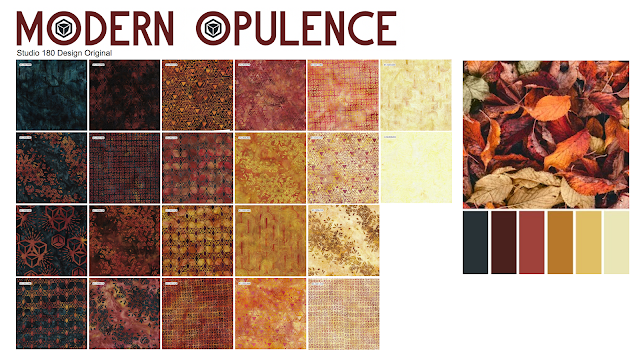
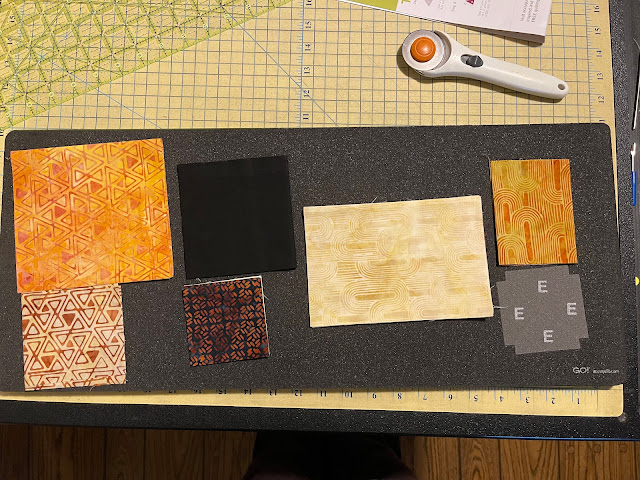
I chose the fabric line - Modern Opulence, Original Collection by Deb Tucker of Studio 180 Designs.  I absolutely love this collection. It is warm and beautiful with all the values from the lightest yellow (almost white) to the darkest brown.


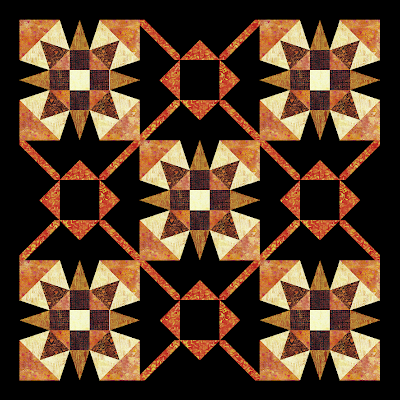
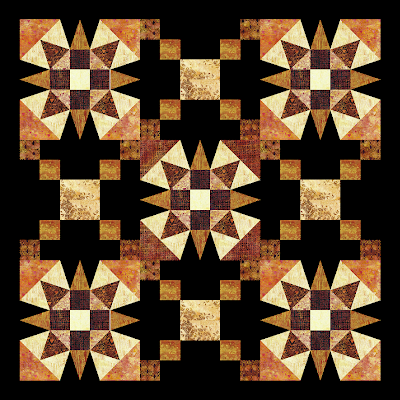
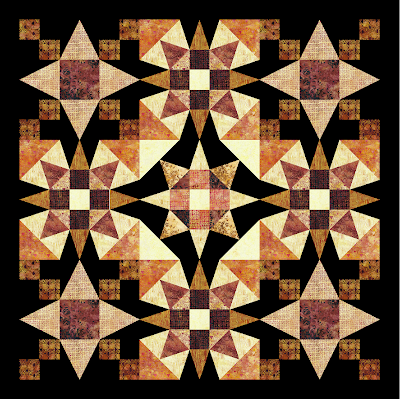
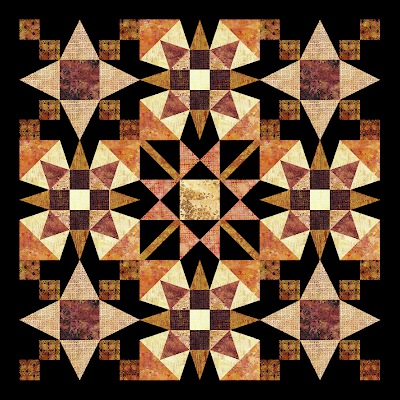
Here are some of the initial EQ8 designs that were discarded.


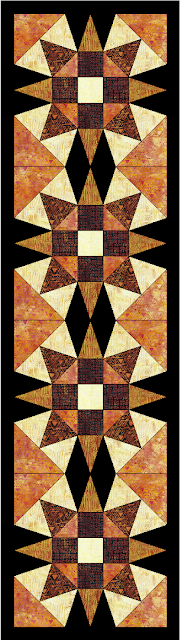
Four Blocks = Runner = Blah!

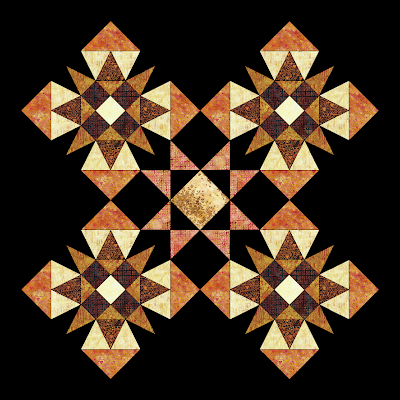
Four Blocks on Point - Its alright :-(


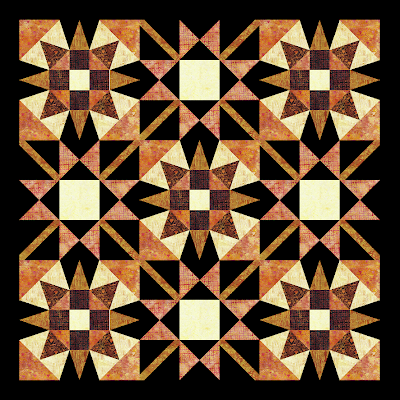
Five Blocks + Four Alternate/Filler Blocks - Kinda Busy


This didn't work as well as I had expected


Five + Four (Changed Alternate Block) - NAH!


Five + Four - On the right path...


Four + Four + One - Keep going...


I think we are there!

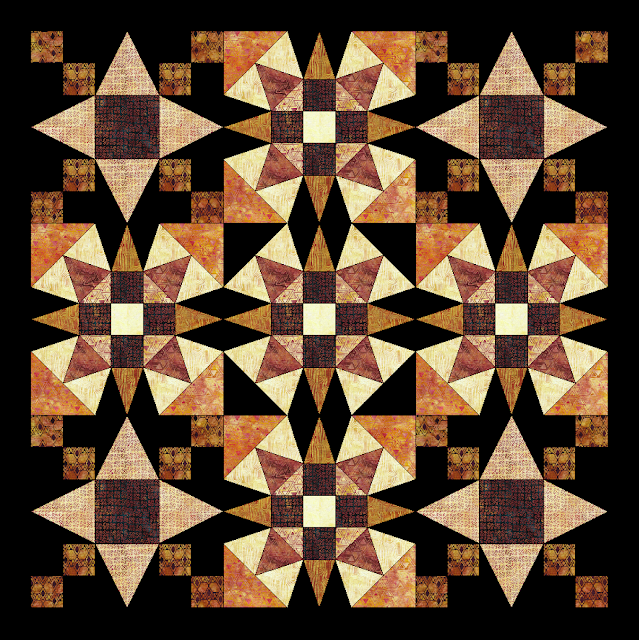
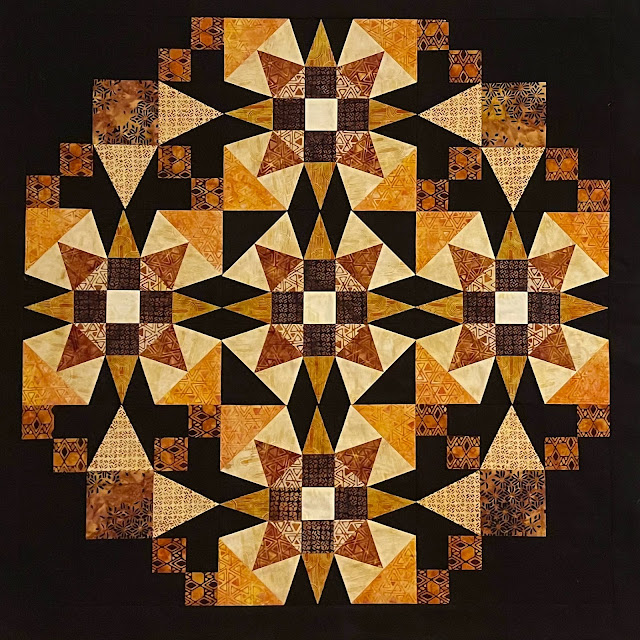
This was my final design. WAS. I loved the illusion of intersecting circles. 
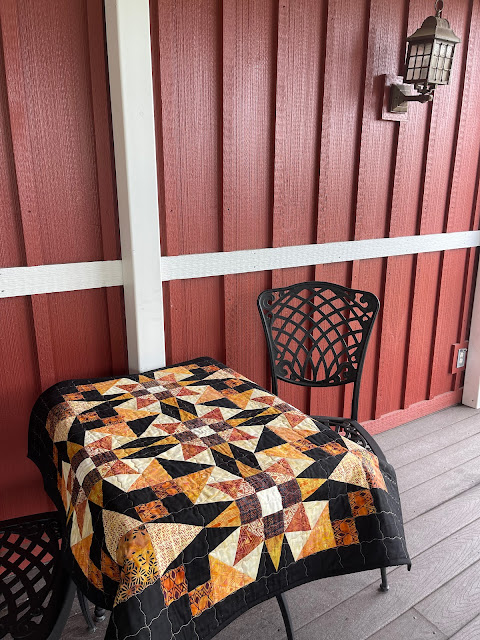
Illusion! Of Circle!!! 


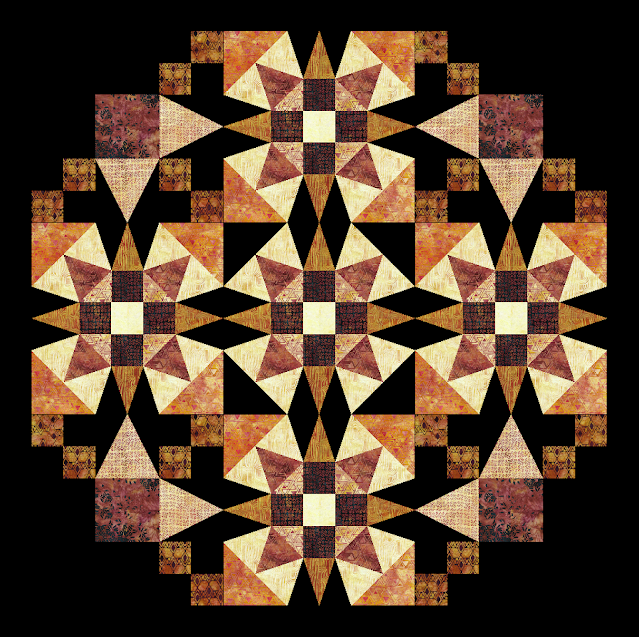
Oh yes, I knew what to do. 


Oh yes! This is it!!!

Removing the four corners reinforced the illusion of circle. I had found the holy grail following the trail of the Star of North Carolina.
Full steam ahead!

Block on Board - All pieces cut at once


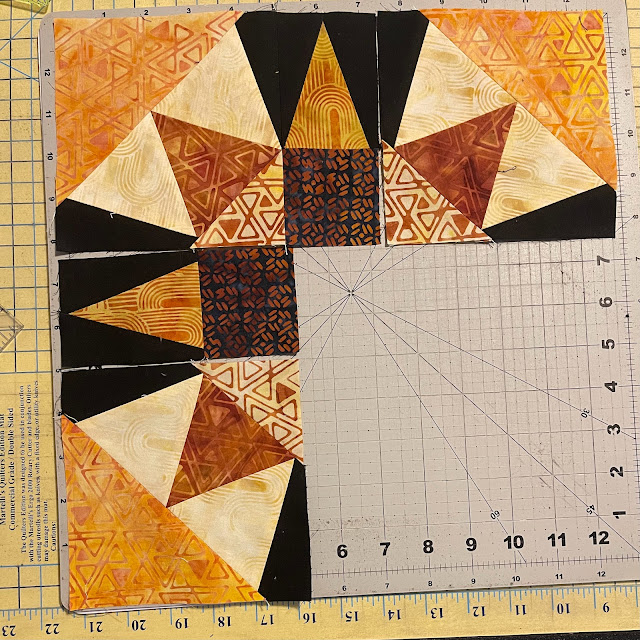
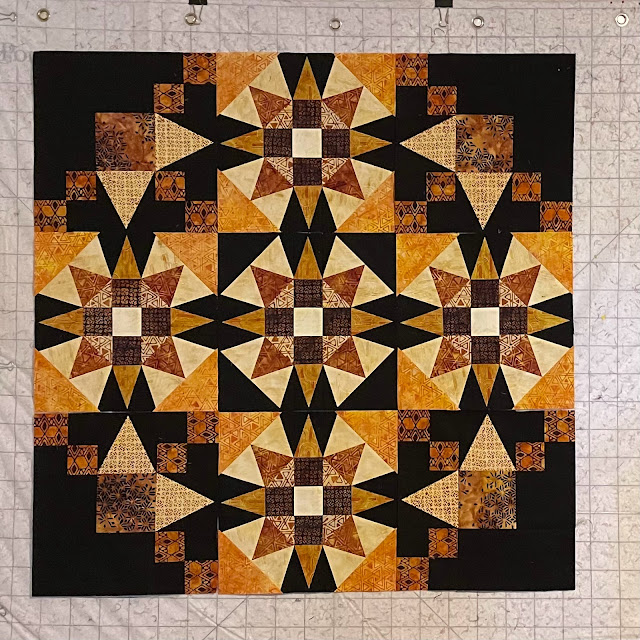
First Block

I am a little fuzzy about what happened next. I was in a dazed frenzy. 
Woman on a mission... but it ended here.

All blocks done! 

Finished Flimsy!!!


Although I could die and go to heaven at this point, it still needed quilting and binding and photoshoot and this blogpost.  


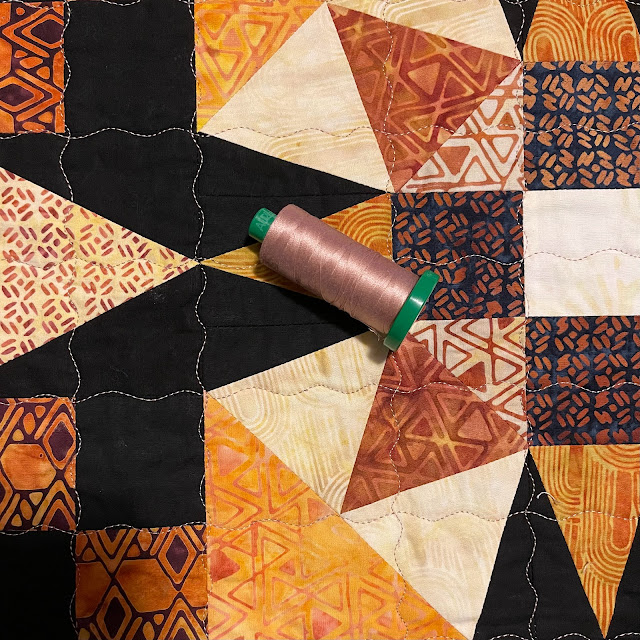
I used 50 wt Aurifil Thread for piecing and 40 wt Aurifil Thread for quilting.


Aurifil Thread and Quilting Detail

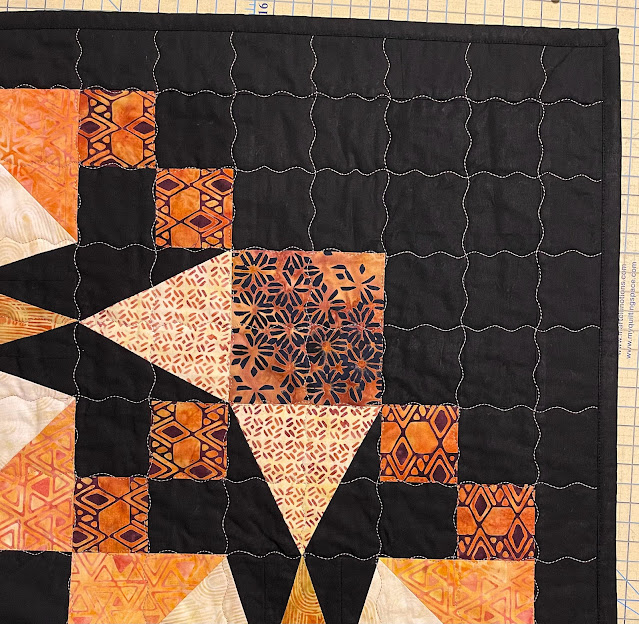
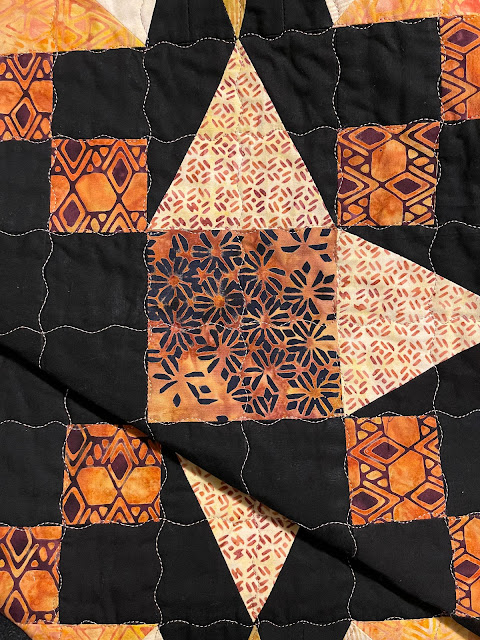
Radiance finished at 40" square. The blocks are 12" and the borders are 2". I used Schmetz Needle for piecing (80/12) and quilting (90/14). I used Hobbs 80/20 Batting. The border and binding are Island Batik Solid Black. I used my walking foot to quilt wavy lines. 


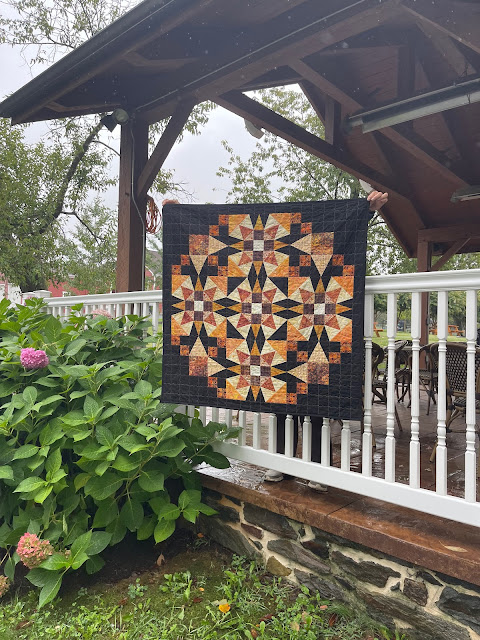
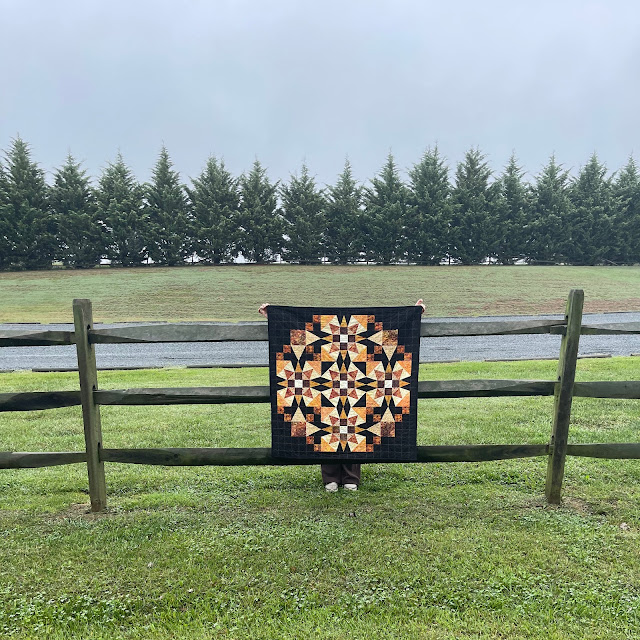
Here are pictures from the photoshoot.


Inner Glow


Warm and Inviting


Rough Backdrop, Smooth Finish


Gold Bloom?


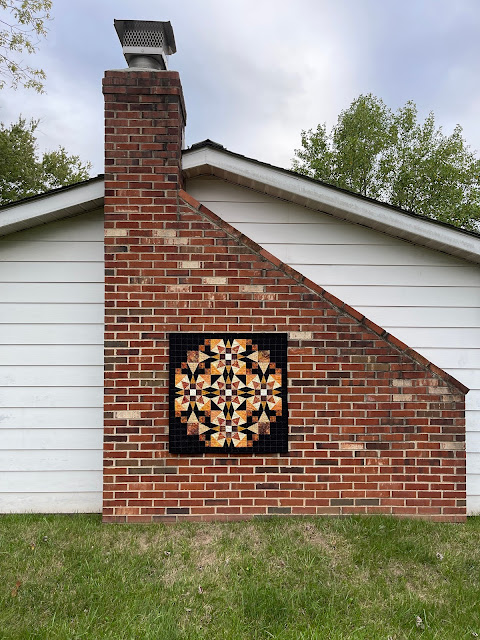
Cloudy Skies and Sunny Quilt


Hanging Out at a Winery!


I LOVE these colors!!!

Here are some close-up shots.


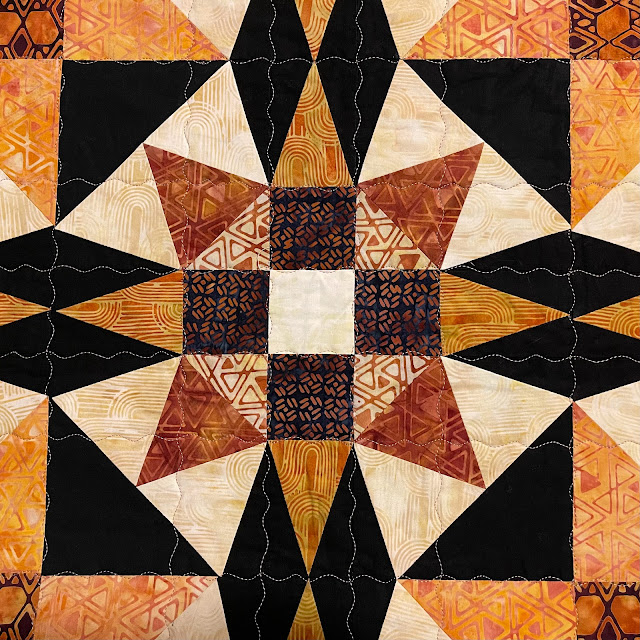
Cream, Caramel, Orange, Honey, Cinnamon and Cocoa - I could eat you up!!!


Shimmering against the Black Background


Grid Quilting


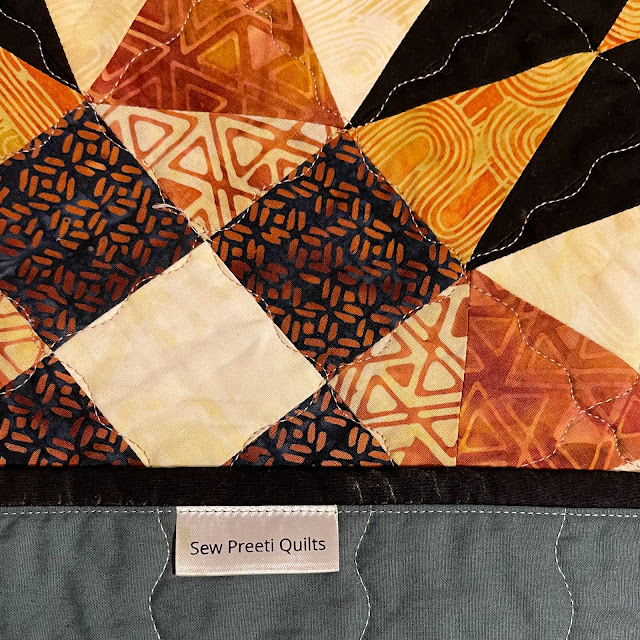
Labelled

I could apologize for the very long, process-heavy, picture-laden post, but I am not sorry :-)


I would have NEVER attempted this block, if it was not for the Island Batik challenge.  I was flung into the rough seas so far out that my comfort zone was not even visible on the horizon. But I am thrilled at the outcome and humbled by the experience. 


I will be sharing with all my favorite linky parties, see full list on the sidebar. Your glowing comments  make me glow too. And if you have any words of wisdom or criticisms, I welcome them, for they keep me grounded!


One last look!