According to Wikipedia, Serendipity means a "fortuitous happenstance" or "pleasant surprise".
Every time I make a mistake, I learn something. Occasionally, I will go back and fix it. Most of the time, I just let it be - my unique signature in the quilt-making process :-D
And once in a blue moon, I will find something - something amazing, exciting and totally unexpected - SERENDIPITY
Sometime ago, in response to a question on a quilters website about snowball block, I responded with a comment. The conversation went like this.
Me - Oh, you can get the same effect by using the tube technique.
J - Oh, yeah? Well, show us if you think so.
Me - I will. Next week. I am busy now.
J - No problem. I'll wait.
So, I tried the tube technique to achieve the said snowball block. Not quite the result I expected. But I found something else. Today I am sharing with you that serendipitous find!!!
Fabric Requirements:
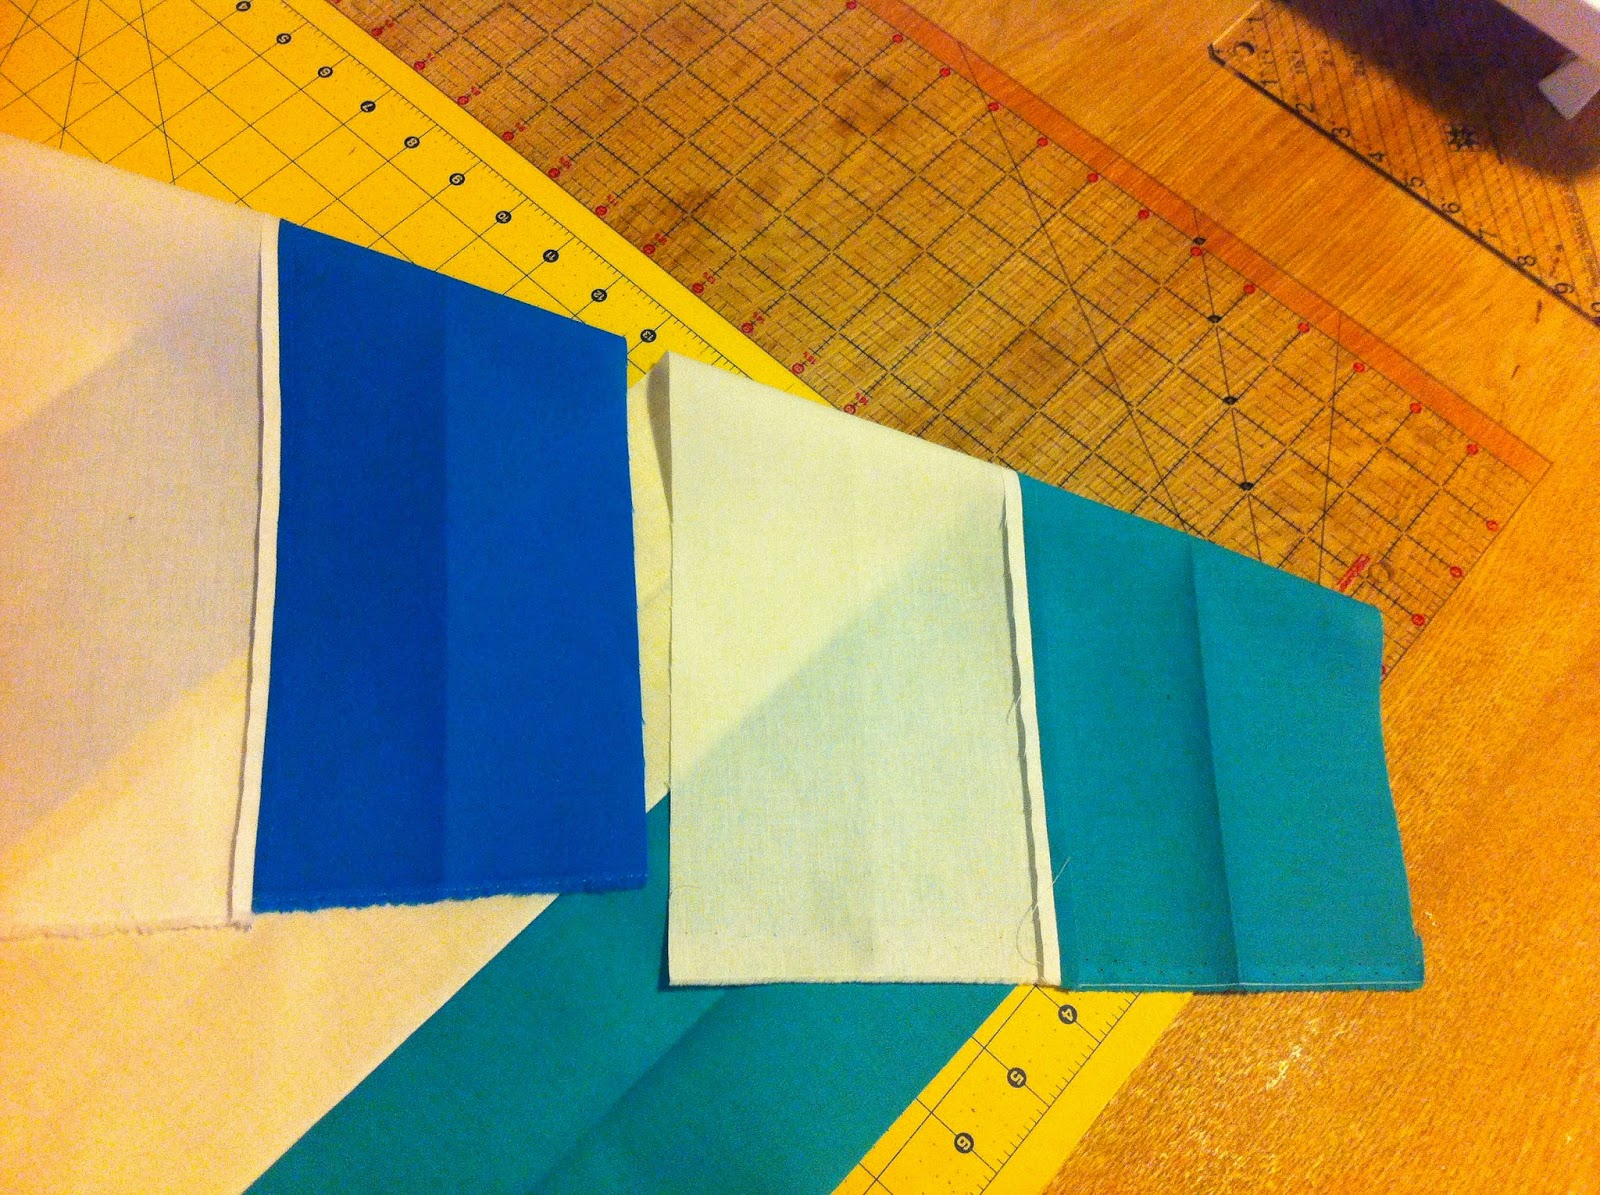
2 strips of fabric (one light and one dark) each 5" wide by WOF.
I used solids (see picture above) for dark and white for the light.
Directions
1. Fold the dark strip of fabric, right sides together, along the length. Iron it to create a crease along the entire length.
2. Repeat for the light strip of fabric.
3. Stitch together the two strips, along the length, RST. Press open the seams. Be careful to not press the creases flat, see picture below.
4. Stitch the two strips on the other side to form a tube. Press seams open. Maintain the creases. Your finished tube should look like this picture below.
5. Lay the tube flat, with the open seams in the center. Now, you see why making those creases in the beginning was so vital - it keeps the tube flat on your cutting board.
6. Using a 45 degree ruler, cut out triangles. I made six tubes with six solids+white


7. From one tube you should get eight squares - 4 with dark centers and 4 with light centers. Each square measures about 61/4 inch.
Does this block have a name? I am going to call it Half Snowball Square (because the snowball effect is only on two out of four sides). Let us divide them into two piles - the dark centers and the light centers pile, see below.
So what is the serendipitous part, J may ask. Well, there are at least seven different layouts that can be achieved from these blocks. Yes, seven!!!
Dark Centers Layout
1. All blocks going the same way - Diamonds
2. Xs and Os
3. Zig Zag
Light Centers Layout
1. All blocks going the same way - Whimsy
2. Jewels (This is the same layout as Xs and Os above, but the focus here is the center and hence the name Jewels)
3. Silly Goose (because some are flying one way and some are going the other way - that is what Jenny said!!!)
Now, I know there is someone reading this blog and saying - Oh no, I just want to make one quilt, not two. For those who want to make just one - here are few layouts using both dark and light centers blocks.
1. Zig Zag - Plain Jane
2. Zig Zag - Crazy Daisy
3. Very Crazy Zig Zag
4. Bow-Ties - This one is my favorite...

What about the snowball effect?
Looks like this passion of mine is snowballing into an avalanche of quilting happiness!!!
So, here is my question for you - which one of these layouts is your favorite?
 |
| The Colors |
And once in a blue moon, I will find something - something amazing, exciting and totally unexpected - SERENDIPITY
Sometime ago, in response to a question on a quilters website about snowball block, I responded with a comment. The conversation went like this.
Me - Oh, you can get the same effect by using the tube technique.
J - Oh, yeah? Well, show us if you think so.
Me - I will. Next week. I am busy now.
J - No problem. I'll wait.
So, I tried the tube technique to achieve the said snowball block. Not quite the result I expected. But I found something else. Today I am sharing with you that serendipitous find!!!
Fabric Requirements:
2 strips of fabric (one light and one dark) each 5" wide by WOF.
I used solids (see picture above) for dark and white for the light.
Directions
1. Fold the dark strip of fabric, right sides together, along the length. Iron it to create a crease along the entire length.
 |
| Creased Strips |
2. Repeat for the light strip of fabric.
3. Stitch together the two strips, along the length, RST. Press open the seams. Be careful to not press the creases flat, see picture below.
 |
| Stitched once and Seams Pressed Open |
4. Stitch the two strips on the other side to form a tube. Press seams open. Maintain the creases. Your finished tube should look like this picture below.
 |
| Completed Tube, seams in the center (ready to cut) |
5. Lay the tube flat, with the open seams in the center. Now, you see why making those creases in the beginning was so vital - it keeps the tube flat on your cutting board.
6. Using a 45 degree ruler, cut out triangles. I made six tubes with six solids+white
7. From one tube you should get eight squares - 4 with dark centers and 4 with light centers. Each square measures about 61/4 inch.
Does this block have a name? I am going to call it Half Snowball Square (because the snowball effect is only on two out of four sides). Let us divide them into two piles - the dark centers and the light centers pile, see below.
 |
| Half Snowball Squares (HSS) - Dark Centers |
 |
| Half Snowball Squares (HSS) - White Centers |
Dark Centers Layout
1. All blocks going the same way - Diamonds
 |
| Dark HSS - Diamonds |
2. Xs and Os
 |
| Dark HSS - Xs and Os |
3. Zig Zag
 |
| Dark HSS - Zig Zag |
Light Centers Layout
1. All blocks going the same way - Whimsy
 |
| Light HSS - Whimsy |
2. Jewels (This is the same layout as Xs and Os above, but the focus here is the center and hence the name Jewels)
 |
| Light HSS - Jewels |
3. Silly Goose (because some are flying one way and some are going the other way - that is what Jenny said!!!)
 |
| Light HSS - Silly Goose |
Now, I know there is someone reading this blog and saying - Oh no, I just want to make one quilt, not two. For those who want to make just one - here are few layouts using both dark and light centers blocks.
1. Zig Zag - Plain Jane
 |
| Mixed HSS - Plain Jane Zig Zag |
2. Zig Zag - Crazy Daisy
 |
| Mixed HSS - Crazy Daisy Zig Zag |
 |
| Mixed HSS - Very Crazy Zig Zag (all mixed up) |
What about the snowball effect?
Looks like this passion of mine is snowballing into an avalanche of quilting happiness!!!
So, here is my question for you - which one of these layouts is your favorite?
I like whimsy and the zigzag with both color ways. Bery cool!
ReplyDeleteI think my favorites are the X and O and whimsy. Super!
ReplyDeleteLight is my favorite
ReplyDeleteI like all of them!
ReplyDeleteI like them all but the X's and O's is my favorite, those bold colors are just too cool.
ReplyDeleteSo many options, pretty cool!! I like the diamonds, light or dark :-)
ReplyDeleteHmm, I really like the opposite ones, so numbers 2 and 2 are probably my favorite. I like seeing the same design in different colorways.
ReplyDeleteOMG! That is sooo cool! I love all of them and am envisioning them in all different color palates. Thanks for the great tutorial!
ReplyDeleteJanieH
Thanks so much for sending me the link. This is such a great idea.
ReplyDeleteWhimsy makes me think of fat airplanes with tiny wings...well named, then. Lovely!
ReplyDeleteSerendipity indeed. Thanks for the tute. Love the snowballing effect. I've been so busy lately with other matters that I am only now catching up on blog and site reading. I'm so pleased with the amazing, exciting and totally unexpected result.
ReplyDeleteI like them all but I would say that jewels is the first one I will try.
ReplyDeleteDefinitely whimsy and diamonds. Looks really elegant and somehow more "professional".
ReplyDeleteI have done the whimsy for a signature wedding quilt as a backing in which friends of bride and groom signed best wishes. And am in process of doing a scrappy X's. But you have given me a whole lot more ideas. I like all of them!
ReplyDeleteI like them all - one question though - isn't there a step messing after #7 on how you separated them? Did you use a seam ripper or did you cut them?
ReplyDeleteThe cutting at 45 degrees (See pictures after #6) both cuts and separates the squares. No seam ripper required. I encourage you to try it once using two strips of scrap fabrics. It will become clear, I promise :-)
DeleteThanks I will
DeleteYou are amazing!! Pick one? Cannot! Love all seven! You really are amazing! In only two years from (not an accurate quote but close enough) 'I think I can thread my sewing machine' to all these amazing tutes! WOW!!!
ReplyDeleteI am on board for your first quilt pattern book! And the next one, and the one after that, and...
I am soooo glad this came up today in the quilting email.
ReplyDeleteI watched a video on this technique but really wanted something I could print out and add to my notebook.
Thank you for sharing!
If you alternate the tube squares with a solid, you'll be getting a hounds tooth pattern. So now you have another quilt. Very nice. I like the Bow Ties
ReplyDeleteI love the Light Centers layout; I see beautiful stars!! Thanks for the great tutorial, quilt pattern and technique! Have a great day!!
ReplyDeleteWithout a doubt, the design called Silly Goose is my favorite. Thanks so much for sharing your layouts.
ReplyDeleteI love them all but i like Jewels the best. I can't wait to try my new strip ruler. Thank you so much for sharing!
ReplyDelete