Showing posts with label Modern Quilt Block. Show all posts

Wednesday, June 28, 2023

Window Dressing & Pattern Release

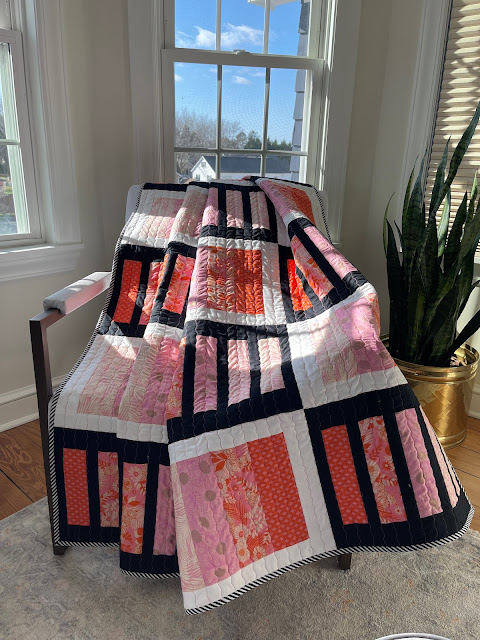
Window Dressing was published in March 2023 in Make Modern Issue #51, in the category of Prints Charming! I smile every time I read that :-)

Made with Ruby Star Society Fabrics (Reverie by Melody Miller) provided by Moda, it is a simple design that exploits the value gradations for maximum effect. Put another way, the Prints Charming did the heavy lifting and I gathered the compliments :-)
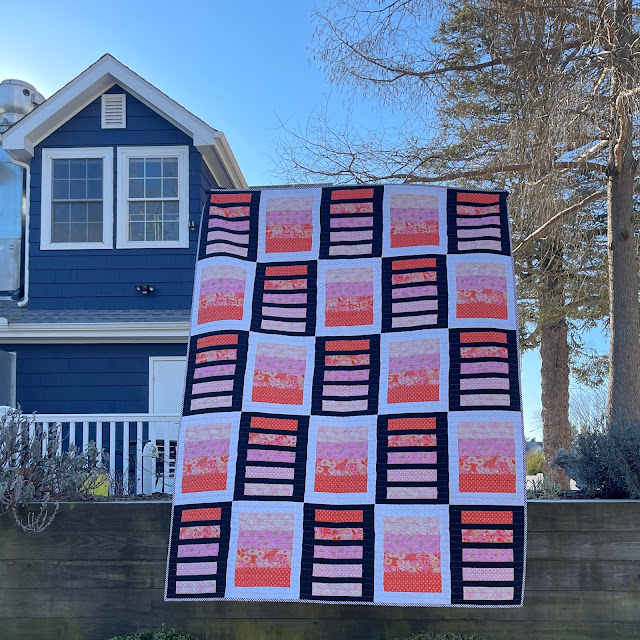

Cold Day, Warm Quilt

For some reason, the blog publication of this quilt slipped through the cracks. But here we are now.  

Window Dressing finished at 60" by 80", making it a perfect size for lap/throw/picnic and even Mercyful Quilts. The simple pattern uses black and white solids in alternating blocks, highlighting the changing values. 
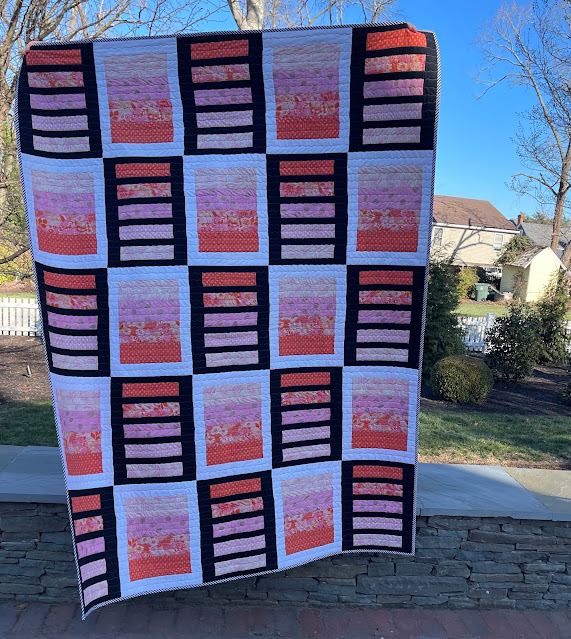
Gradations Galore


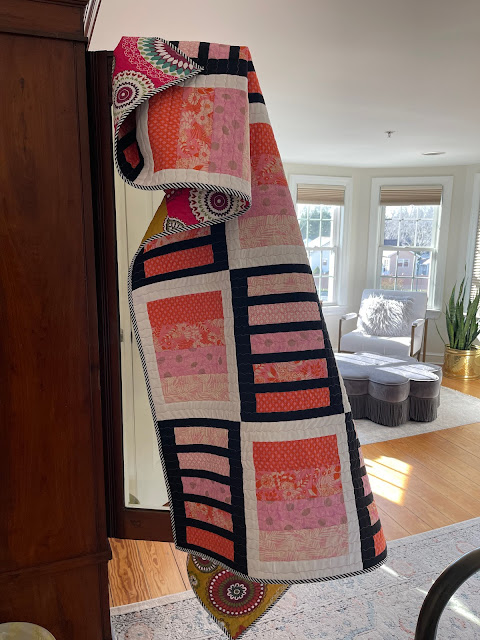
As a model-photographer team, our roles are reversible.  If it is a larger quilt, it is practical for Paul to be the model and if it is a smaller quilt, I like to smile from behind it, while he takes the pictures.

I took Window Dressing to Berlin, MD for our Christmas mini vacation. On a particularly cold morning, as Paul wanted to sleep in and I was itching to get out and take pictures, this happened.  
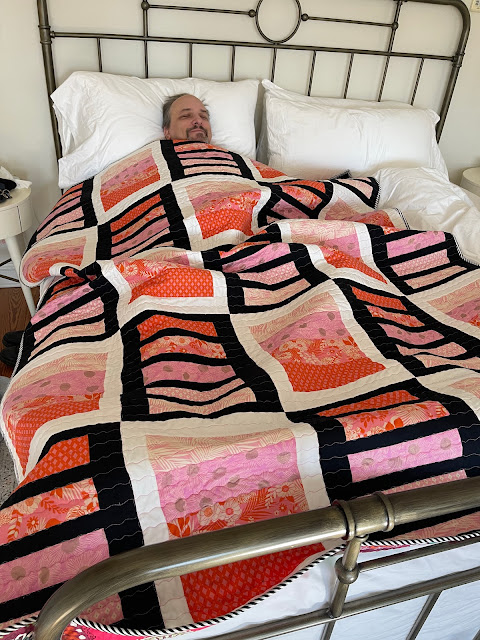

Paul, the reluctant model

There is more than one way to model a quilt :-D  

The low sun lit our room beautifully, with ample opportunities for indoor pictures. 
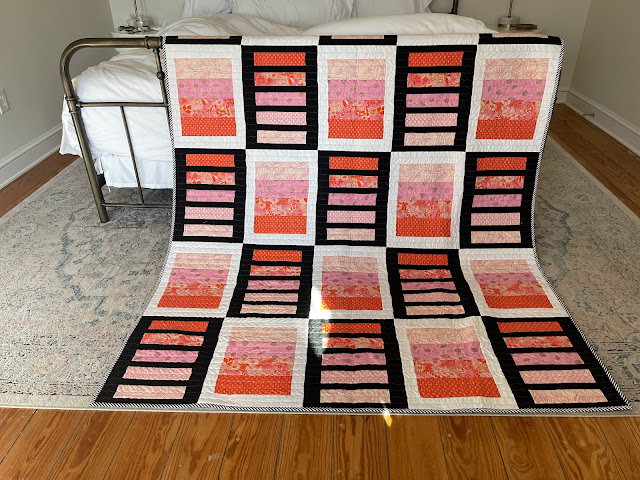
Window Dressing


Sunlit Room


No, I do not belong in the closet!


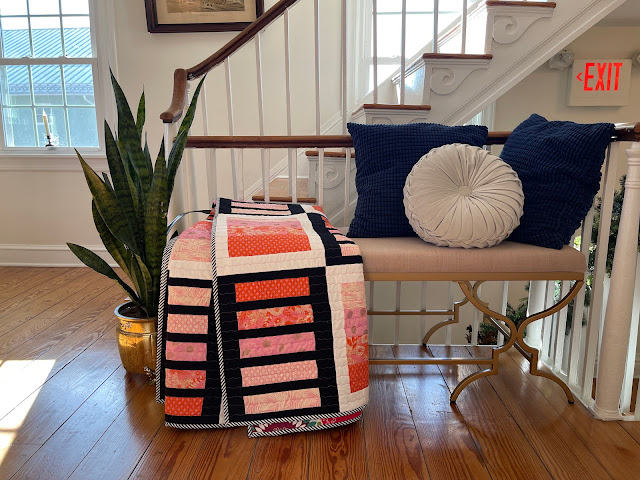
There was a a small reading nook/snack area just outside our room. It provided a perfect staging area for the quilt. 
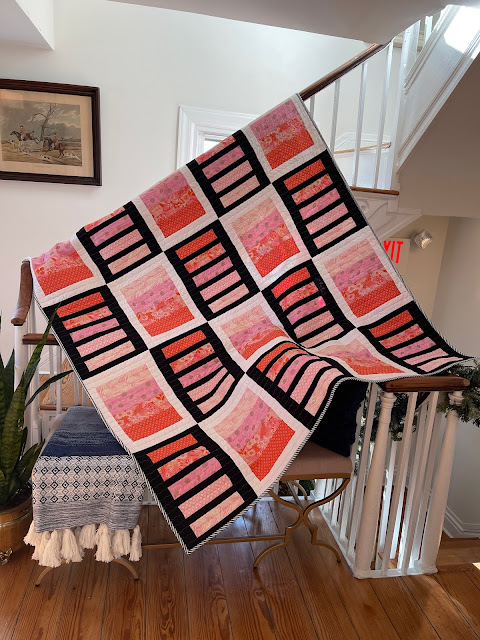
So Cozy

All these pictures were taken at the Inn Berlin in Berlin, MD. It is an upscale Bed and Breakfast place that is also completely gluten-free. No, we do not have such dietary restrictions but I love it, all the same.


I love it here!

Window Dressing Quilt Pattern is now available in my Etsy Shop for an introductory price of $8, till July 4, 2023. 
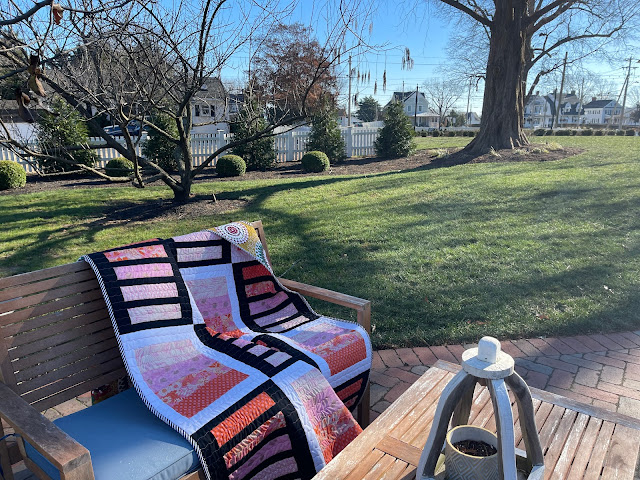
I can get used to this!


In other news, Angela has announced that July is Red. I am ahead of the game, at least this time :-)
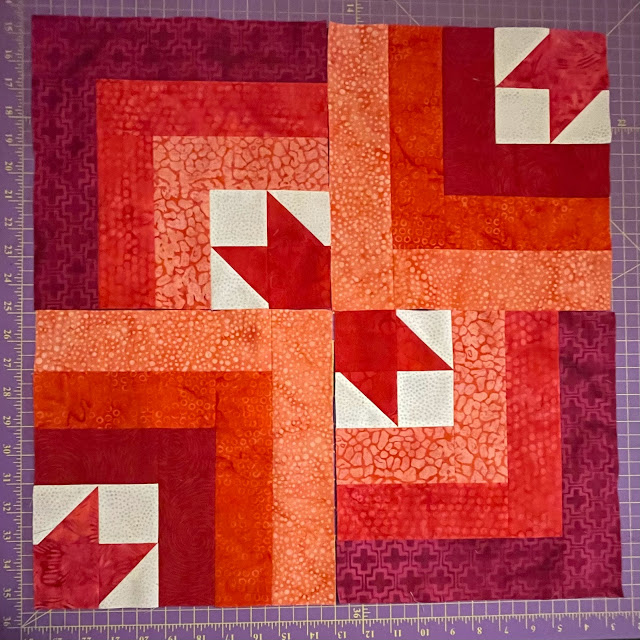
July is Red 


I will be sharing with all my favorite linky parties, including Angela's. See full list on the sidebar.

Monday, April 27, 2020

A Finish & A Giveaway

One lucky reader (commenter) will get a free pattern - All the Diagonals, from Mell Meyer.
Just leave a comment, completing this sentence.  After the Covid induced coma is over, I will...

And now, let the eye candy begin.  You heard about Quarantina earlier and saw her glimpses on Instagram.  Here she is - my Covid Child (thus named by Rebecca of Cheeky Cognoscenti).

Paul is promoted to Model

You know when you cannot decide between cake and pie?
When you want both chocolate and strawberry.
When you don't want to choose between the ocean and the mountains...hold that thought.

Speckled FQ Bundle

Cool Ones

Warm Ones
The fabric of choice is Speckled by Ruby Star Society.
The cool blues and soothing greens were an obvious choice, based on Mell's pattern.

The first four blocks

21 out of 42 

But I wanted other half of the spectrum too. Why choose, when you can have both?
I made the remaining blocks in warm colors - pinks, orange, peach and yellow.

Almost Blocks

The choice of white background with cool blocks was easy. After mulling a bit, I decided on a black
background with warm blocks.

Design Wall

The exact layout - which blocks go where - took longer.  And the sashing was a bit of an issue due to the split white and black backgrounds.

Matching Seams

Trying to match seams

Matching seams (kinda sorta) took forever. I matched the border colors with the split layout. Flimsy was finished two days before the deadline.

Deadline Met
My toes :-)

Time to quilt :-O

Backing Fabric
Most fabric is 44" wide, except the wide backing that is 104" wide. Ikea used to carry 100% cotton fabric that was about 54" wide which was perfect for backing lap/throw size quilts. Used to. Not any more. Bummer.

Recently I discovered quilting cotton that is 63" wide. BINGO!!! The above backing fabric is from fabric.com (no affiliation). Look for STOF.

The quilting was straight-ish lines using my walking foot. The binding decision was the last but not the least.

I had matched the border to the split layout and wanted to extend that design to the binding.

Should binding continue the split?

Me: I am thinking that the binding should match the borders.
Paul: How so?
Me: White binding in the top and left and black binding in the bottom and right.
Paul: Can you do that?
Me: It can be done. Whether I can match it exactly may take a few attempts.
Paul: Why not do the opposite?
Me: Like white with black and black with white?
Paul: Yes. Contrast binding.

I hadn't thought of it. Now I was battling with two difficult ideas.
In the end I chose an easy way out - striped black and white binding.

Striped Binding

I am not fond of paper-piecing. But I do recommend this pattern. It is very detailed (including coloring pages), well written and the size recommendations are generous. Even when I made a mistake, the generous size ensured that it worked.

Incorrect orientation of the corner triangle - still within the paper limits


Quarantina was delivered on April 18, 2020.  She has excellent complexion and measures 53" by 61.5" .  The baby is doing fine. The mother is neglecting her to take care of other babies.
NEXT!!!

Hello Quarantina :-)
Quarantina wanted to play in the sun. I agreed. A few more pictures.


Quilting Detail

Split White and Black

Love the Backing

Picnic with Quarantina

Isn't she lovely?

Labelled - Mine :-)

And one last look


I will be linking with all my favorite linky parties.  See full list on the sidebar.

Don't forget to comment if you wish to win a free pattern.

Here is my response (to the comment question)...
After the Covid induced coma is over I will spend an entire day in the spa getting spoiled. Manicure, Pedicure, Massage, Facial, Microdermabrasion... whatever that is. Sure, you can microdermawhatever my big behind.

Your turn...

Update on May 8, 2020 - The random number generator chose #24. The winner is KiwiKid.


The giveaway is closed.


Wednesday, May 14, 2014

Serendipity...

According to Wikipedia, Serendipity means a "fortuitous happenstance" or "pleasant surprise". 

The Colors
Every time I make a mistake, I learn something. Occasionally, I will go back and fix it. Most of the time, I just let it be - my unique signature in the quilt-making process :-D
And once in a blue moon, I will find something - something amazing, exciting and totally unexpected - SERENDIPITY

Sometime ago, in response to a question on a quilters website about snowball block, I responded with a comment. The conversation went like this.
Me - Oh, you can get the same effect by using the tube technique.
J - Oh, yeah? Well, show us if you think so.
Me - I will. Next week. I am busy now.
J - No problem. I'll wait.

So, I tried the tube technique to achieve the said snowball block. Not quite the result I expected. But I found something else. Today I am sharing with you that serendipitous find!!!

Fabric Requirements:
2 strips of fabric (one light and one dark) each 5" wide by WOF.

I used solids (see picture above) for dark and white for the light.

Directions
1. Fold the  dark strip of fabric, right sides together, along the length. Iron it to create a crease along the entire length.
Creased Strips

2. Repeat for the light strip of fabric.
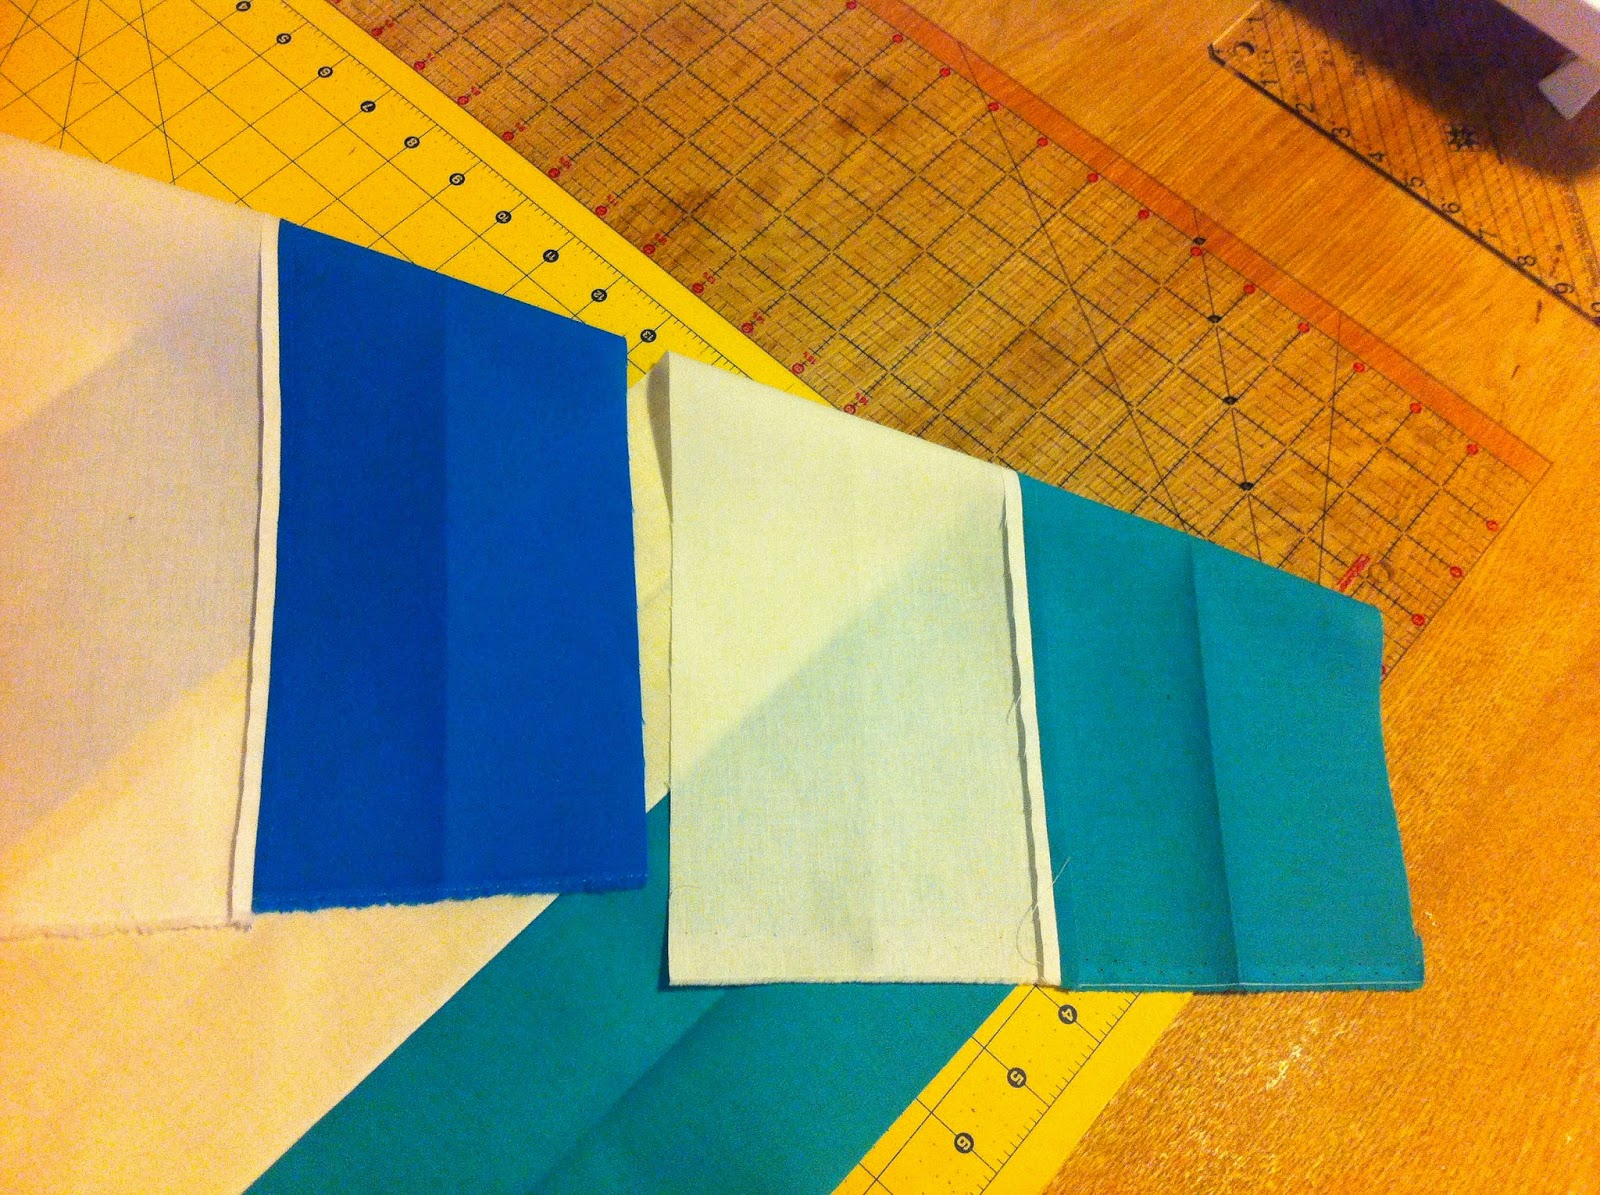
3. Stitch together the two strips, along the length, RST. Press open the seams. Be careful to not press the creases flat, see picture below.
Stitched once and Seams Pressed Open

4. Stitch the two strips on the other side to form a tube. Press seams open. Maintain the  creases. Your finished tube should look like this picture below.
Completed Tube, seams in the center (ready to cut)

5. Lay the tube flat, with the open seams in the center. Now, you see why making those creases in the beginning was so vital - it keeps the tube flat on your cutting board.
6. Using a 45 degree ruler, cut out triangles. I made six tubes with six solids+white


7. From one tube you should get eight squares - 4 with dark centers and 4 with light centers. Each square measures about 61/4 inch.

Does this block have a name? I am going to call it Half Snowball Square (because the snowball effect is only on two out of four sides).  Let us divide them into two piles - the dark centers and the light centers pile, see below.

Half Snowball Squares (HSS) - Dark Centers 
Half Snowball Squares (HSS) - White Centers 
So what is the serendipitous part, J may ask. Well, there are at least seven different layouts that can be achieved from these blocks. Yes, seven!!!

Dark Centers Layout
1. All blocks going the same way - Diamonds
Dark HSS - Diamonds

2. Xs and Os
Dark HSS - Xs and Os

3. Zig Zag
Dark HSS - Zig Zag


Light Centers Layout
1. All blocks going the same way - Whimsy

Light HSS - Whimsy

2. Jewels (This is the same layout as Xs and Os above, but the focus here is the center and hence the name Jewels)

Light HSS - Jewels

3. Silly Goose (because some are flying one way and some are going the other way - that is what Jenny said!!!)
Light HSS - Silly Goose

Now, I know there is someone reading this blog and saying - Oh no, I just want to make one quilt, not two. For those who want to make just one - here are  few layouts using both dark and light centers blocks.

1. Zig Zag - Plain Jane
Mixed HSS - Plain Jane Zig Zag

2. Zig Zag - Crazy Daisy
Mixed HSS - Crazy Daisy Zig Zag 
3. Very Crazy Zig Zag
Mixed HSS - Very Crazy Zig Zag (all mixed up)
4. Bow-Ties - This one is my favorite...

What about the snowball effect?
Looks like this passion of mine is snowballing into an avalanche of quilting happiness!!!

So, here is my question for you - which one of these layouts is your favorite?