Showing posts with label Tube Technique. Show all posts

Tuesday, December 12, 2017

Animal House and a Giveaway

The quilt was completed on Sunday but taking good pictures was a challenge due to limited daylight hours.  And then snowy or cloudy weather AAAAARRRRGGGHHHHHH.
I am dying to show this one.  Here is the flimsy.

A beautiful day
Here is the back story of the quilt.
You know that Angela Walters is the queen of FMQ. Since I do not FMQ, (not even to save my life), I had not dived into the pool of Angela worshippers but admired her beautiful work from the sidelines.

But when Angela Walters joined forces with Craftsy (I am an affiliate) for the Midnight Quilt Show, I could not resist her awesomeness any longer.

In May, Angela did this show - Scrappy On Point Triangle Quilt. It is a free pattern.
I did like the pattern, but it seemed incomplete.

Scrappy On Point Triangle Quilt Pattern
The blocks looked like a cute roof, but it seemed that the house was missing. Just my opinion.
Angela had built castles in the air. It was up to me to put foundations underneath. The question was who should live in that house.

Chapter challenge
About the same time, my quilt guild announced the Chapter Challenge for the next Quilt Show - A quilt with Animals.
And I had this AHA moment. I knew what I had to do. I had to take Angela's roof blocks and place them over animal houses.

OK, I did modify the pattern, so that I could use jelly roll strips for the background. 
I started with 1.5" fabric strips. Sew two together along the length. The resulting combined strip set will be 2.5" wide. Placed RST with the 2.5" white jelly roll strips and stitched on both sides to make a tube. The rest of the pattern is the same to get the roof shapes.
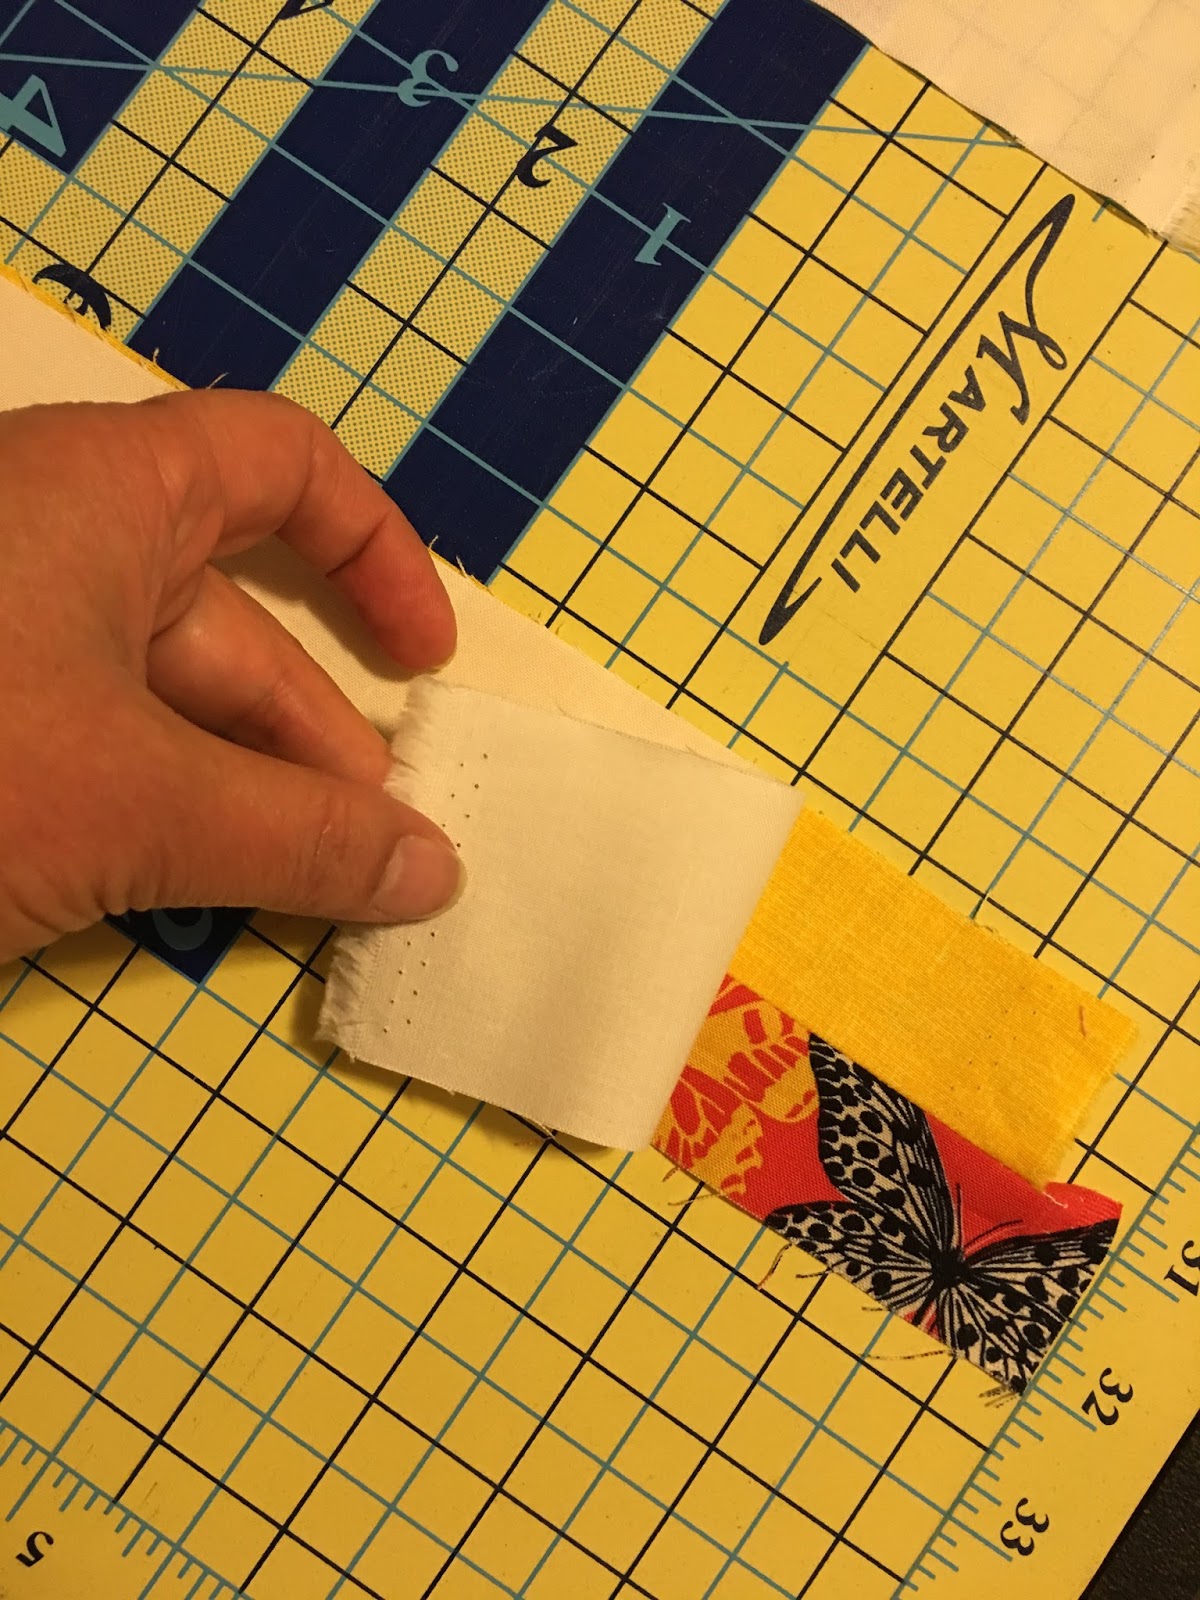
Strip set

Making a tube

I did that with several strip sets. Made several roof blocks.

Assembly Line

Now comes the fun part - the houses and their adorable inhabitants.
Black & White need not be boring

Foxy!!!

Scary!!!

Time to put them together!!!
So cute


Holy cow!!!

Heard the buzz?

Oh design wall!!!

Rows of houses and the quilt top comes together.

Coming together


Yes, crabs have a house too!

So cute and so cheerful. I am calling this one Animal House.

Finished Flimsy - Happy Dance

I chose a crabby fabric for the backing. Why not? Let's take the animal theme all the way.
Quilted it using my walking foot, obviously. Just lines. I believe that is breeze - Houses in the Breeze.

Finished

The bright orange binding makes everything pop and matches the backing too :-)

Orange Binding Pops

How many different animal fabrics are in there?

Did you see the hedgehogs?

Not all. But a lot of them. There are several that did not make the cut.

Owls are a hoot!

So many owls. What a hoot :-D

The cows and the monsters are my favorite. But the cats have so much attitude. Shall we say Catitude?

Under the Tree

The finished quilt measures about 44" by 61". I am that after a wash it will shrink to under 60" along the length. It needs to be under 60" to qualify for the show.

Bundle of Joy
They may not be measuring each quilt, but I'd hate it if a small technicality kept this bundle of cuteness from making it to the show.

Paul, the model

Here is a close-up of the quilting.

Walking foot quilting

Labelled
I love it!!!
________________________________________________________________________

And if you love a good sale, Connecting Threads is having a sale - all solids are 40% off.
________________________________________________________________________

But if you are done spending money, here is a giveaway for you.  I started this blog four years ago. I know time flies, especially since I have been having sew much fun.

To celebrate this anniversary, I will share with you my 5" squares of cute animals.  There are three prizes - 20 squares each of animal cuteness.

Sample of squares in the giveaway

If you'd like to get your hands on these adorable, darling fabrics, please leave me a comment, telling me which animal fabric is your favorite.  If you follow me, leave me a second comment telling me how you follow me.

If you are a no-reply blogger, please include your email. Or better still stop being a no-reply blogger. Here is how http://www.sewathomemummy.com/2013/01/are-you-no-reply-blogger.html

This giveaway is now closed. Winners announced here.
I will announce the three winners on Christmas Day.  
Wishing you a joyful holiday season.
I will be linking with all my favorite linky parties. See the full list on the sidebar.


This blogpost contains affiliate links.


Wednesday, May 14, 2014

Serendipity...

According to Wikipedia, Serendipity means a "fortuitous happenstance" or "pleasant surprise". 

The Colors
Every time I make a mistake, I learn something. Occasionally, I will go back and fix it. Most of the time, I just let it be - my unique signature in the quilt-making process :-D
And once in a blue moon, I will find something - something amazing, exciting and totally unexpected - SERENDIPITY

Sometime ago, in response to a question on a quilters website about snowball block, I responded with a comment. The conversation went like this.
Me - Oh, you can get the same effect by using the tube technique.
J - Oh, yeah? Well, show us if you think so.
Me - I will. Next week. I am busy now.
J - No problem. I'll wait.

So, I tried the tube technique to achieve the said snowball block. Not quite the result I expected. But I found something else. Today I am sharing with you that serendipitous find!!!

Fabric Requirements:
2 strips of fabric (one light and one dark) each 5" wide by WOF.

I used solids (see picture above) for dark and white for the light.

Directions
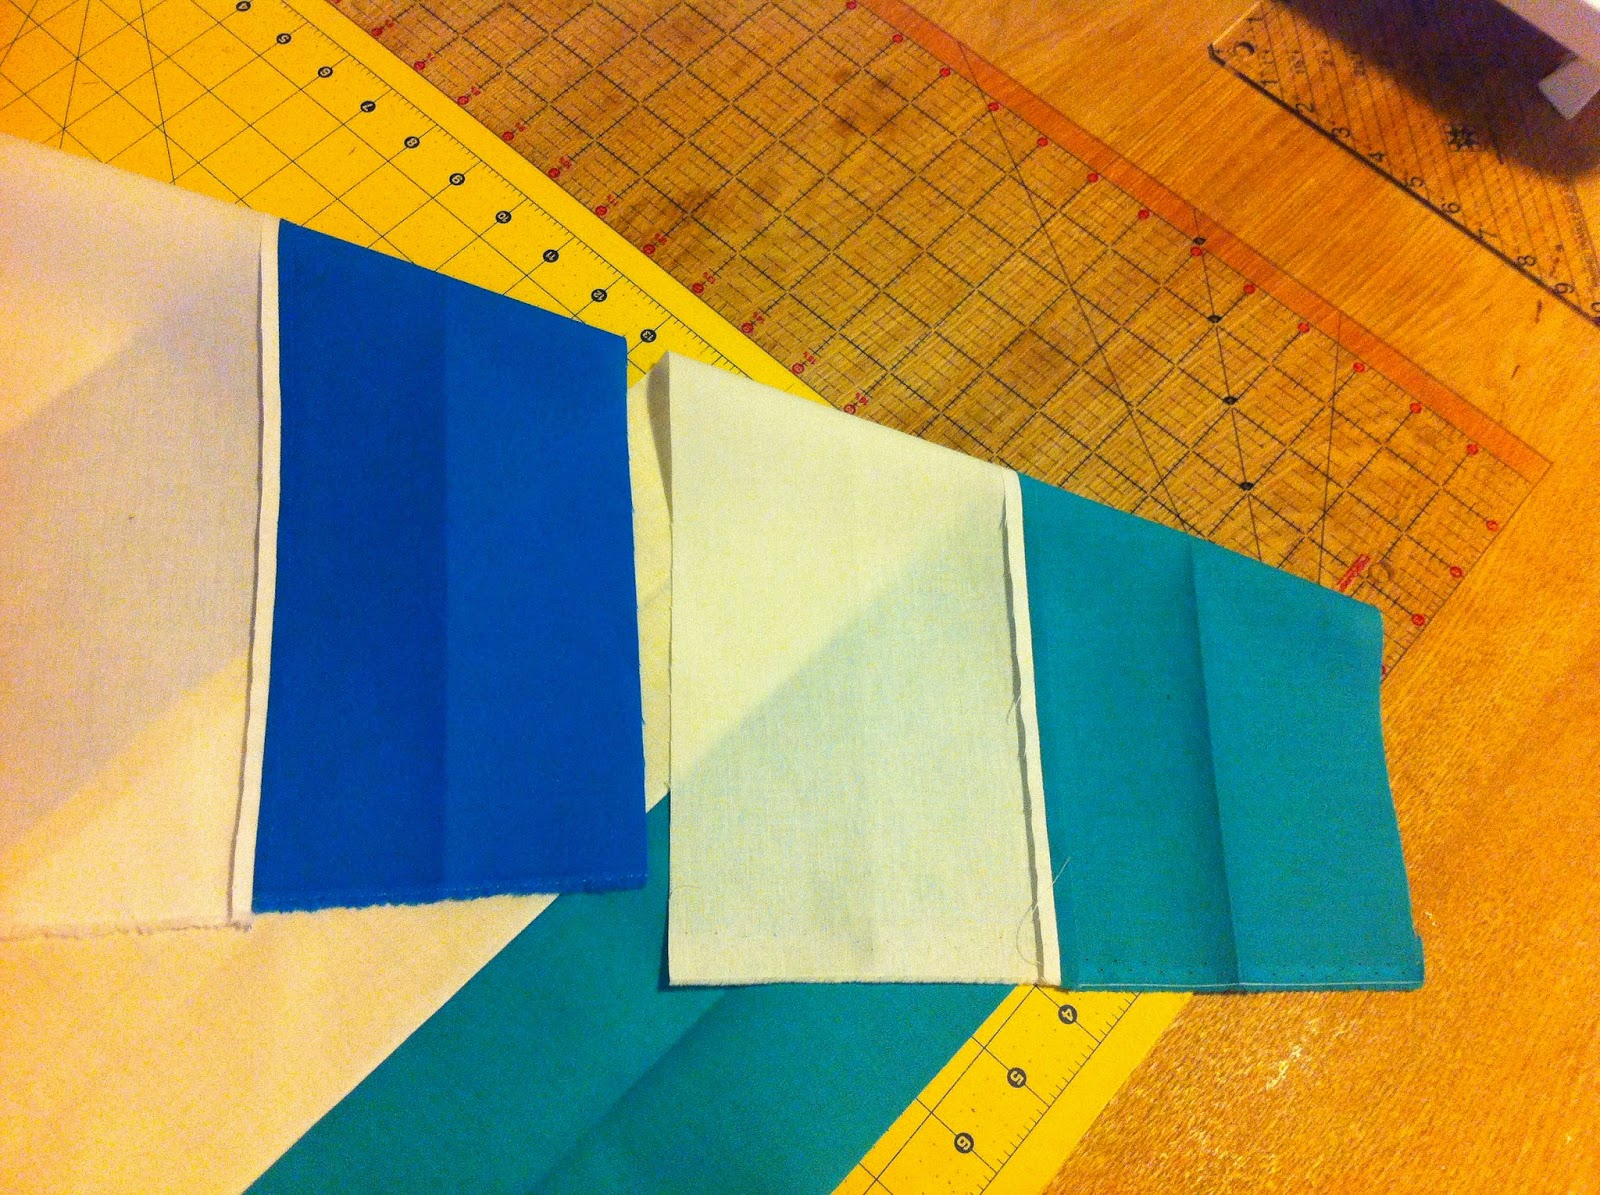
1. Fold the  dark strip of fabric, right sides together, along the length. Iron it to create a crease along the entire length.
Creased Strips

2. Repeat for the light strip of fabric.
3. Stitch together the two strips, along the length, RST. Press open the seams. Be careful to not press the creases flat, see picture below.
Stitched once and Seams Pressed Open

4. Stitch the two strips on the other side to form a tube. Press seams open. Maintain the  creases. Your finished tube should look like this picture below.
Completed Tube, seams in the center (ready to cut)

5. Lay the tube flat, with the open seams in the center. Now, you see why making those creases in the beginning was so vital - it keeps the tube flat on your cutting board.
6. Using a 45 degree ruler, cut out triangles. I made six tubes with six solids+white


7. From one tube you should get eight squares - 4 with dark centers and 4 with light centers. Each square measures about 61/4 inch.

Does this block have a name? I am going to call it Half Snowball Square (because the snowball effect is only on two out of four sides).  Let us divide them into two piles - the dark centers and the light centers pile, see below.

Half Snowball Squares (HSS) - Dark Centers 
Half Snowball Squares (HSS) - White Centers 
So what is the serendipitous part, J may ask. Well, there are at least seven different layouts that can be achieved from these blocks. Yes, seven!!!

Dark Centers Layout
1. All blocks going the same way - Diamonds
Dark HSS - Diamonds

2. Xs and Os
Dark HSS - Xs and Os

3. Zig Zag
Dark HSS - Zig Zag


Light Centers Layout
1. All blocks going the same way - Whimsy

Light HSS - Whimsy

2. Jewels (This is the same layout as Xs and Os above, but the focus here is the center and hence the name Jewels)

Light HSS - Jewels

3. Silly Goose (because some are flying one way and some are going the other way - that is what Jenny said!!!)
Light HSS - Silly Goose

Now, I know there is someone reading this blog and saying - Oh no, I just want to make one quilt, not two. For those who want to make just one - here are  few layouts using both dark and light centers blocks.

1. Zig Zag - Plain Jane
Mixed HSS - Plain Jane Zig Zag

2. Zig Zag - Crazy Daisy
Mixed HSS - Crazy Daisy Zig Zag 
3. Very Crazy Zig Zag
Mixed HSS - Very Crazy Zig Zag (all mixed up)
4. Bow-Ties - This one is my favorite...

What about the snowball effect?
Looks like this passion of mine is snowballing into an avalanche of quilting happiness!!!

So, here is my question for you - which one of these layouts is your favorite?