As promised here is the tutorial to make mini stocking ornaments.
This tutorial will make three ornaments. Please read the entire tutorial before proceeding.
- Batting Scrap - 5" by 9.5"
- Assorted Fabric Strings - 1.5" wide
- Backing Fabric - Three rectangles 3.5" by 5"
- Zipper Tape/ Ribbon/ Ric Rac - Three 3" sections
- Fabric Scraps for covering the slits
- Steam A Seam 2 Lite
1. Print the stocking template file at 100%. Trace on to a light cardboard (cereal box works fine) and cut out the template. Set aside.
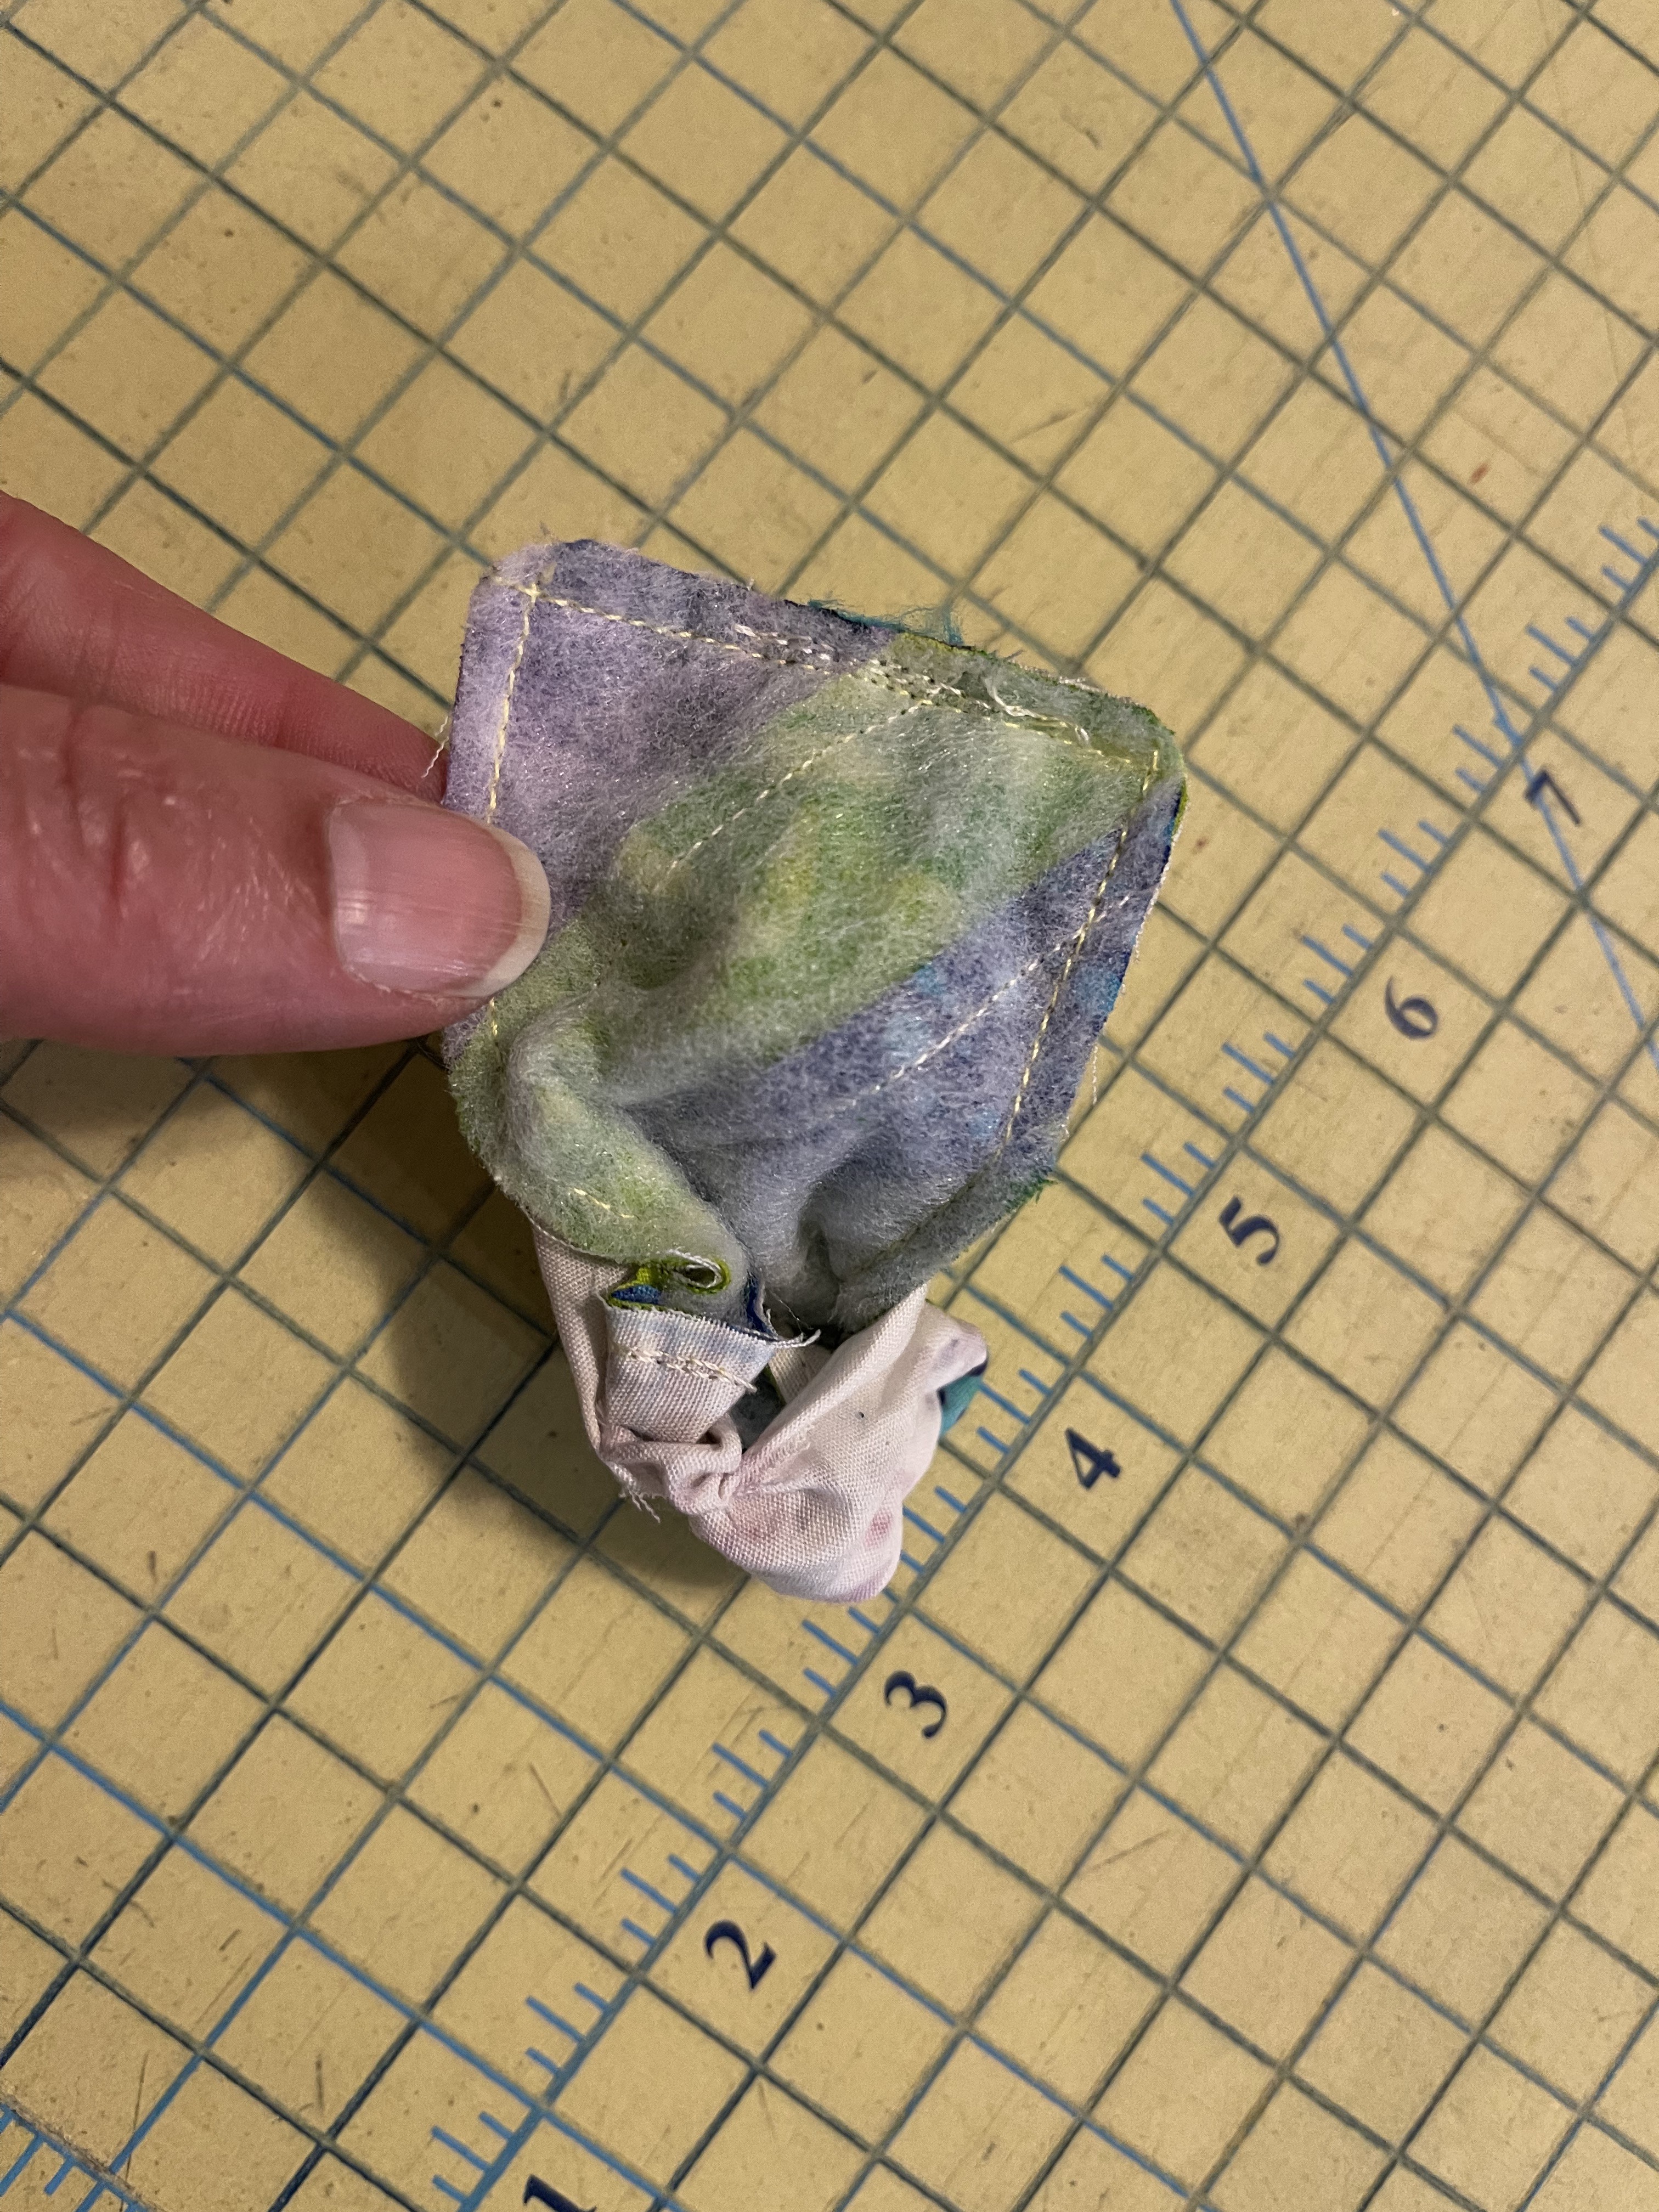
2. On the batting scrap, in the center, lay out the first string at an angle. Place the second string on top of the first, right sides together. Stitch using a 1/4" seam. Open and press. Similarly add other strips till the batting scrap is full covered. See picture below.


 |
| Steam A Seam 2 |

Repeat for the other two stocking ornaments. Enjoy your double-sided mini stocking tree ornaments.


If you have questions, please ask in comments. I will respond here for all to see.
I will be sharing with all my favorite linky parties. See full list on the sidebar.
Make sure to check out Melanie's Advent Calendar with all sorts of goodies (cookie recipes, Christmas cartoons and free patterns) for the entire month of December.
 |
| Our Mini Christmas Tree |
Cutest little stockings! Great scrap idea.
ReplyDeleteWhat a super cute idea and lovely tutorial!
ReplyDeleteLove your mini tree!
ReplyDeleteThey are so tiny and so cute!
ReplyDeleteThank you for writing up a tutorial for your Mini Stocking Ornaments and I must say that transforming the slit into a feature is SEW brilliant, Preeti!!
ReplyDeleteThese are adorable! Love the way the slit is covered - another design feature.
ReplyDeleteGreat the Christmas boot... thank you very much.
ReplyDeleteI really like it.
Greetings to you from overseas...
I wish you a happy Advent and Christmas time.
A hug from me.
Viola
Cute idea! Love the tutorial--very thorough. Thanks for sharing on my weekly show and tell, Wednesday Wait Loss.
ReplyDeleteA very fun idea!
ReplyDeleteCutest little stocking ornaments ever!! I can see a small tree covering in just scrappy stockings!!!
ReplyDeleteThose are the cutest little stockings ever!
ReplyDeleteHow fun!!! and they are totally in your colors ;-) ( okay colors you use a lot!) Thanks for linking to Finished ( or not) Friday and sharing with us!!!
ReplyDeleteSo cute! I love your tiny stockings, and the proud Christmas tree too!
ReplyDeleteHugs
I love the mini stockings! What a great way to put those scraps to use. Thanks for sharing the instructions!
ReplyDelete
ReplyDeleteI really enjoyed reading your post about mini stocking ornaments. Your creative approach to holiday décor is both inspiring and heartwarming, capturing the festive spirit in a unique and delightful way. The blend of traditional techniques with innovative design really makes your projects stand out, and it's clear that each piece is crafted with care and passion. Additionally, I recently discovered some exceptional headshot retouching services that offer professional enhancements to ensure images look their absolute best. These services could be a great asset for anyone looking to refine their personal or professional portraits. Thank you for sharing your creative journey!