The quilt is for Paul and he makes me tick. Is it any surprise that I decided to call it Paulitiks?
Further, the fact that there were so many debates (some heated), diversions (some pleasant) and mistakes (who cares), makes it a lot like politics.
 |
| Backyard Paulitiks ;-) |
The quilt was completed last Sunday. Burying the knots took the rest of the time. Well, since it was not a "very fun" part of the quilt-making process, I kept getting distracted too. In any case, it is done. And here are some more pictures.
 |
| Yes, Paul is standing on the chair and holding it. |
The finished quilt measures 66" by 86". It has 48 blocks (10" each), arranged 6 by 8 and the borders are about 3" wide. I used my favorite Warm and Natural batting and the backing is flannel.
 |
| Flannel Backing |
I chose black binding, that is the same fabric as the borders. That way no mistakes will be visible :-D
Ahem, I chose black binding to match the borders and to keep the focus on the main design of the quilt.
 |
| Stitch over the Ditch Quilting |
I used a meandering decorative stitch on my Janome and stitched over the ditch. The "Warm & Natural" batting allows me to quilt up to 10 inches apart which is perfect since the blocks finished at 10 inches. Therefore, once I went 7 times down the quilt and 9 times across, I was pretty much done - Minimal Quilting!!! Then, I decided to make my life complicated. In a fit of unexplained love, I decided to frame each inner square with a decorative leaf stitch. That took forever, not to mention all the maneuvering of the quilt sandwich made my neck hurt!!!
But all that pain was worth it - it is pretty and I like the delicate touch.
 |
| Decorative Quilting around the inner squares |
 |
| The Leaf Stitch echoes the batik fabric in the square |
 |
| "Come snuggle with me" |
Fall is here. If you have any doubts, take a look at my yard. It is a mess, BUT it makes a perfect backdrop for Paulitiks...
 |
| Paulitiks = Grabbing the Chair |

This is my 13th finish of this year and I am very happy with the way it turned out. In the end, this is the best design - Paul gets the credit for picking this one.
As soon as we finished taking pictures, Paul asked. Can I have the quilt now?
Yes, but wash it first.
Not that he was lavish in his praise, but he did say this - "I like it and it does what it is supposed to do."
Aha, I said, will you put that in writing? On my Blog, please.
I am sure, Paul has seen my blog but I will have to wait a very long time for his comment.
Fortunately, I won't make you wait for the Paulitiks tutorial. Here it is.
PAULITIKS TUTORIAL
Fabric Requirements (for the Quilt Top & Binding)
1. Light Blue Batik - 1.5 yards
2. Dark Blue Batik - 1.5 yards
3. Solid Black - 3 yards
4. Assorted Batik Prints - 6 fat quarters (or use scraps)
Cutting Instructions
1. Light Blue Batik - Cut 20 strips 2.5" by WOF. Sub cut into 7.5" sections. We need 96.
2. Dark Blue Batik - Cut 20 strips 2.5" by WOF. Sub cut into 7.5" sections. We need 96.
3. Solid Black - Cut 40 strips 1.5" by WOF. Cut 8 strips 3" by WOF for borders. Cut 8 strips 2.5" by WOF for binding.
4. Assorted Batik Prints - Cut 48 squares of 4.5" side.
 |
| LB strips (7.5" by 2.5") and matching squares DB strips and matching squares |
Getting Sorted
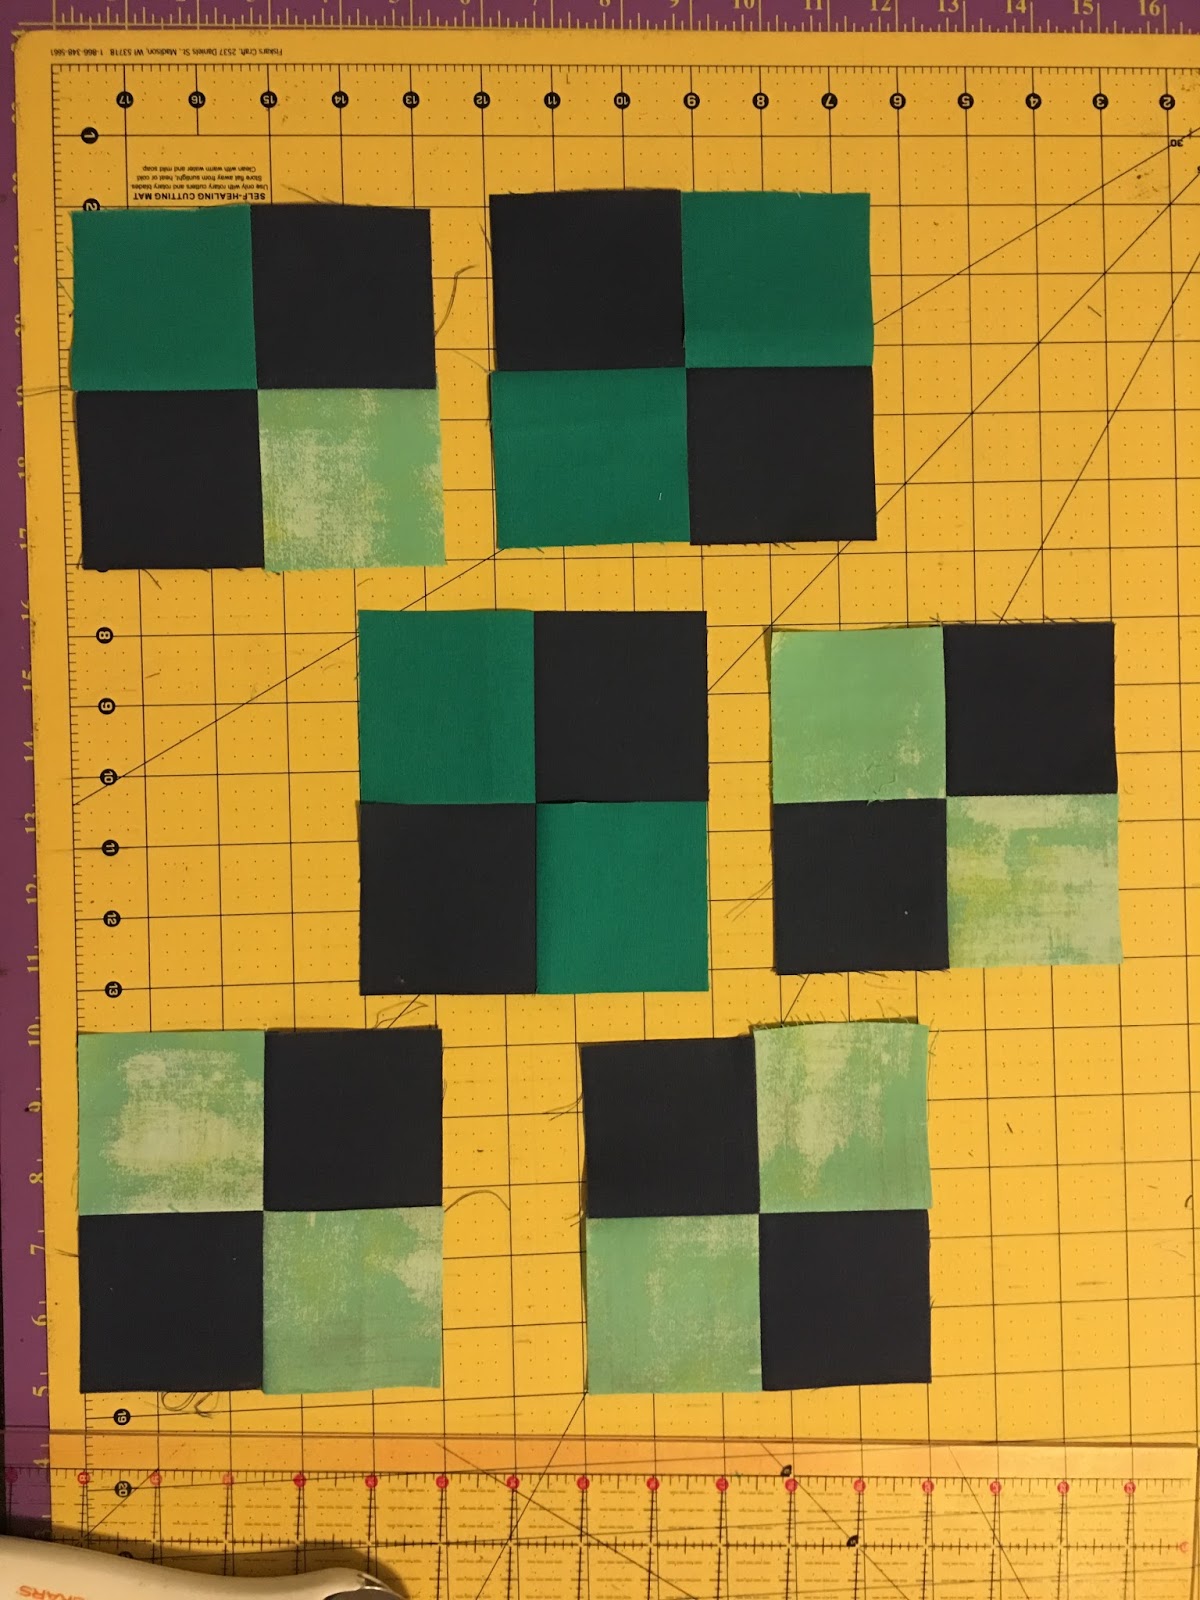
1. Separate the squares into two piles - ones that go well with the light batik (LB) and those that go well with the dark batik (DB). See picture above.
2. Take the solid black strip (1.5" wide) and place one LB strip on top right sides together (RST), carefully matching the edge and stitch along the matched edge using a scant 1/4" seam. Without cutting, add the next LB strip and stitch. Repeat till all 96 LB strips and 96 DB strips are used up.
 |
| DB strip placed next to 1.5" black strip |
 |
| DB strip placed on top of the long black strip, RST |
 |
| After stitching one DB strip, add the second one and continue stitching. |
3. Separate the batik+black strips into 7.5" sections. Each black solid+batik composite strip rectangle
should measure 3.5” by 7.5”. Keep them in two separate piles – light batik and
dark batik.
Making the Block
1. Lay out the center square and the matching composite strips around it.
 |
Block Layout (strips going clockwise)
|
2. First, we will make the partial seam - partially stitch the square to the strip on the right.
 |
| Turn the right strip on to the square |
Flip the two pieces so that the square is on the top. Take to the sewing machine and stitch from the center to the edge. If you start stitching from the center of the square, you will not need a leader.
 |
| Start stitching (using a scant 1/4" seam) from the center to the edge |
 |
| Iron to the dark side and place it back in the layout |
It is important to bring back the stitched piece back to the layout so that you can make sure, you are staying on track. See the half stitched square-strip? That is what we want.
2. Now, we will add the top strip. Flip the top strip on to the piece you just finished sewing and stitch from end to end using a scant 1/4" seam. Iron and open. Bring it back to the layout position.
 |
| Second strip added |
3. We will now add the third strip on the left. It magically matches (in length) the piece we just finished sewing!!! Once again, use a scant 1/4" seam, iron and open
 |
| Ready to add the third strip to the left |
 |
| Third strip added, time to add the last one... |
4. Always bring back the stitched piece to the original layout position. Now we are ready to add the fourth strip.
 |
| Fourth strip placed on the bottom, still following the original layout |
Lift the "partially stitched" first strip away from the block and stitch the fourth strip on the bottom of the block, using a scant 1/4" seam. Start stitching from the square side out to the edge. Once again, iron and open
5. We are almost done.
 |
| All strips added |
See the picture above. We have added all strips around the center square. Now, we can complete that partial seam. Fold the block so that the center square piece is on the top of the right strip.
Take it to the sewing machine and continue stitching from the center of the square (allow for a small overlap of stitches) to the edge of the block, using the same scant 1/4" seam. Iron and open.
Phew!!! no it is not complicated. Just follow the layout.
Here are two tips I learned while I was immersed in Paulitiks :-)
1. Work on at least two blocks at a time. That way you will not need leaders. When you do the first partial seam of one block (working from the center to the edge), chain stitch the second strip of the second block. Alternate between one light and one dark block.
2. Make sure that all blocks are oriented the same way. All strips are going clockwise or all going anti-clockwise. That way when you put the blocks next to each other the black strips will be offset from each other. See below.
 |
| All Clockwise Blocks - Black Strips Offset |
If you have one clockwise block placed next to an anti-clockwise block, the strips will actually match. And that is fine too, if you prefer that look. Just make sure you know what end result you want and proceed accordingly. See picture below - the LB blocks have anti-clockwise strips and the DB block has clockwise strips. And that leads to the matching black strips pattern.
 |
| Mixed Blocks - Anti-Clockwise light blocks and Clockwise dark blocks |
What did I do? Well, I was experimenting. So, I ended up with three blocks that do not match the rest of the quilt in the orientation of the black strips. No big whoop!!! Firstly, no one notices. And even if they did - they should know, that is my signature move - HA HA HA.
Once you finish all 48 blocks, please square them. It is important. Lay out the quilt blocks 6 by 8 in a pleasing fashion. Stitch the blocks into rows and rows into columns. Add borders.
Add batting and backing (I used flannel). Baste, quilt, bind and enjoy!!!
And one last thing, please tell me if you like this quilt/tutorial. After all, what is Paulitiks without the voice of the people!!!!