Showing posts with label free tutorial. Show all posts

Saturday, September 5, 2020

Sisters without Borders

My purple blocks for August were completed at the very last minute. Tch Tch Tch.
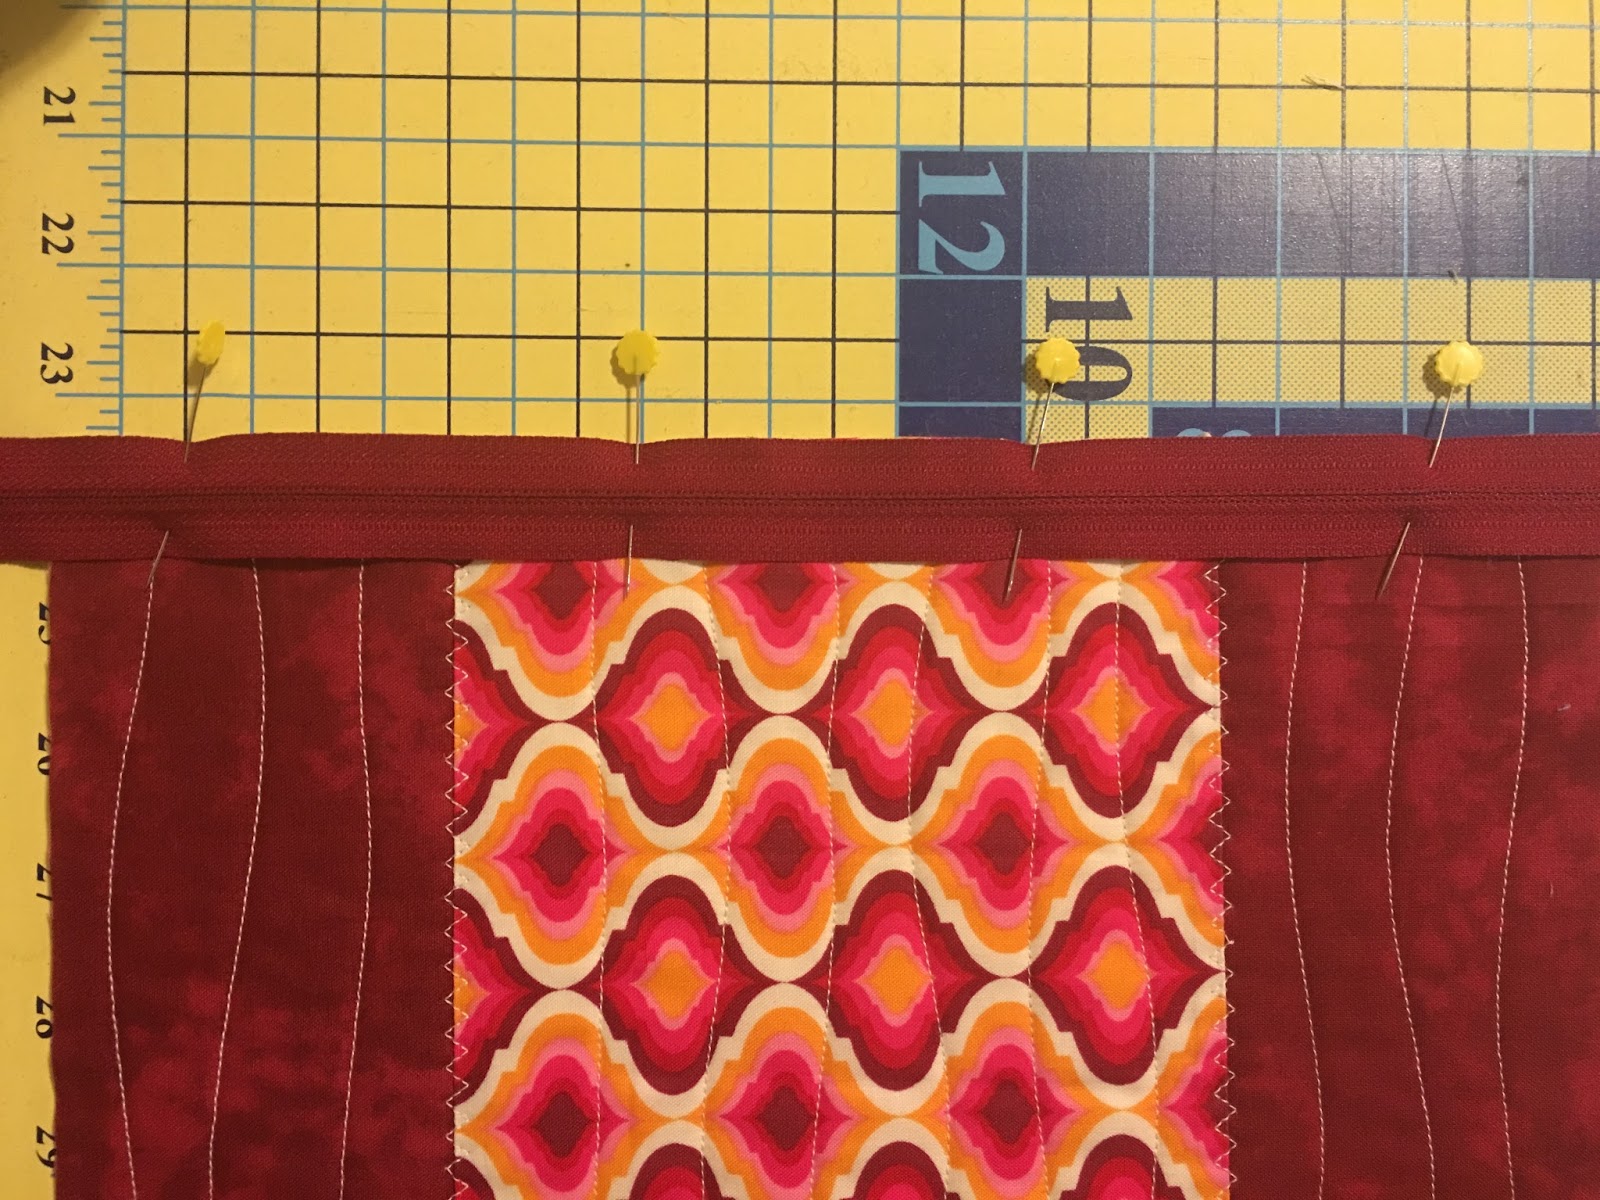
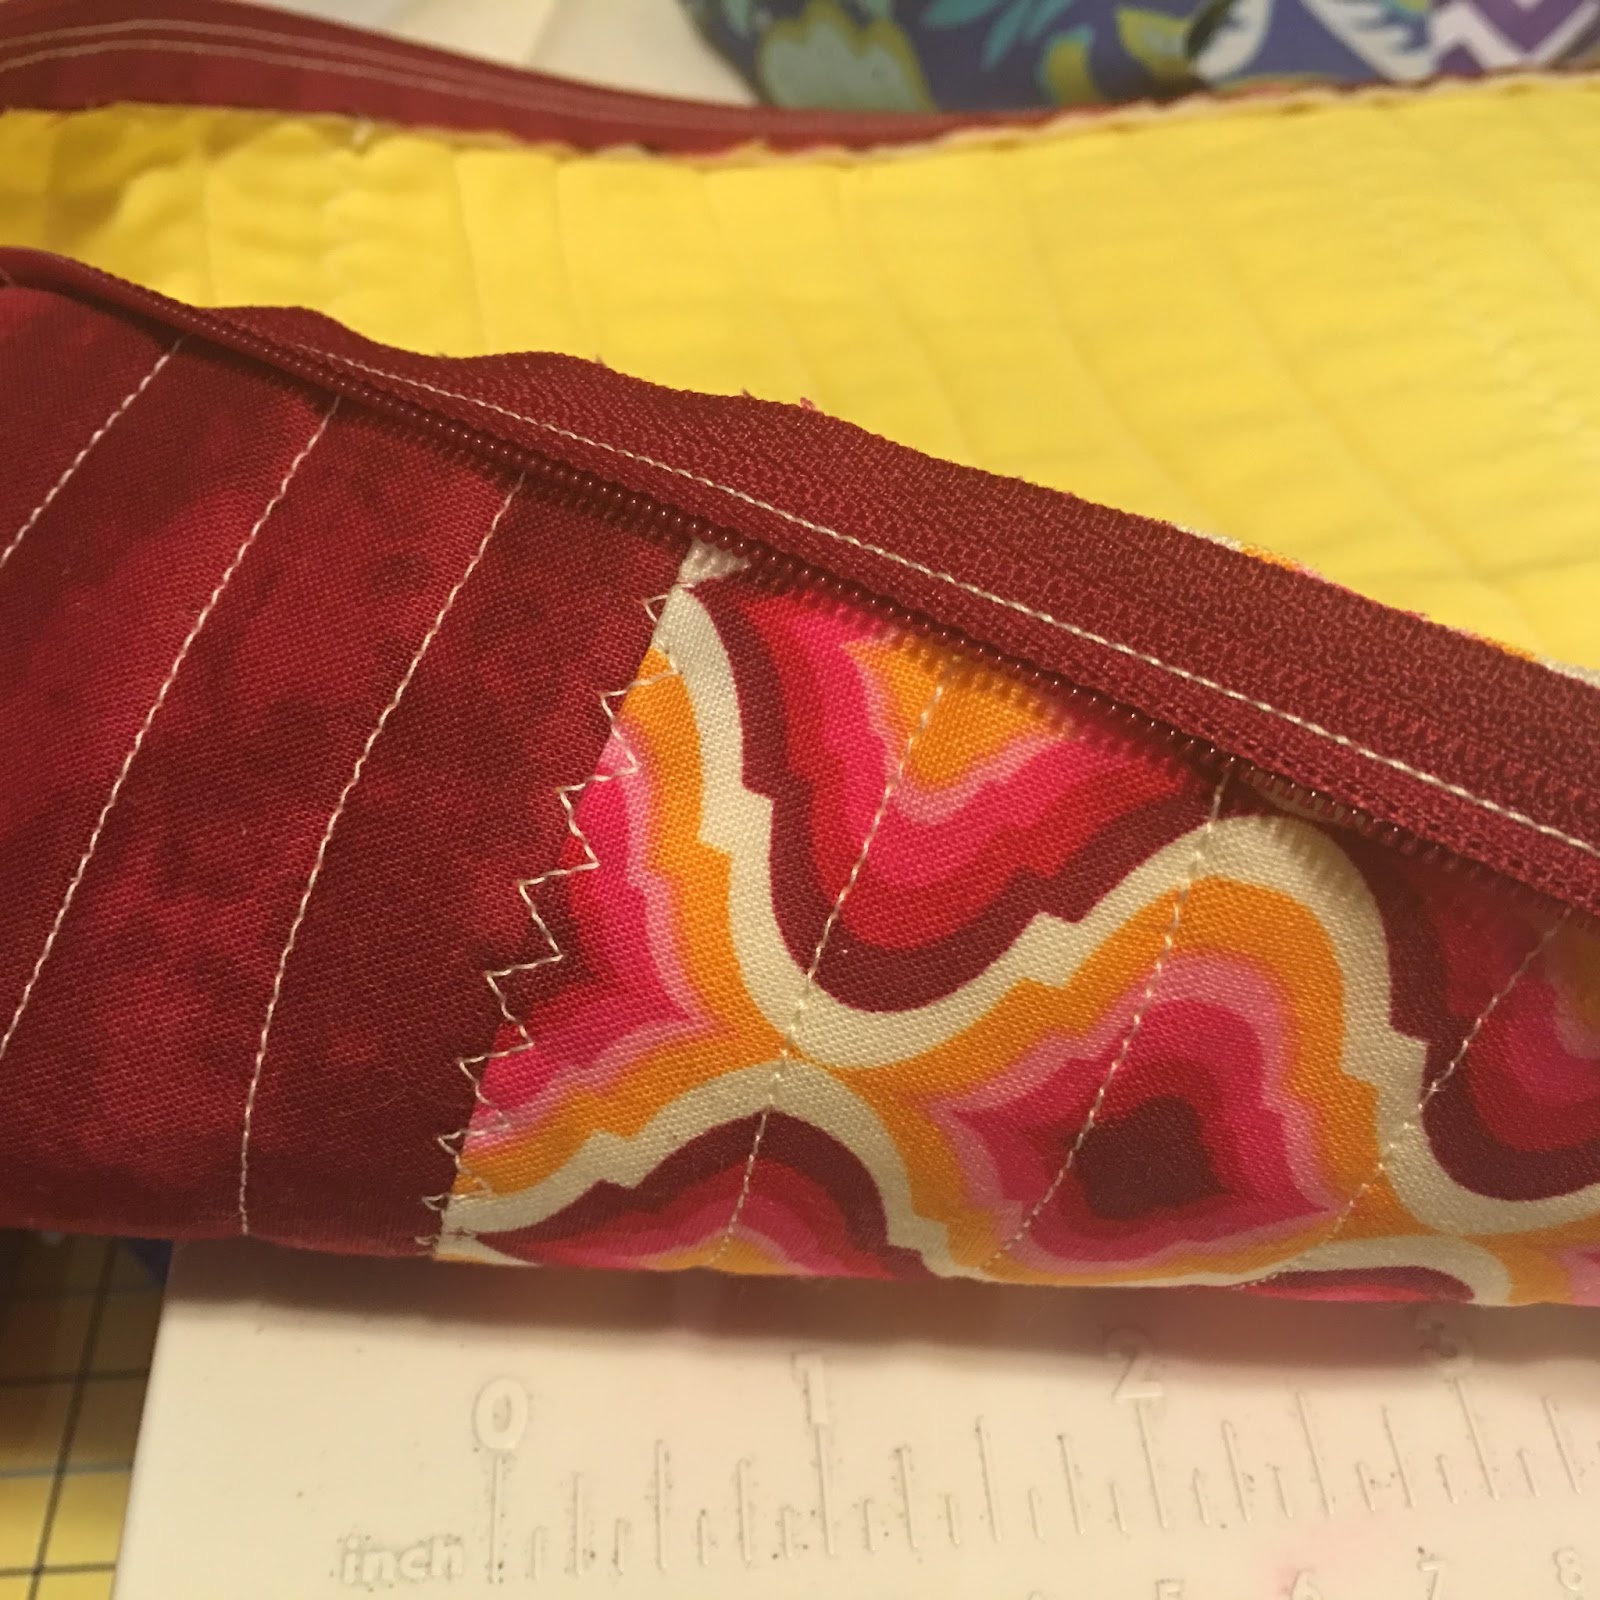
September is Red.

September Completed


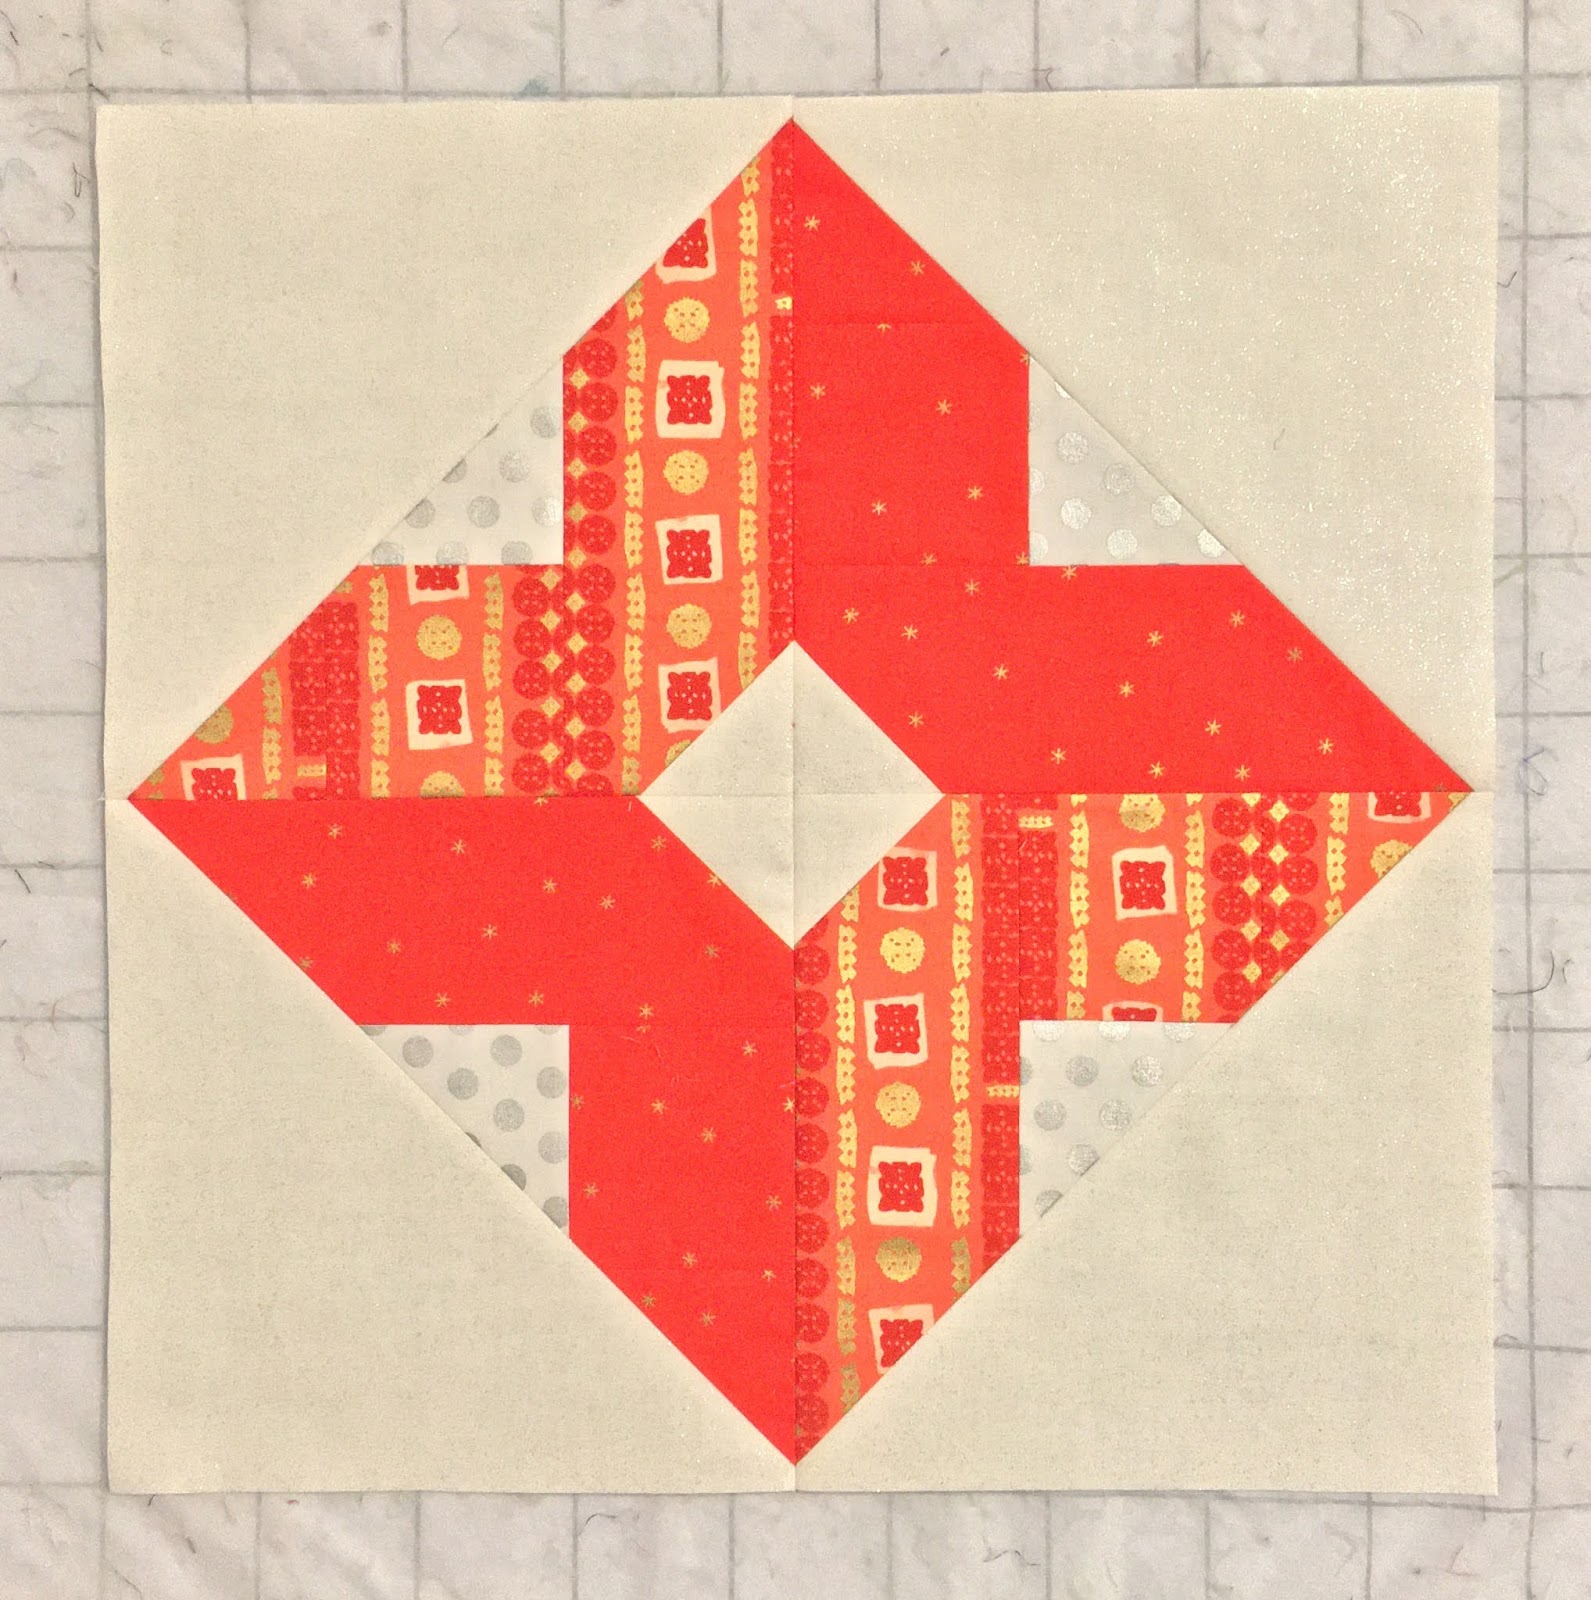
And my red blocks are all done. Happily sharing at Angela's Linky Party.

Floral Red

Fluorescent Red

Dark & Light

Sparkling Red

Poppies & Daisies

Celestial & Wine


Yes, I am overcompensating for a tardy August.

Happiness is Red

Red is Joyful


I also have red on my mind - for another reason.

Canadian Quilter Magazine - Autumn 2020


I am thinking of Canada and the Canadian Quilter magazine. I was featured in the Autumn 2020 issue. Specifically the International Sister Block was featured (you don't have to be Canadian or in Canada to subscribe). Quilters are making and sharing the International Sister Quilt Block to turn it into quilts for shelters and charities. To know that I am a small part of this noble endeavor warms my heart and moistens my eyes.


Featured

I brought home a Strawberry Shortcake to celebrate...

Also White & Red :-)


Paul: What are we celebrating?

I showed him the article.

Paul: You are in a magazine!!!
Me: Yes, I am.
Paul: Does that mean you are famous?
Me: The International Sister Quilt Block is very popular. I am just lucky.
Paul: They all have different outfits, don't they?
Me (beaming with pride): Yes, no repeats.
Paul (mocking): Two women wearing the same thing? Never.
Me: Well, American films definitely enforce that stereotype.
Paul: How many different fabrics?
Me: Fifty in the big quilt. 32 in the smaller one.
Paul: That is a lot. What if someone wanted to make this quilt but they don't have as much variety?
Me: Quilters do block swaps all the time.
Paul: How would you arrange that?
Me: Quilt guild meetings have block swaps.
Paul: All your meetings are suspended.
Me: Like-minded quilters can coordinate and mail blocks to each other.


Paul's phone buzzed and the discussion ended.
But it got me thinking - could I use a layer cake square (10" square) to make the block?

International Sister Quilt Block from a 10" Square

10" Square - Cut Up

The Complete Outfit


Me: I believe I have addressed your concern about someone not having 50 different fabrics.
Paul: How so?
Me: The outfits can be made from a 10" square and one can buy a packet of 40 squares, instead of 40 different fabrics purchased individually.
Paul: That is cool. 


The thought process continued. Can I use 5" squares? How?
Here is a how you can use two 5" squares to make a modified block (7.5" finished).
One square makes the skirt and the other square provides the sleeves and the headdress.  

Petite International Sister Quilt Block from a 5" Square
5" Square Cut up

The Total Outfit for Petite Sister

Paul: Preeti, when are we leaving?
Me: In five minutes. I'll be ready shortly.
Paul (teasing): You do everything shortly.

I am 5'3" which is petite by American standards.  An average Indian woman is 5'1".
Paul is 5'11" which isn't exactly tall but he won't let that come in the way of a good-natured teasing. 
He can tease me all he wants but no one will tease my petite sisters.

Here are the fabric measurements to make a Petite Sister Block.

Background
Two rectangles - 2.75" by 5"
Two rectangles 1.25" by 3"

Skin
One square 2.25"  (face)
Two squares 1.25" (Palms)

Focus Fabric/Outfit
One Square 5" (Skirt - Use one charm square)
One Rectangle 2.25" by 1.75" (Headdress - see diagram above)
One Rectangle 3.5" by 1.75" (Headdress - see diagram above)
Two Rectangles 1.25" by 2.5" (Sleeves - see diagram above)


One Tall Sister + Three Newly Made Petite Sisters :-)

Please use the International Sister Quilt Block tutorial for detailed instructions.

The Petite Sister Block is 8" square (7.5" finished) compared to the 10.5" square (10" finished) for the International Sister Block.


I will be sharing with all my favorite linky parties. See full list on the sidebar.
Please tell me how you feel about the petite sisters (or the tall one). I am dying to know.


Sunday, May 12, 2019

International Sister Block

I first came across the African queen block in 2017.
The newest one

I hunted for the pattern/tutorial but found nothing. I drafted the pattern.

First scribble
Dimensions
Background

I made a block. It was midnight. I was dying to share it with someone who could share my enthusiasm.

My first sister block

I called Bernie on the west coast, knowing that she was likely to be awake. True to my expectations, Bernie was a mountain of encouragement.
Bernie:  I'd be happy to sell it in my Etsy store.
Me: You are very kind.


Internal Voice: It is not your pattern. You should not be profiting from it.
Me: I drafted it. I refined it. I perfected it.
Internal Voice: Not from scratch. The idea was someone else's.
Me: Profit or not, I want to make more of thee blocks.
Internal Voice: Go ahead.

By the time RSC2019 came along, the design had been modified, several outrageously loud fabrics and been acquired and I was ready to churn out these lovely ladies on a regular basis.
And I did.

The Ladies in Red
I experimented with various skin tones - freckles and age spots too.
The ladies were received with universal appeal. I beamed with pleasure.


Sunshine Ladies

Even the closed palms were met with approval. I danced with joy.


Aqua Maidens
Here is a sample of what you said.

There were several requests for a pattern/tutorial and the internal dialogue began all over again.
One thing was abundantly clear to me - IF I shared the pattern it would be free.

But I still struggled with the question - Do I share it with the world?
An email from Mary and another from Nikki goaded me.


The final decision came after a phone call with Mari.
These ladies are very popular.  There is no way you can keep them all to yourself, said Mari. 
If you don't share this tutorial, someone else surely will. 

The credit for naming goes to Cathy, who very wisely said "your lady blocks have morphed from African women to International Sisters"

So here it is. Without further dialogue, internal or otherwise, I present the tutorial for the International Sister Quilt Block.


International Sister Block
Showing Finished Sizes


Fabric Requirements

Dress
One square 7" side (skirt)
Two rectangles 1.5" by 4" (sleeves)
One rectangle 2" by 2.5" and One rectangle 2" by 4" (headdress)

Face and Hands
One square 2.5" side (face)
Two squares 1.5" side (palms)

Background
Two rectangles 1.5" by 3.5"
Two rectangles 3" by 7"

Instructions
All seams are 1/4". Press all seams open.

1. Fold the two squares (palms) in half, (wrong sides together)  along the diagonal and press to create a crease. Place RST on the top corners (one aligning with the top left corner and one with the top right corner) of the small background rectangles. Sew on the crease. Cut 1/4" from the crease, discard the corners and press seams open.  See pictures below.

Aligned with left and right top corners

Pinned

Stitched

Trimmed

Pressed

This was the trickiest step. It is all downhill from here :-)

2. Add the sleeves to the palms. Press seams open. See pictures below.
Add sleeves

Pressed

3. Sew the headdress to the face. Press seams open. See picture below.

Face and Headdress

4. Arrange all the pieces on the board.
Closed Palms
 If you switch the sleeves (left to right & right to left) you will get the open palms look)

Open Palms
You must decide whether you want palms open/closed before you add the large background rectangles to the sleeves. In this case, I am proceeding with an open palms block.

Almost done

5. Sew the left sleeve to the skirt and the right sleeve to the head.
One more seam to go

6. One last seam and we are done.
Yes, please

Press seams open for a neat flat finish. Square the block to 10.5".
Time for a happy dance.

Of course, if you'd rather rest then please let the world know with the closed palms look.
Another time
Thanks to all my quilty sisters - Bernie, Mari, Nikki, Mary and Cathy.  You made this tutorial possible.  Once again, I will be eagerly watching this space for your quilty hugs (translated into comments) :-D

Should you have questions, please ask in the comments. I will respond here so that all can see.

I will be sharing with all my favorite linky parties, including Angela's Scrap Happy Saturday.  See full list on the sidebar.


Sunday, May 8, 2016

Tutorial - Simplest Zippered Pouch


Meg sent me an email, asking me how I made my zippered pouches.  Here is to you, Meg.
My simple instructions for the simplest zippered pouch.

Lots of pictures with captions explaining the step-by-step process.

Simple Zippered Pouch
Starting Panel - 11" by 6.5"

Matching Strips - 2.5" wide, placed on the sides

Stitched using a 1/4" seam
Trim the completed top - panel + side strips to 12.5" by 11".
Switch to a walking foot.


Layer the top panel, with batting and backing.  Use basting spray to keep them from shifting.

Batting

Backing
Now, you can quilt it to heart's desire.  I quilted zig zag lines over the two seams and then some gentle curves.  See picture below.

Quilted!!!

Trimmed
Zipper Time.
Find a matching (or contrasting) zipper. Change to a Zipper Foot.

Wow, perfect match!

Quilted Sandwich - Folded in half
 Just wanted to see, how the finished pouch will look.  I like it.  Ok, moving along.

Place the zipper, face down and the zipper pull to the left.  Zipper pull to the left. 
Make sure that the Zipper pull is to the left.


Zipper, face down and Zipper Pull to the left.
 Pin in place.  This step is optional.  If you are comfortable with attaching zippers, then you may skip it.  I want to make sure that I am showing all the steps.
Pin in place
 Do you have your zipper foot?

Look at the picture below.  The zipper foot is attached on the left side, so that the bulk of the foot is to the right.  When we are attaching the zipper first time, this is the position we want.

First Stitch - Attach to the left.

Zipper Foot - Attached on the left
 Go slow, making sure that the stitch line is as straight as possible.
Attaching Zipper
 This is how it should look. See picture below.
Zipper - First Stitch Done
 Now, fold the zipper portion and iron it down.  It should look like the picture below.

Zipper attached - Folded and Ironed
Now, we will top stitch the zipper.  Change the zipper foot from the left to the right side.  See picture below.  Can you see that the zipper foot is now attached on the right side and the bulk of the zipper foot is to the left?  That is what we want for top stitching.

Top Stitch - Attach to the right.
Increase the stitch length to 2.4 or 2.6 for top stitching.

Zipper Foot - Attached to the Right for top stitching
Since the zipper is to the right side of the needle, we want the bulk of the zipper foot to the left of the needle.  That is why we change the zipper foot from the left side to the right side.

Top Stitching in Process
 Top Stitched. Yay!!!
Top Stitching Complete  :-)

Are you ready to attach the zipper to the other side of the quilted sandwich?
Yes? Ok, then switch the zipper foot again to the left side.

Fold the quilt sandwich in half, right sides together, so that the zipper pull is now towards you. See picture below.

Attaching zipper on the second side
You can pin, if you wish.  This time, I will skip the pinning.

Quilted Sandwich - Folded, RST
Change stitch length to original 2.2 (or whatever you are comfortable with).  Make sure that the zipper is attached on the left side so that the bulk of the zipper is to the right.  See picture below.


Attaching Zipper to second side
 Once again, proceed slowly, trying to keep the stitch line as straight as possible.

Zipper attached to the second side!
Open the zipper fully now.
Zipper Opened fully. Before ironing
 Once again, fold and iron the just attached portion.
Folded and Ironed
Ready to top stitch one last time.  Increase stitch length to 2.4 or 2.6. Make sure it is the same stitch length as used for top stitching earlier.

Top Stitching the second side
There is a lot of bulk under the foot. So proceed slowly, trying to keep the stitch line as straight as possible.

Top Stitched

This is the time to do a short happy dance, because you have completed the most difficult part of this process. YAY!!!


Zipper Attached and Top Stitched

Close the zipper and position it on the top of the pouch.  See picture below.

Zipper on Top

Now, move the closed zipper down from the top to about one inch towards you.  See picture below.

Why, you ask.  Well, if you make the pouch with the zipper on the top, it creates a lot of bulk on the corners where zipper ends going the seams.   If you move the zipper a bit to the inside, like in the picture below, that bulk is then avoided.

Zipper offset to the inside
Pinch the fold on the top of the pouch and place a pin on the inside, along the pinched crease.  See picture below.

Place a pin at that crease
Half close the zipper and turn the pouch inside out.  Place another pin on the other side of the zipper.

Zipper half Open, Pinned in two places

Now, we are ready to finish the pouch.  Put on the walking foot once again. Leave the stitch length at 2.4 or 2.6.  Once again, there will be a significant amount of bulk under the walking foot.

Walking Foot - Once again

Stitch, using the walking foot, and 1/2" seam on other sides of the pouch. See picture below.

1/2" seam
 Whip it around and stitch again.

Stitched twice

One side done
 Repeat on the other side.

Stitched both sides!!!
 Trim the excess zipper ends from both sides.

Trimming excess zipper

Trimmed
Almost done.  Just one more step.  To avoid bulky corners, clip away tiny triangles from the seams. See picture below.

Trimmed Corners to reduce bulk

Now, turn your finished pouch right sides out, press  and admire.
Needs to be Ironed

Zipper Closed
Do you see how beautifully the print above the zipper matches with the print below the zipper?
I am doing a happy dance right now :-D


Dainty & Useful 


The finished pouch measures 5.25" by 10.5" and it can neatly fit this set of combs.  You have a simple zippered pouch!!!

If one is good, two must be better. Right?
Here is a bonus zippered pouch for you.

QAYG Zippered Pouch

I started with batting 10" by 12" and backing 10.5" by 12.5"
Batting - 10" by 12" 
 Layer the batting and backing.  Spray baste to keep the layers from shifting.
Batting and Backing
Now, comes the fun part.  Dive into your strips scraps bag and pull out a few skinny strips - 1.5" wide.  We need one strip 2.5" wide by 10" long.

Place the wide strip in the center of the batting+backing.

Add the skinny strips on both sides. Stitch using a 1/4" seam.  Flip and iron.
Repeat till the entire batting/backing are covered.

Gorgeous colors!!!
Trim the quilted sandwich and follow the same process of attaching zipper as in the Simple Zippered Pouch.

In this case, I left the zipper on the top.  See the bulky corners?
Keeping this one
So, the process (and size) of the quilted sandwich is different.  But the steps of attaching the zipper are identical. If you wish, you can use just one piece of top fabric to make your quilted sandwich.

Mine Mine Mine!!!
 The bright purple zipper makes it pop :-)
Pop of Purple

Do you like it?  Are the steps/instructions/pictures clear?  Meg? Are you there, Meg?
Tell me all your thoughts.  Your comments make me happy :-)


How happy?  Like this design wall below.

Work in Progress - Color Splash on my Design Wall
Peach, Pink, Orange, Coral, Fuchsia, Blush & Tangerine!!!

These are the colors in my new quilt - a work in progress. Furiously in Progress.
Must finish by May 30th.  Details when complete.

I will be linking with all my favorite linky parties.
-----------------------------------------------------------------------------------------------
June 23, 2016 UPDATE
Diana of Little Penguin Quilts used this tutorial to make a perfect little zippered pouch for her sewing supplies.  Do check it out!!!