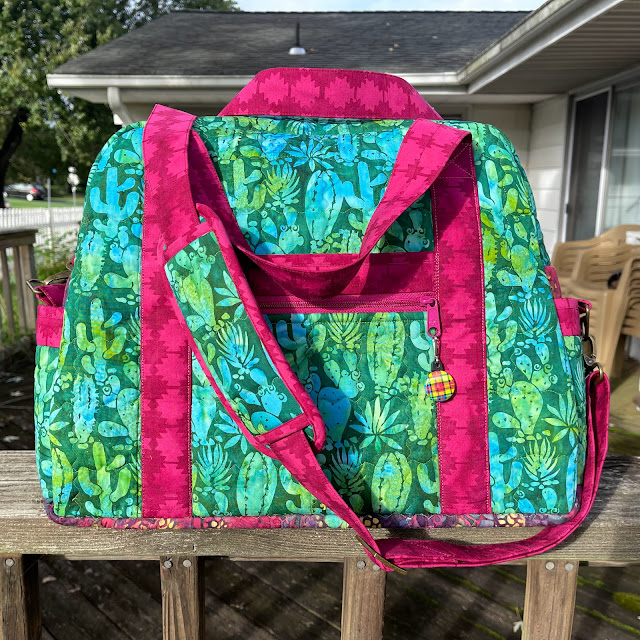
 |
| The Ultimate Travel Bag |
The October 2022 Island Batik Challenge is "Its in the Bag", sponsored by Patterns by Annie.

I chose the bag, I chose the fabrics and everything was sent to me. Gosh, I am spoiled!!!
 |
| Soft & Stable - For Bags that Stand Tall |
 |
| Pattern and the Hardware |
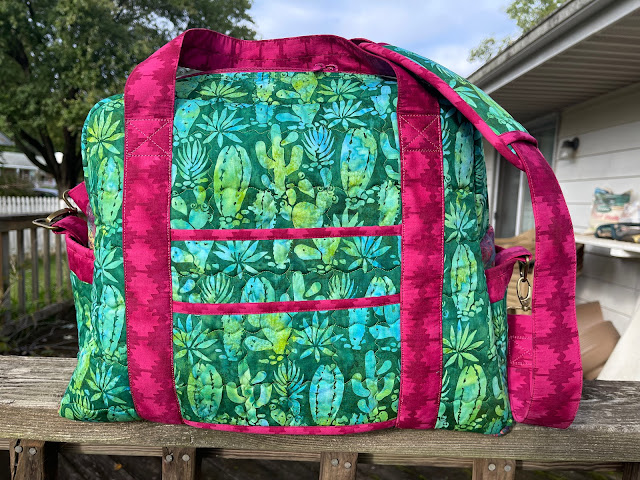
I chose fabrics from the Spring 2022 Sunset Plains Collection. It is a beautiful collection with bright greens, reds and maroons designed by Kathy Engle. I love the Cactus print.

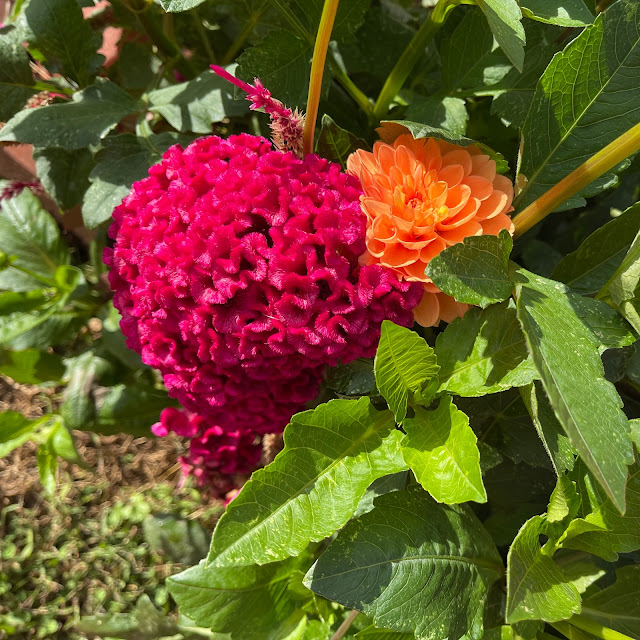 |
| Flowers on my morning walk - Collection Inspiration? |
 |
| Fabrics |
On second thoughts, I should have chosen a non-directional print. Keeping the cactus print upright was an additional challenge in making the bag.
Annie's patterns are extremely detailed. This means that they require total attention and complete concentration. Unlike my usual cutting/sewing/quilting, I could not listen to the radio or an audiobook. Proceeding one step at a time, I checked each box as I completed that step.
 |
| Quilting the Pieces |
 |
| Completed Shoulder Comfort Pad |
Binding the Shoulder Comfort Pad was a challenge but the Add-On Video was really helpful.
For the bottom of the bag, I chose to use a non-directional fabric, also from the Sunset Plains collection, leftover from making the Stars and Swirls quilt.
 |
| Buttons to limit wear and tear |
 |
| Straps and Handles |
 |
| Front and Back, Top and Bottom - Ready to Assemble |
I used Schmetz 90/14 needle to make the bag. Going through several layers of fabrics and Soft & Stable is tricky and a lesser needle will cause you to skip stitches.
Once the four parts - Front, Top, Bottom and Back were assembled, I turned the bag inside out and attached the handles. Admired my handiwork and felt supremely pleased.
Paul: Looks fantastic.
Me: Um Hmm.
Paul: It is finished, right?
Me: Mostly
Paul: What is the matter?
Me: It is ready for pictures. And I have other things to do. I have been working on this for two weeks.
Paul: Oh, I know. You did not finish the insides.
Me: I am done.
Paul: Don't you need to protect the seams.
Me: No. That inside binding step is purely cosmetic.
Paul: So you have an ugly bag inside.
Me: Possibly, but no one needs to know.
Paul: You know it.
Damn the man.
 |
| Ouch!!! |
It took me two days to hand bind the insides and my index finger hurt for two days after the bag was completely finished. But I can proudly share the inside pictures.
 |
| Large Inside Pocket |
 |
| Neat on the Inside :-) |
Speaking of inside, the design includes a sleeve to hold an acrylic stabilizer (also provided) in the bottom for added stability.
 | ||
Sewing the Sleeve for Acrylic Stabilizer
|

Annie has taken care of every detail and the design includes every step from making the zipper pulls and bias binding to the shoulder pads and trolley sleeve. I cannot recommend this Ultimate Travel Bag 2.0 enough. Many thanks to Annie and Island Batik.
And now it is time for the photoshoot!
 |
| Bottom Buttons |
 |
| Big & Beautiful |
 |
| Is that my plane? |
 |
| Hey good-looking! |
 |
| Gorgeous! |
 |
| So Happy! |
 |
| I like Big Bags |
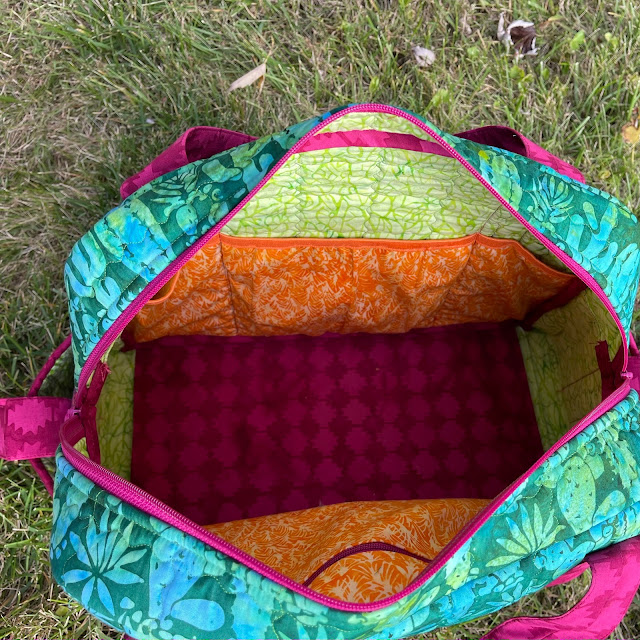 |
| Beautiful on the Inside |
 |
| Side Pocket |
 |
| Top View |
 |
| Back with Trolley Sleeve |
 |
| When are we leaving? |
Do you like my choice of green and maroon. What colors would you choose, if you made this bag? I'd love to hear from you.
I will be sharing with all my favorite linky parties. See full list on the sidebar.
Did you see the latest issue of Quiltmaker Magazine? Not only does it include my quilt, I am also featured in it :-) That blogpost is next.