Showing posts with label SF101. Show all posts

Saturday, January 31, 2026

Rock & Roll Quilt

In May of last year, Mary Helen reached out to me with a request for a T-Shirt Quilt.  I said Yes, but it would have to wait till the end of the year.

I started the day after Thanksgiving and mailed the completed quilt the day after Christmas.

On the banks of the Potomac


The box I received contained about 18 t-shirts, most of them were never worn and in excellent condition. I cut them up - all of them. 

Then came the tiresome task of stabilizing them. I used about a bolt and a half of SF-101. 

Stabilizing T-shirts

Layering & Ironing


Once all pieces were stabilized, the design process could begin.  Of course, the stars would take center stage but the different sizes had to be reconciled.

I used the t-shirt backs to make checkerboard coping strips and used them as a design element.

Checkerboard


Captivating!


It was time to move to the Design Wall, although it was impossible to cram all these legends into a tight space.

Design Wall


The blue/white tie-dye t-shirt (Led Zeppelin) needed some white fabric but none of the t-shirts had any white. Paul let me use one of his old t-shirts (frayed crewneck) to make the blue/white coping strip.

Added White


The grid was three wide by four tall and I was aiming for about 60" wide by 80" tall.  Working on one row at a time, I added coping strips as needed.

Flimsy

Thick t-shirt fabric, made heavier with stabilizer does make the quilting a challenge. I switched to a 90/14 needle and quilted from the backing side using the square grid of the printed fabric as a guide.

Backing and Label

Here are some close-ups.


I chose this backing so that I could use the squares as a quilting grid.


I am told that the quilt was well-received.  Mary Helen texted "my friend absolutely loves the quilt"

Mission Accomplished.


In other news, I completed my blocks for the Rainbow Scrap Challenge.  After considering and discarding several designs, I decided to make super simple log cabin blocks. 

10" Log Cabin Block

Work in Progress


Thank you Island Batik


I will be sharing with Angela's Linky Party and Quilting Jetgirl's Favorite Finish and others too. See full list on the sidebar.


____________________________________________________________

Last week, we visited Mount Vernon on our way to Richmond. Just a couple of days to get away and celebrate Paul's birthday.

Mount Vernon - Looking at Maryland across the Potomac


Calm before the Storm


In Richmond, we visited the Civil War Museum constructed around the ruins of the Tredegar Foundry. Some pictures from our visit.


I texted my daily Wordle to Mari, while we waited for our lunch. She texted back. 
Mari: Did you see the news? 
Me: No. We are visiting the Civil War Museum. What happened?
Mari: Don't see it. Enjoy your day.

We did see the news. It was everywhere. 

So many times, my name is misspelled as Pretti. Every time I hear it, I stop and think - did someone call me?

A former co-worker turned friend bought some zippered pouches and wrote me a check.

I am Pretti


This is a difficult time and I am not OK. 
Hugs to you. Hope you will hug me back.


Wednesday, August 6, 2025

Hot Stuff - Oliso Iron Case Challenge

Picture this - a completely solar-powered, aerodynamically designed, sleek automobile of the future. Its exterior is so dark and shiny that the passing landscape is reflected perfectly on its surface.


Cool Trees, Scorching Planet


In January, we received a mini Oliso Iron, complete with a matching Solemate (a base for placing the hot iron) and a thick wool carry case. Island Batik's August Challenge is to decorate the carry case for our Oliso Mini Irons.


This was an unusual project. The thick wool carry case would certainly break a needle or two, if I tried sewing on it. The idea of hand-sewing on a thick material made my finger pads shudder, thimble or not. Design consideration aside, the logistics of this project was the bigger challenge.


I decided that it would be best to stick to the surface, instead of sewing on it.  I traced the shape of the two sides and the back on to a background fabric, cut it out and began designing/playing.


Bright Fabrics + Steam A Seam 2

Layering


Wool Mat - Notation for the next Layer

I used a heat-erasable pen to mark the gentle slopes of the landscape and note its placement on the existing layer.


Once I layered the landscape curves on the background, it was time to add the trees, followed by quilting with wavy lines. I stitched the entire piece onto the smooth side of SF-101 and trimmed it. I secured the edges with zig-zag stitching and ironed the piece on to the carry bag, so that the sticky/bumpy side of the SF-101 did the work!

Ta-Da


This was a fun and creative project, which forced me to think outside the case :-D  I used the case once in the beginning to trace the shape and once in the end to stick the piece to it. I am glad that I did not have to stick a needle through that thickness. My finger pads are thanking me :-)

But enough about that. Let's see how the other three surfaces turned out.

Preparing the Landscape hills


Adding Trees


Cool Landscape - Bright Trees


The Cute Caboose


Braids

The top was a simple rectangle shape. I treated this slightly differently. I used the leftover braid from a previous project, stitched it on all four sides facing the sticky side of SF-101, cut a slit in the SF-101 and turned it inside out. I carefully pushed out the corners and stitched on top. Then I ironed it to the top of the carrying case.

I could not use this technique on the side panels because they were thicker due to the use of stabilizer (applique) and could not be turned. 

In the end, I am so very pleased with this project. It challenged me, allowed plenty of room for creativity and turned out to be very cute :-) That is a win-win-win.

Do check out other Island Batik Ambassadors' posts. All of our projects are so uniquely creative. I love it!

Many thanks to Island Batik and Oliso for providing products for this project thru the Island Batik Ambassador program.

____________________________________________________________________

In other news, Angela announced that Aqua/Tea/Turquoise is the Rainbow Scrap Challenge color for August. Here are my picks.


Island Batik Scraps

I will be sharing with all my favorite linky parties (including Angela's on Saturday). See full list on the sidebar. But I'd love to hear from you. How are you feeling - Hot or Not?


Monday, June 25, 2018

Three Quilts for Three Musketeers

The assignment was simple - Make a quilt from old baby clothes.
The tricky part - Not one, not two, but three quilts.


Getting the fabric ready for a t-shirt (or onesie) quilt is a slow, labored process.
The painful (for me) part of the whole process is cutting up perfectly nice and cute baby clothes.  It generates a lot of trash - seams, buttons, zippers and oddly shaped fabric slivers.

Aligning fabric pieces on SF101

The tedious part - interfacing each piece of salvaged fabric.  This is slow, because I cannot hurriedly iron over it. Holding the iron down in each section for 8-10 seconds is a must to ensure that the interfacing adheres to the fabric properly. This is followed by squaring each of the above interfaced pieces. And only then can I start to piece.

Design Wall for Layout

SF101 is a must. Design wall is a savior. And most importantly patience is a virtue.

But let's get to the fun part. The finished quilts. These are the three quilts for three siblings (or musketeers).
Quilt #1
Finished about 41" by 44"

Personality Plus

Fly away

Hop to it

Dude with 'tude

All cuteness

Wild one

Bold & Boyish

Polar Bear backing from Hawthorne Threads

Walking Foot Quilting

Quilt #2
Finished about 43" by 46"

Bird & Beautiful

Pink and Pinker

Aw...

Brightest Slippers ever

Rooting for the team

May the best team win

I love you too


Fluffy Plus

Sweetness

Cuteness

Brightness

Loveliness

Labelled

Walking Foot Quilting
Quilt #3
Finished about 41" by 42"

Snappy

So much fun

Puppies and Turtles

Adorable

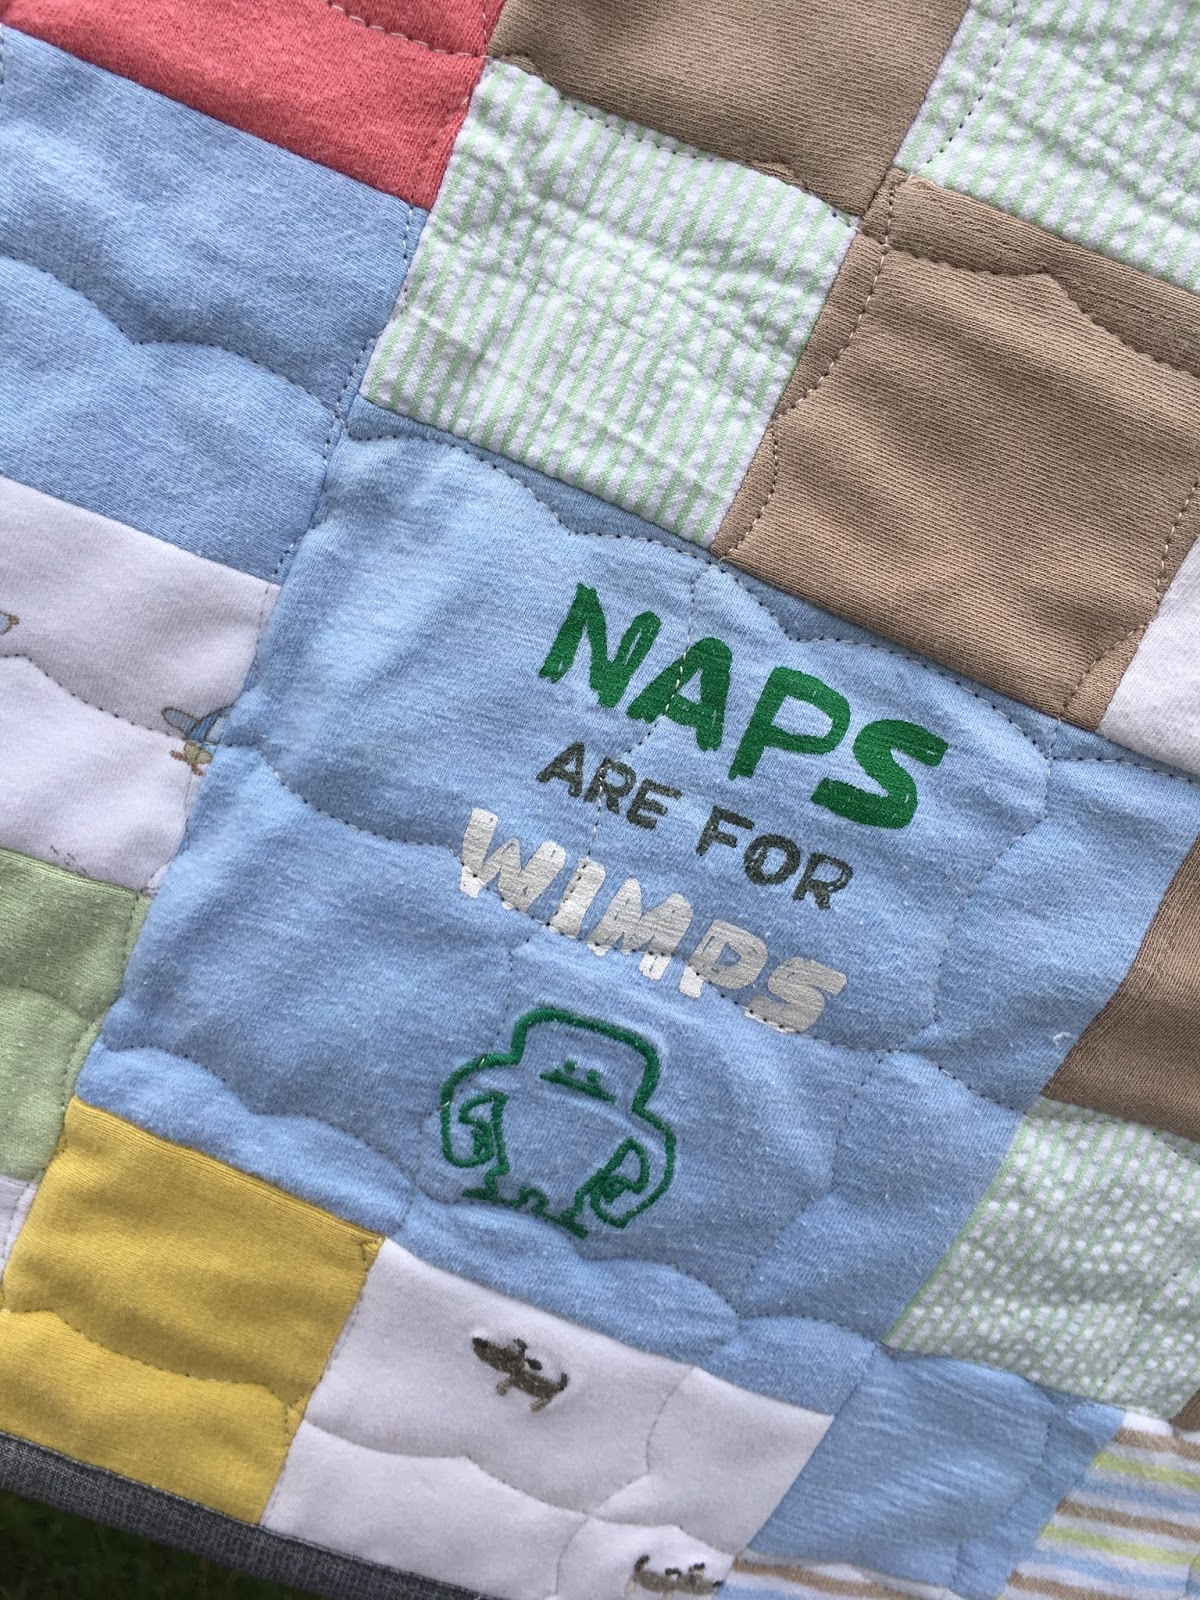
And I am no wimp

Orange, Coral and Yellow - Love the colors

Monkeys make everything better

A baby elephant adds to the charm

Yay for the team!!!

Navy & Starry Backing

Walking Foot Quilting

Bound and Done


If you choose to make a t-shirt quilt or a quilt from onesies and baby clothes, these are a few important things
1. Use a walking foot even for piecing because the knit fabric + interfacing = bulk.
2. Press ALL seams open.
3. Use a wider binding. Instead of using 2.5" strips, I suggest using 2.75" strips. A little extra width helps capture those bulky seams with ease.

But quilts is not all I made from the baby clothes. I knew I would have fabric left over for three small pencil cases  - one for each musketeer.

Three Pencil cases for Three Musketeers

Ready for Stuff


Also I had plenty of fabric to make three pillow covers.  I chose to use binding to finish, instead of just stitching RST and turning it inside out. Yes, it takes more work but I wanted to do the very best for this mom of three.

Three Pillow covers

Pink Binding
I had a feeling that if the pillow covers did not have a pillow form inside, they may just be sitting in a closet and not get used.  To make sure that items could be used instantly, I bought pillow forms and inserted in each of the covers.  Besides fluffy pillows also look better in photoshoots :-D


Envelope Style

Soft and Ready to Cuddle
Is that all?  Well, almost.
Still some pieces were left and they were too precious to discard, since they already had the interfacing. So, I finished off with a few mug rugs.

Mug Rugs

And a very good morning to you!!!


I was paid handsomely for all my efforts. The best part, however, was the smile on mom's face.
Mission Accomplished.
I will be linking with all my favorite lanky parties.  As always, I'd love to hear from you.
Which one is your favorite quilt?