Showing posts with label Pink. Show all posts

Wednesday, May 4, 2016

Strawberry Salad with PeptoBismol Dressing

One day in March, Paul came home to a very pink design wall.


Strawberry Salad + PiptoBismol Dressing


Paul: Is that a quilt for breast cancer awareness?
Me: More like Pink Eye.  I don’t know where to look.
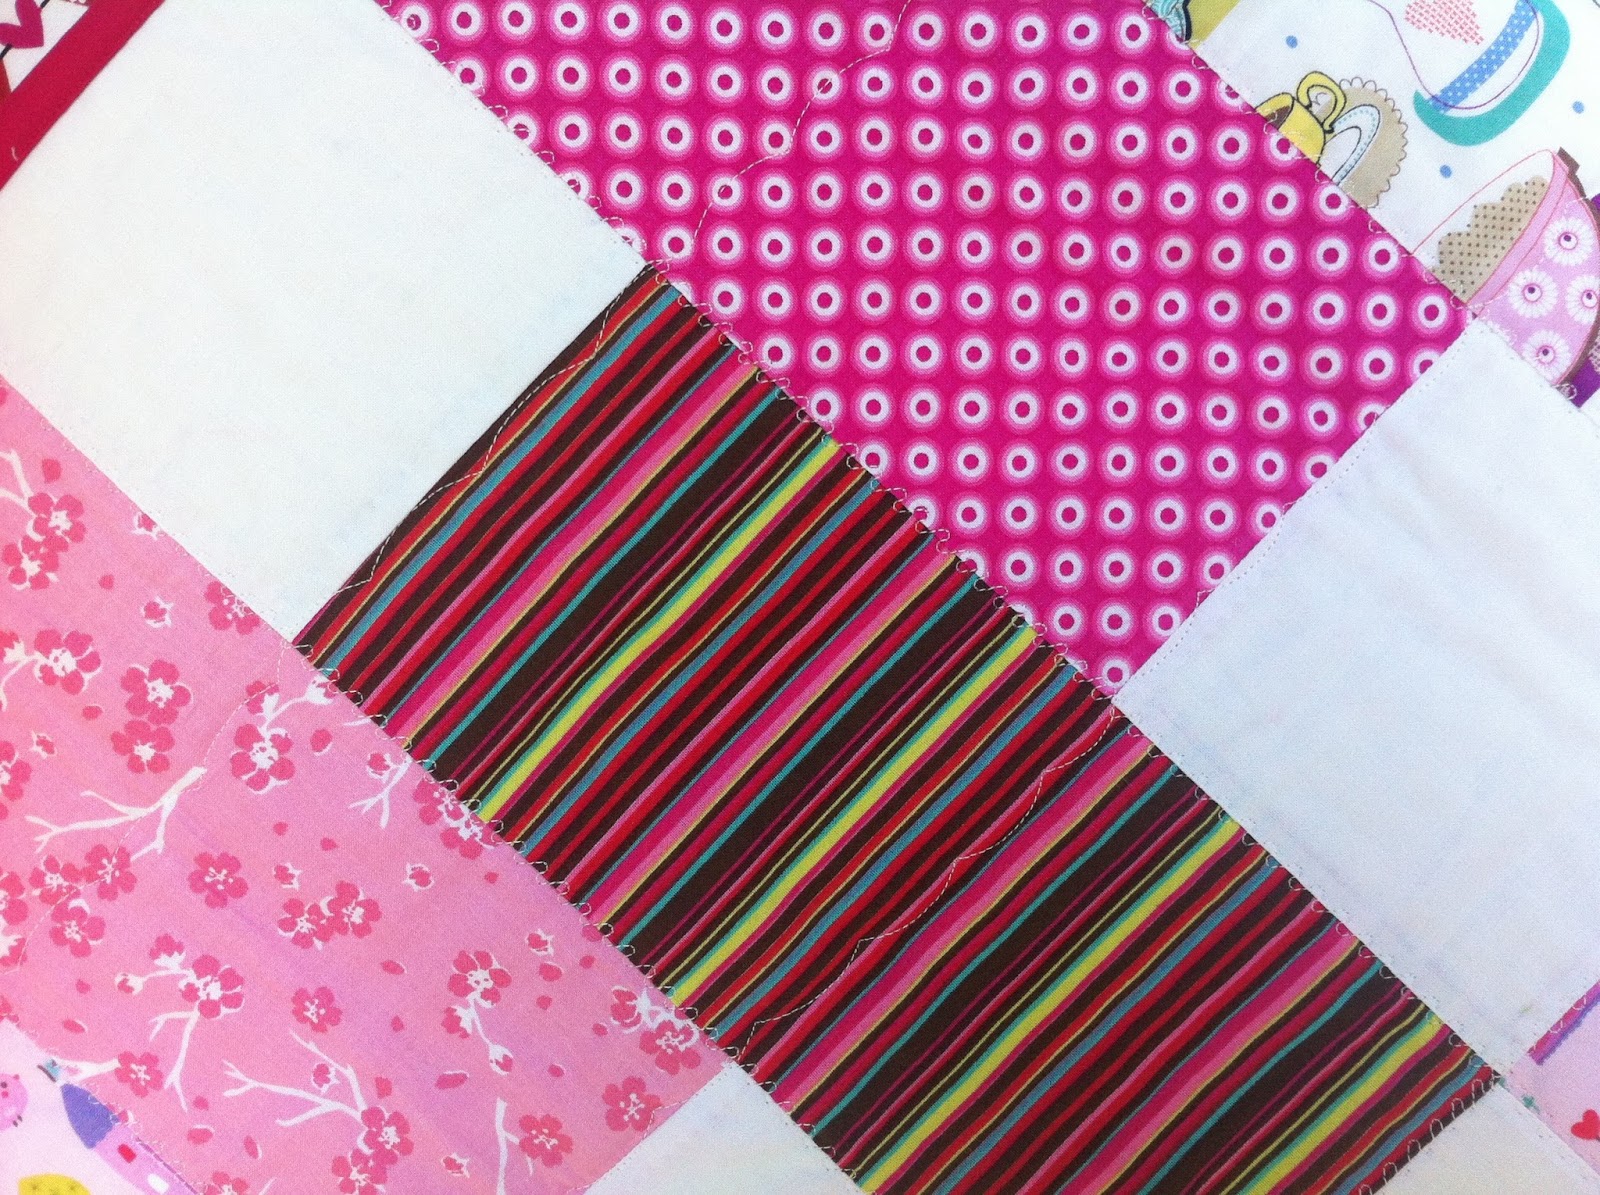
It has no focus and no place for the eyes to rest. 

Scrap Bag - Good, Bad & Ugly
Let's start at the very beginning. Shall we?
One fine day as I was browsing the World Wide Web, I came upon Hawthorne Threads and noticed their Scrap Bags in the sale section. 

Strips Grouped
Ignorance & Temptation is an ugly combination. Next thing, I ordered a few of the Fresh Scrap Bags. When they arrived, they were just that – a mixed bag. Some were very pretty fabrics, some very ugly fabrics and some just in between – but all pink.

The first block

I figured, if I cut them up and put them together, they may come to something.
When I had made the Paulitiks quilt, I felt it was just too blue. May be if I made that pattern scrappy and pink.

There was only one way to find out. I cut up most of the pink scrap bag into 2” strips and started playing.

Hot Mess

Made a few blocks. Made a few more blocks and realized that it was too pink. May be I should add a little teal/turquoise/aqua.
A touch of teal

After I had made a dozen blocks, I realized that it was too pink, too scrappy, too disgusting and had absolutely no focus. I was devastated. But I was also determined to finish it. The uglier the project the more likely it will end up as a UFO. I could not let that happen because 2016 is my year of destroying UFOs.

Some red

So I marched along like a soldier on a mission. When it was finished, I HATED it. Wish I had used some neutrals in each block to balance the pink.

Does white help?

As I was arranging the strips, I tried to place the low volume fabric between the two high volume ones. This worked fine for each block but when I placed the blocks together, the high volume fabrics ended up adjacent to each other, making it look very busy. 


Low Volume between High Volume Strips


Further, the low volume middle strip, distanced the center square from the outer strip making the whole block disjointed.


I had a finished flimsy and no desire to quilt it.  Fortunately Mauna stopped by.
Mauna: What are you working on?
Me: It is a strawberry salad with Pepto-bismol dressing.  It is grossly pink. Not pretty and pink. Not Blush & Bashful. Just in your face sickly pink.  And I showed her the finished flimsy.

Chic?

Mauna: I don’t think so.  Imagine a little girl’s room that is painted very light yellow and is completely plain and then on the wall there is this quilt.  It is shabby chic and modern. It is something you might see in one of these modern lifestyle stores.
Me: Really?

Mauna: Trust me, this will make some little girl so very happy.
Backing Fabric
Whatever Mauna said made ME very happy and this strawberry salad of a quilt began to grow on me.  I picked a backing and a matching binding.


Teal/Turquoise Binding

Not everyone has to like it as long as someone likes it.  In the next few pictures, you can see how I put the ends of my binding together. No rulers required.


Binding Ends - 2.5" overlap - RST
Has it ever happened to you that when you get to the end of the binding and trying to connect the two ends, you get it twisted?  I did for about 18 out of 40 quilts.  Now, I have this method down - Perfect.

1. Make sure that the ends overlap by 2.5 inches
2. Bring them together and place them right sides together, (see picture above)
3. Now turn the one on the right (near my thumb) by 90 degrees towards the edge of the quilt, while keeping them RST (see picture below)


Give a 90 degree turn to one, keeping them RST
4. Now, mark the one on the top, as shown in the picture below.  
5. Pin in place and stitch. 

You have just connected the binding ends, without ruler, templates or a twist. Do a little happy dance.

Mark and Pin

Mauna's positive feedback encouraged me to finish this quilt.

Binding in process

Blame it on the early onset of spring or March Madness. Strawberry Salad + Pepto-Bismol Dressing is here to stay.
Completed!!!
 It is kinda pretty in a messy way, I think.

Labelled
 Finally, the clouds broke for just long enough that I could take a few pictures.

Backing rocks the Binding :-)
Isn't that grass just the perfect backdrop?

Thank you Mauna!!!

What do you think? Messy or Chic?
Did someone else's opinion make you see something in a completely different perspective?   I'd love to hear from you.  I will be connecting with my favorite linky parties.


----------------------------------------------------------------------------------------------------------
Oh, I just saw this pop up in my inbox and I am sharing with you.   There is a Flash Sale on these Quilting Classes at Craftsy.  Save 50% or more on the following classes.


Oh, you are not interested in these classes.  Never mind.
This link will take you to all classes that are under $20.  

This blogpost contains affiliate links.

Wednesday, November 4, 2015

Fit for a Princess & Puppyfish

These are quilts 5 & 6 from the Festival.

The inspiration/design for these two quilts came from Moda Bake Shop.  The pattern is called Bricks.

Once again, I made a sketch...
...while I was drinking my morning cup of chai...OOPS!!!

27 squares and 27 rectangles will make a baby quilt.

Now, you can make this super-scrappy but I wanted to stick with a theme.  Pink and girly.
Here is a hint when you choose fabrics for a project. Pick 5-6 different fabrics  - a dot, a stripe, a near solid, 1 or 2 focus prints, and 1-2 small prints. Make sure that there are some that are dark and some light.

Fit for a Princess

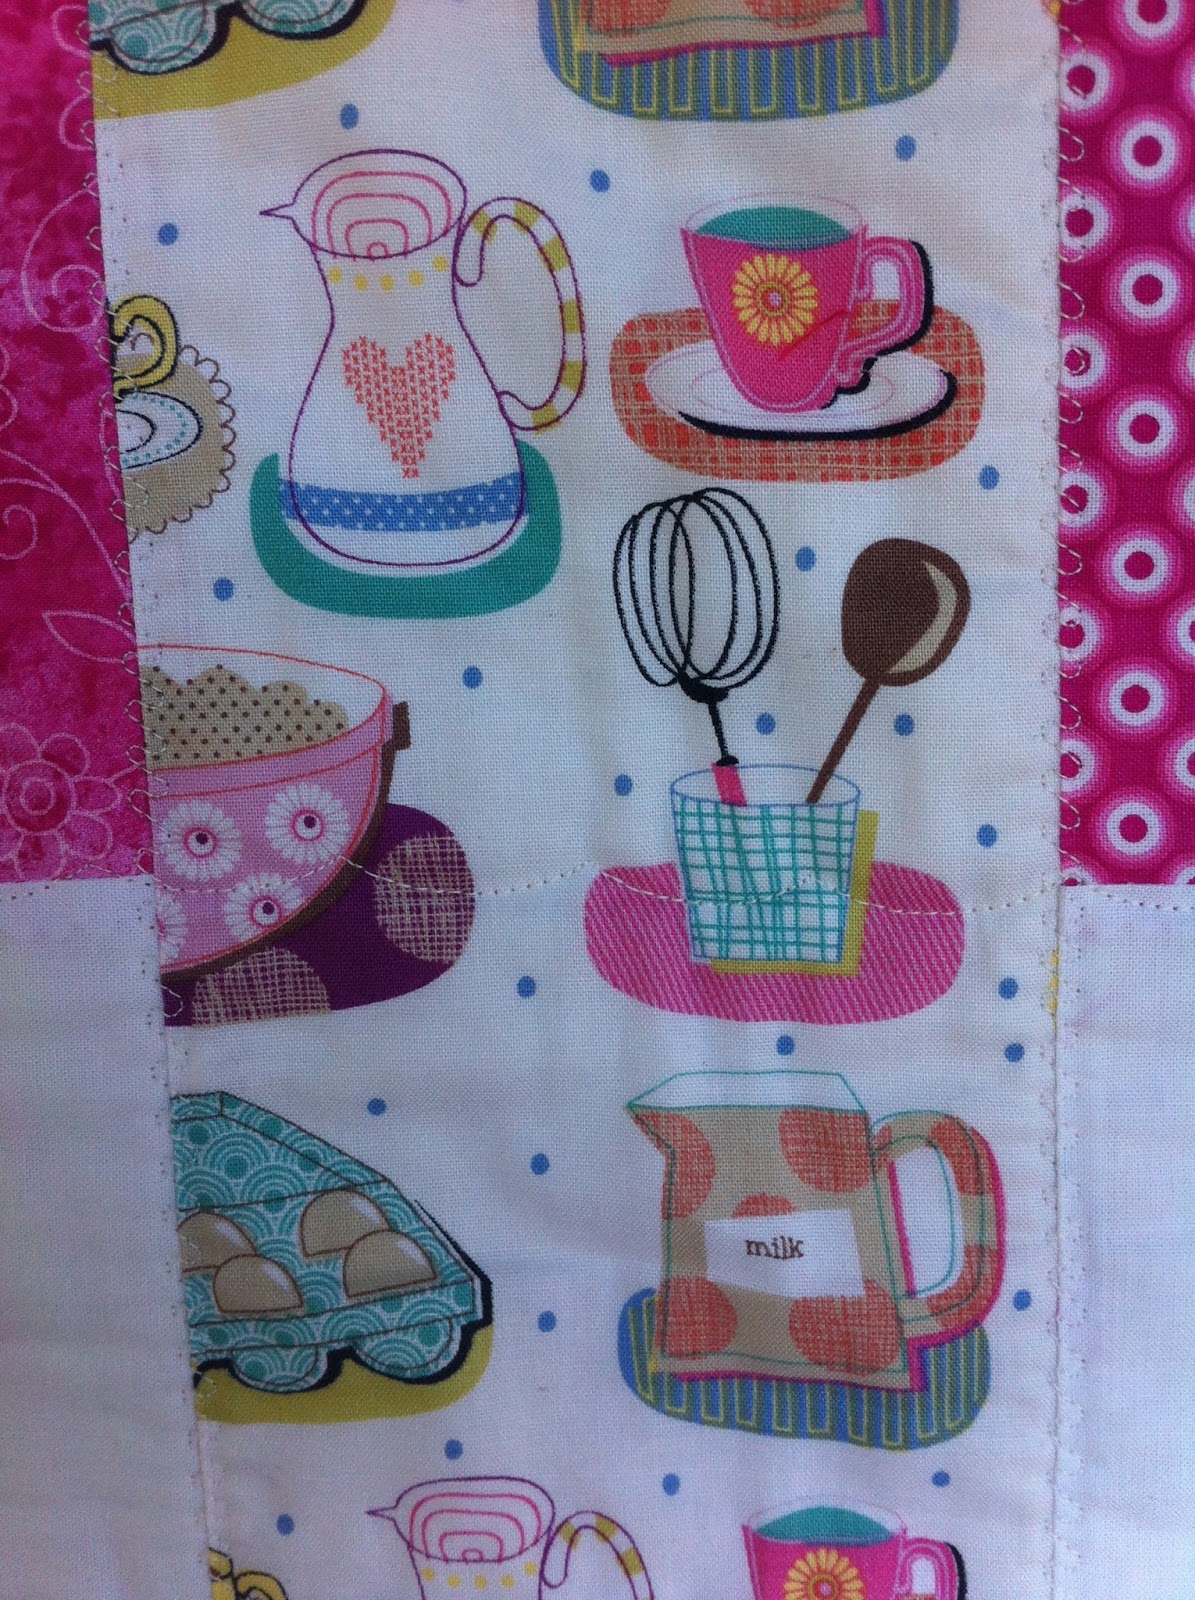
Focus Fabric

Sweet & Pink

Small Print, Dots and Stripe

A simple pattern keeps the focus on the fabrics.  Stare away at the princess and her castle - no major distractions here.  I chose a red/pink hearts backing.

Sweet Hearts
Choosing a binding was easy - a hot pink solid worked well with both the front and the back.

Cherries & Cherry Blossoms
Cherries, Cherry Blossoms and Cupcakes - Can it get any more Girly???
Yes, look at the Princess and her castle :-)

Labelled!

The quilting was once again the simplest (fastest) possible. I used the Cs and mirror image stitch and went over the ditches.

Pretty in Pink

When Mary saw this quilt, her eyes widened.  This would be perfect for her nephew's baby girl.
I was just thrilled that the quilt found a loving home.


Now let me talk about Puppyfish - the twin brother of "Fit for a Princess"
I struggled with the fabric choices.  There were two focus fabrics, but after that I could not find enough fabrics in my stash to make the whole thing work.  Felt limited by the colors in the focus fabrics.

Fishes and Puppies

Did not want to use grey or black from the Fish/Whale fabric - too gloomy.  Although some orange would be fine, it did not seem to be cohesive with the others.

In the end, I chose two dotty fabrics, one stripes and one small print with the two focus fabrics.  Fewer fabrics resulted in only 24 blocks instead of 27 in the original pattern.

Puppyfish

To get to a respectable baby size, I added a navy blue border.  That seemed to work and brought the whole thing together.  The backing was a light green soothing print fabric.

Owls and Birds
I think this was the last of this fabric.  Served me well in a few backings.
Simply quilted with Cs and mirror image of Cs, this was one fast finish.  I may have spent more time picking the fabrics than putting the top together.

Black Binding

Labelled

Jess bought Puppyfish for her granddaughter.  Are you sure, I asked.
Don't you want something more pink?  She was absolutely sure that this was it.

In the Sunlight
This is what I have learnt - Boys won't do pink. Must avoid any trace of fuchsia too.  Florals are a big no-no as well.

But girls are fine with all colors. Happy to be a girl - I get to play with all the colors!!!

I am so happy with the success of this pattern. It is fast and easy, really highlights the focus fabrics, requires only 5-6 fabrics and I am sure you have all of them in your stash.

I can see this getting made into several quilts.  What do you think?

Linking with my favorite Linky parties.

Saturday, February 28, 2015

Blush & Bashful

Finishing Joyce's quilt was such a big deal for me. I wanted to take it easy for a bit.
I did not want to start anything new. But a quick finish will be oh so good. So, I picked up the pink (not UFO) blocks that I mentioned here.

Beginning Blocks

There were a total of 81 blocks. I could arrange them 9 by 9, add a border and have a quilt top in no time. Nothing wrong with that.

Initial Layout

But how about I add a little something more to it. Like a few solids. These pink and purple solids were screaming to be used. I agreed to give them a purposeful life.

Solids to add a bit of Oomph!

I added a strip of solid color to each block so that each block went from 4.5" square to a 4.5" by 6.5" rectangle. I fiddled with the arrangement and chose this one.

Final Layout

Once again, as I was piecing the quilt top, I wondered - what shall we call this one? It has a lot of pink. It is very floral too. Bet, it reminds you of spring.

Fresh Snow on top of Stale Snow

But then, when you are in the dead of winter with 6 inches of snow that melts only slightly to refreeze into ice, just about everything reminds you of spring.
Does it  not?
No, I did not want to give it a spring time name.
Spring Tease???
Pink, like blush.
Blush...
And then, I had this aha moment. I remembered a scene from the movie - Steel Magnolias, where Shelby describes her wedding colors. "Pink is my signature color", she says. Her wedding colors were "Blush and Bashful"

Paul, the Model :-)

That is it. I decided to call this quilt - Blush and Bashful.  I chose this chocolate and pink dotty fabric for the backing.

Backing

Bright Pink Border
The finished quilt measures about 40" by 58". I used Warm & Natural Batting. As usual, the binding was done using the super quick - stitch to the back, bring to the  front and stitch down using the squiggly stitch!

All done
A quick finish is so gratifying. I hope it will make some little girl very happy.

Quilt #4 for 2015

This is Quilt#4 for 2015. Looks like it is going to be a great year!!!
How is 2015 going for you?