Above average temperatures for several weeks and then suddenly it was cold and windy. I guess it is an indication to stay indoors and sew :-D
Should you need a new pattern, Fireworks is now available in my Etsy Shop as a standalone pattern. You can get it at a discount of 25% for one week.
 |
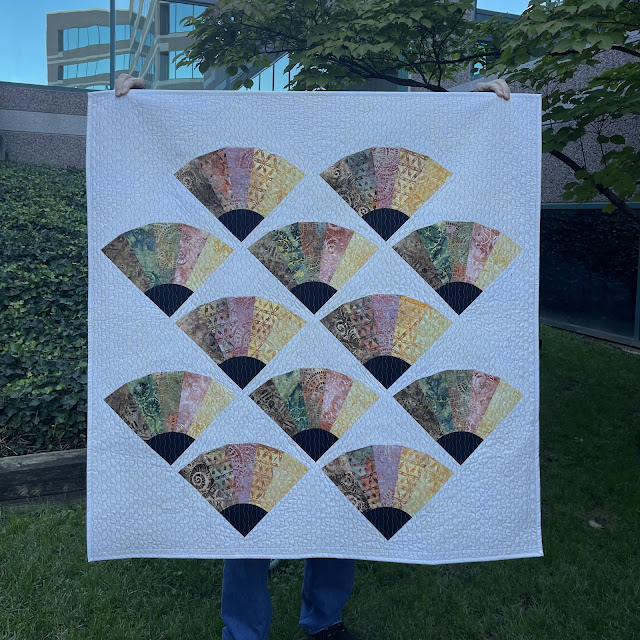
| Fireworks |
Fireworks is a simple pattern that requires no special rulers/templates and is NOT paper-pieced, making it suitable for all skill levels.
 |
| Brightness |
 |
| Walking Foot Quilting |
Fireworks was first published in
Make Modern's Issue 59.
 |
| Thank you, Paul |
I used Island Batik's Fire and Ice Collection, but you could make it in any colors of your choice. Picture it as a Quilt of Valor. At 60" by 79", it certainly meets the size requirements for QOV.
 |
| In Peppermint Sprinkles |
 |
| In Breezy, Black Background |
But there is more. Two lucky readers can win a copy of the Fireworks PDF pattern. Leave me a comment on this blogpost, mentioning your favorite Thanksgiving Dessert. I will pick the winners next week. Please make sure that I have a way of reaching you.
Update - The two winners are Sara (#2) and Susie (#11). Emails have been sent.
But wait there is even more.
On account of Thanksgiving, I am offering a 25% off sale on ALL patterns till Sunday, 12/1/2024.
___________________________________________________________________
Earlier this month, I taught a Workshop on Improvisational Piecing. It included modules on Color Theory, Improv Exercises and Layout & Composition. The 5-hour workshop went by so quickly.
Using two fabric bundles (Island Batik Collections), the attendees made fabric pairs such that there was enough contrast between each pair.
 |
| Wild Blooms Collection |
 |
| Morris Mist Collection |
The workshop included five exercises, but the time limitation only allowed for four. Here are some of the attendees with their work.
 |
| Loving it |
 |
| Your smile says it all |
 |
| Inspired! |
 |
| Happiness |
I received excellent feedback. The attendees left inspired and energized. Since this was my first time teaching this class, I really appreciate these notes from Brenda and Robyn.
_____________________________________________________________
Every year we travel to see Paul's parents (mom and stepdad) for Thanksgiving. Since Paul's mom passed away earlier this year, some people asked me - "Are you still going to Georgia for Thanksgiving?"
Yes, we are. In times of turmoil, it is even more important to maintain our rituals and routine.
 |
| Starter Syrup and Candied Fruit |
I am baking my 30-day Friendship Fruit Cake plus two kinds of cookies - Chocolate Drops and Cranberry Shortbread. The cookies can change but the Fruit Cake is a holiday tradition and is more than expected at Thanksgiving :-)
Watch this clip from a favorite movie of mine, emphasizing our need to find a semblance of perfection in our random world.
Life is random. In the middle of that randomness, carve some time to play with fabric, meditate with music and be good to yourself. A semblance of normalcy may go a long way to battle the absurd.
I wish that your Thanksgiving Holiday brings you just what you need. I will be sharing with all my favorite linky parties. See full list on the sidebar.
Lots of Love and Squishy Hugs!