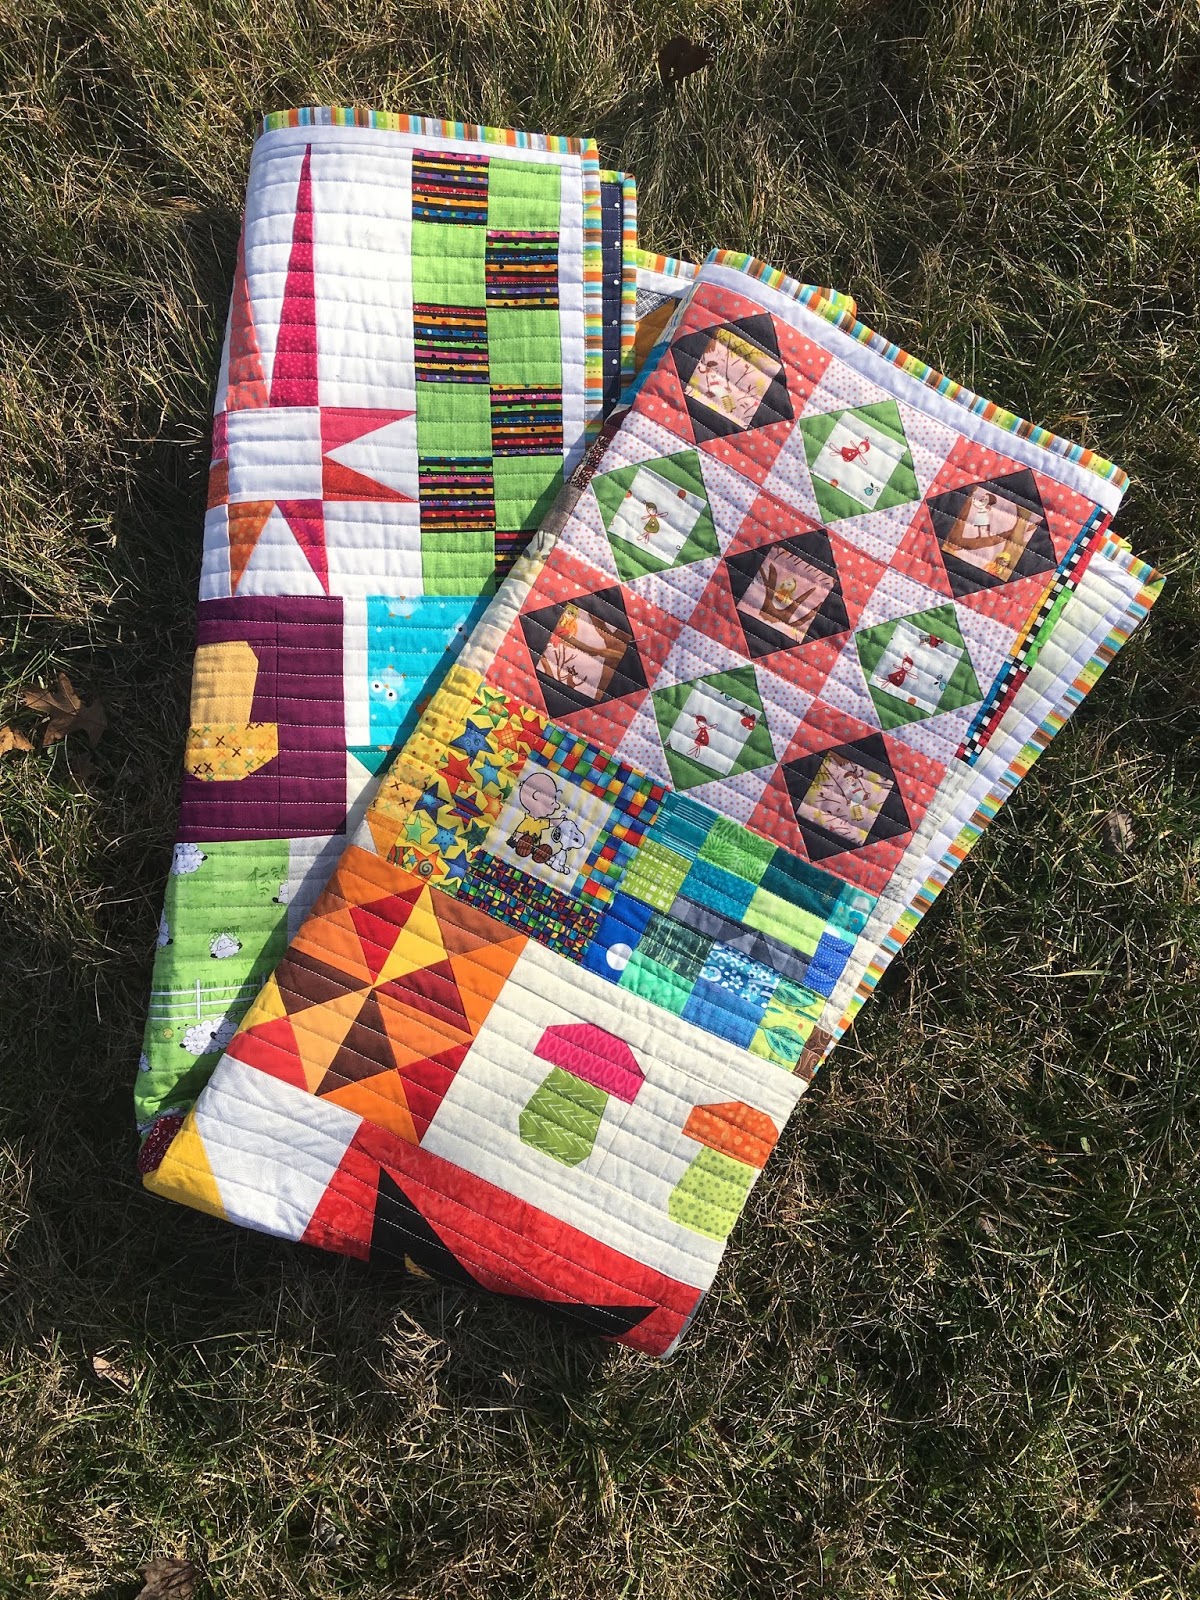
Showing posts with label striped binding. Show all posts

Thursday, March 12, 2026

Aidan

Meet Aidan!


Green Stars

I made a baby quilt (don't know the baby's name) 

Starting here

I have not met the mother (unless you count meeting on Teams)

Design Wall


So when Lina (not her real name) mentioned that she was going on maternity leave, I asked her if there was color/theme to the nursery.


Striped Binding


Green and Dinosaurs, Lina replied. And THAT was enough :-D 

Dinosaur Centers


I found loads of cute green fabrics in my stash. I love that gnome fabric, which I got from the last Quiltcon.

Many cute fabrics


While I had enough print fabric to make the star centers, I did not have enough for a dinosaur backing.


This dinosaur backing came from my MIL's stash (some of which I inherited when she passed away). Isn't it amazing that the universe provides whatever we need, when we need it.

Here are some more pictures.

You are adorable!


Playtime


Aidan is just the right quilt for St.Patrick's Day and Easter, which will be here before we know it.

Aidan finished at 41" square

Labelled

Aidan warms my heart. Hope Aidan brings joy to the little one!

__________________________________________________________________

Joy is in short supply these days but I found some lately, when Bloomtown Quilt made its way to a baby the other side of the Atlantic Ocean. The mom (a friend of my sister) was kind enough to send me a picture.

Aww...


_______________________________________________________

According to Angela, the Rainbow Scrap Challenge color for March is Red. I have gathered my red scraps. I am sure I will need more. Thankfully, Island Batik scraps abound.

Reds for March


I will be linking with Angela's Linky Party on Saturday and all my other favorites. See full list on the sidebar. 

What brought you joy, lately? Please let me know. Joy shared is joy multiplied.


Wednesday, October 23, 2024

Pesto Mushrooms

I have a new finish and I am so excited to show it to you!

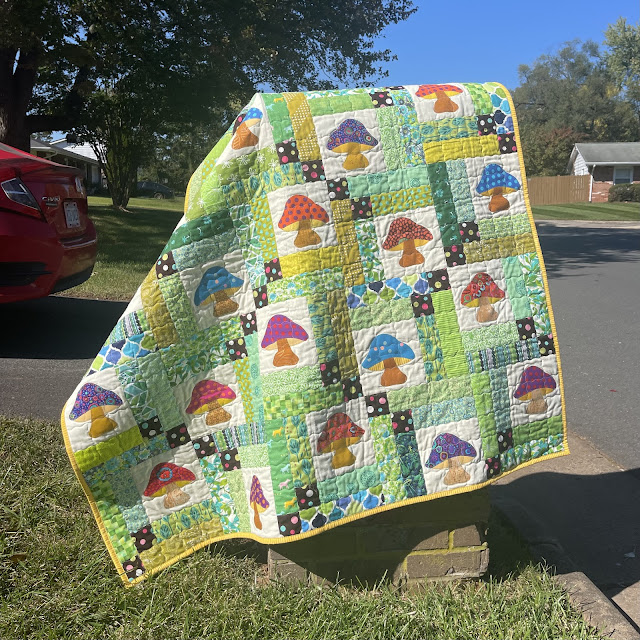
Meet Pesto Mushrooms :-)

Pesto Mushrooms


When I was asked to make a Birthday Quilt for a 6-year old boy who loves the color Green and is fascinated with Mushrooms, I said Yes, please :-D

The Pesto (Green Fabrics) was the easy part.  I wasn't sure how to incorporate mushrooms.

Pieced or Appliqued? Small or Large? A mix of large portabellas and tiny enokis?

I turned to EQ8 and found a template for mushroom applique.  BINGO!!!! In EQ8, the dots are applique as well. I think I can do with using dotted fabric instead of adding each dot. Insert eye roll here.


EQ8 Mock-up


I had fun raiding my box of green scraps and I found plenty of 2.5" strips in various lengths. 
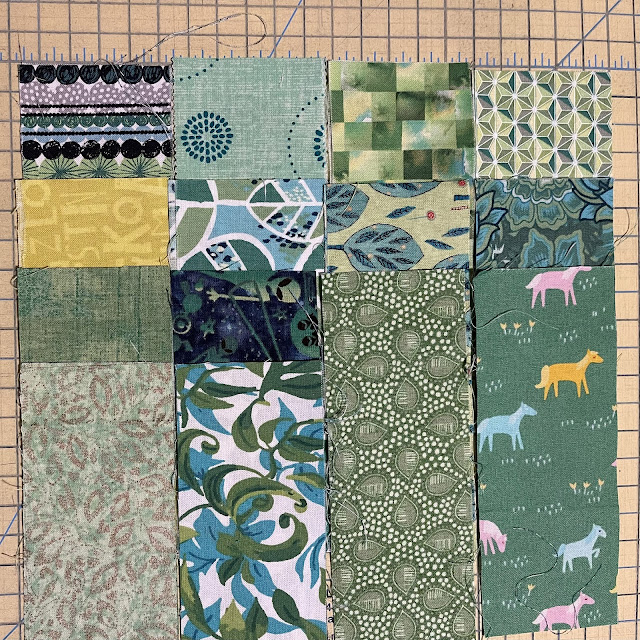
Variety of Greens!!!


Chocolate Dots Added


Making the base blocks was a simple process. Making the mushrooms was a fun albeit a multi-step process.

I transferred the three shapes - the mushroom cap, the gills, and the stem on to a thin cardboard from a box of cereal. I cut out the three shapes and traced them on to the Steam-A-Seam 2 sheets. Repeat 24 times :-) It took six sheets.

I then rough cut all 75 shapes out of the Steam-A-Seam 2. 

Then I chose fun fabrics. Bright dots for the caps, light yellow/beige for the gills and brown for the stems. The next step required peeling the 75 paper slivers and sticking the sticky side (of Steam-A-Seam 2) to the wrong side of the fabrics.

Now I had to carefully cut the exact shapes, ensuring the slight curve of the mushroom caps and the gentle line of the gills. This took a while. Oh but it was so worth it.


The first Mushroom

The second one!


One 5" square

Two Mushroom Caps (very carefully cut)


Was I ready to add the mushrooms to my blocks? Not yet. 

I arranged the base blocks on my design wall in the desired layout, making sure that no two white squares were touching.

I did not add the mushrooms to the individual blocks until after the layout was finalized. I wanted to make sure that all mushrooms were upright, whereas the blocks could be oriented in any way.

Once I was happy with the layout, I started adding the mushrooms, one column at a time.
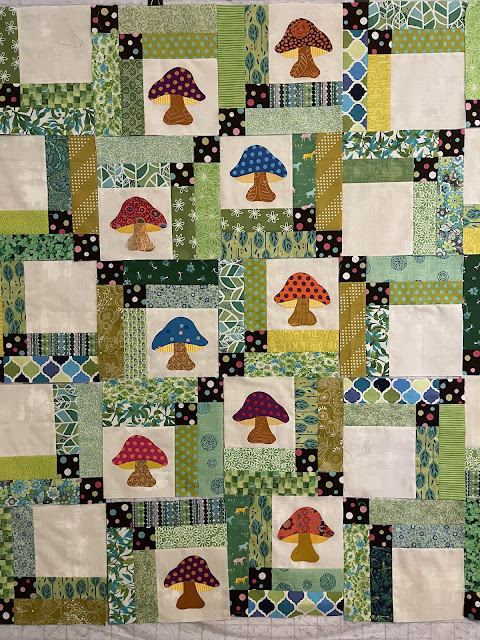

Adding Shrooms

I added one mushroom at a time, peeling away the paper, ironing and stitching in place and returning it to the design wall, before picking the next block.
 

Stitched in place

Step 1 - Make the Base Blocks. Set aside.

Step 2 - Make the Mushroom Parts (Cap, Gills and Stem). Set aside.

Step 3 - Finalize the Layout, separating the white squares.

Step 4 - Working with one block at a time, place and iron the Mushrooms. Gills first, followed by the stem and lastly the cap on top of both (I messed up the first one). Stitch in place.

Oops NO!!!

Step 5 - Stitch the mushroom blocks into a flimsy, making sure that the layout stays intact.

It is fun and looks simple but there are many steps and the order of the steps is important! Here is the completed quilt!

Such a happy quilt, 50" by 50"

Honestly, I think the whole quilt is a tad too busy, with so many greens, chocolate dots and all the bright mushroom caps. I could have used fewer greens, or a solid brown instead of dots. But for a six-year old, who needs a lot of stimulation, it will do just fine.

Pesto Mushrooms finished at 50" square. The backing is pieced from a directional mushroom fabric. I added narrow brown strips (when joining two pieces) to avoid the weird look of an ill-matched pieced print. All mushrooms are upright - even in the backing!


Pieced Backing

A yellow striped binding completes the look. 

Yellow Striped Binding

Let me show a few close-ups. These mushrooms are so stinking cute.

Labelled


Bright and Dotty


Thank you, Kaffe


Who says mushrooms grow in damp, dark places. Look at these beauties thrive in the bright sun :-)

My Happiness Mushrooms


Red and Pink


And one last look!

Such Fun Guys!


Once the quilt reaches its intended recipient, I will add another picture. I am hoping for big smiles. If Pesto Mushrooms made you smile, please let me know. 

Sharing with all my favorite linky parties. See full list on the sidebar.


Friday, March 6, 2020

Pandora's Box

Paul: There is a lot going on here.
Me: Yup. Do you like it?

A new finish

Paul: It kinda works.
Me: Doesn't it?
Paul: What is this one called?
Me: Pandora's Box.


Orphan Blocks

Paul was shocked!!!  He proceeded to relate the story where all the monsters (death and sickness) were unleashed and all that was found at the bottom of the box was Hope.

Gathered and Captured


I tried to (somewhat calmly) explain. I did not open the Pandora's Box. I did not release the monsters. I captured them and put them back in the box.


Flimsy - Before the Skinny Borders were added


Paul: So you are Pandora?
Me: No and this is not a box. It is a concept that all these orphan blocks (bee blocks and audition blocks and orphans too) were floating around and creating chaos. And now that chaos is captured and showcased in a quilt!!!
Paul: You are so full of it.
Me: You totally get me :-)

Color!!!


Diversity :-)

Although these random blocks were captured into a flimsy in August 2018 (Motivated by Mari), other projects took precedence and the flimsy became an UFO.

And festered while other projects/quilts took precedence. But now that it is done...I am thrilled with the finish.

So much is happening...

Skinny Border

A skinny border was required to protect some points.  Pandora's Box flimsy measured 56" by 58".
At this size it made more sense to piece a backing than to cut up precious wide backings.

Pieced Backing

Striped Binding

A spicy striped binding tamed all the naughtiness while keeping things upbeat.

Paul: You did not follow my advice on pieced backing?
Me: Not this time.
Paul: Why not?
Me: I just wanted it done as soon as possible.
Paul: Um Hmmm.
Me: If I make all my pieced backings the same way, won't you call me a one-trick pony?

Labelled


Joyful

I proudly added my label.
Time for a happy dance. Another UFO slayed. Monsters captured.
Absolute Joy!!!

Pandora's Box


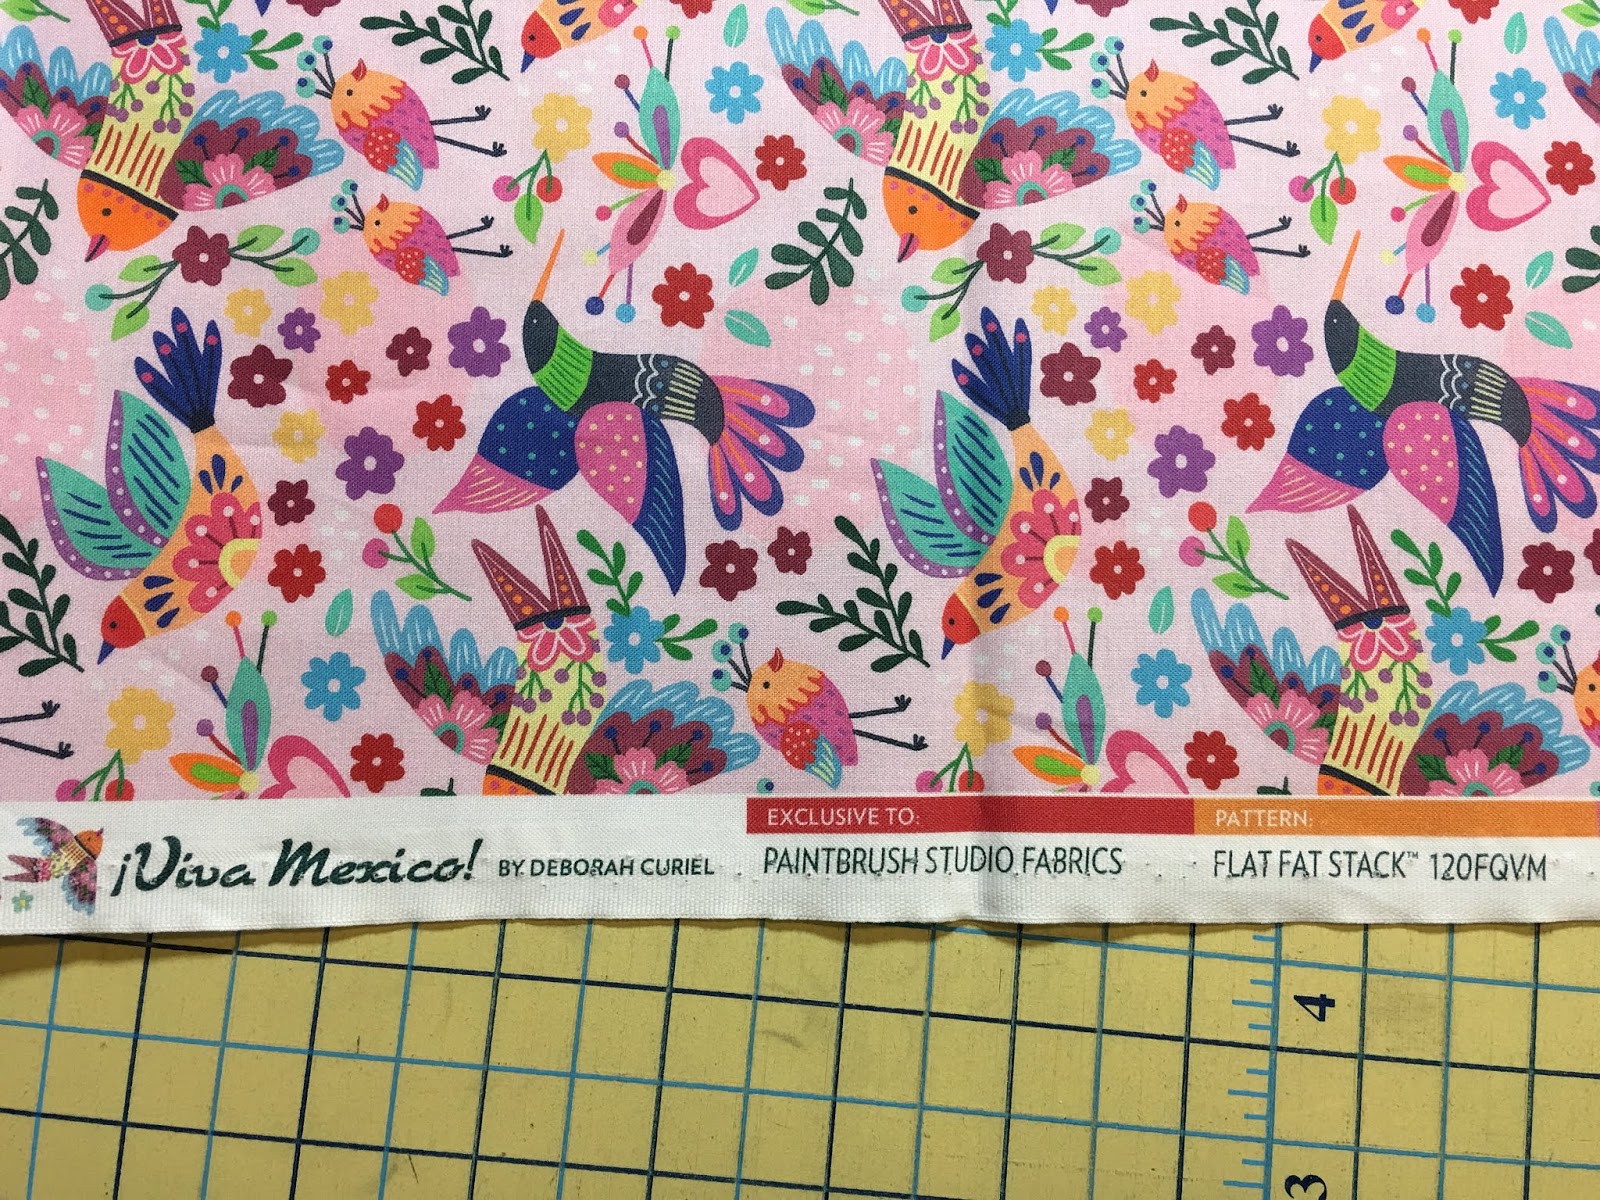
Speaking of joy, I acquired gorgeous new fabric at Quiltcon.  It is a fat quarter bundle called Viva Mexico from Paintbrush Studios.  The ten fat quarters are printed on a continuous piece of fabric.


Picture from Paintbrush Studios


I went to Quiltcon with a strict policy of "Only Experiences, No Acquisitions"
But when Paintbrush Studios announced the Buy One, Get One Free for all FQ bundles...the firm stitches of my resolve were unraveled by the seam-ripper of temptation.


Gorgeous Colors

Juicy and Bright


I cannot wait to make something with this bundle, especially these bright pinks.

Viva Mexixo

Yummy Pink


March is here and so is the new color for Rainbow Scrap Challenge 2020.
Stick around, browse for a bit and leave a comment (naughty or nice), while I go herd my teals (bluish-greens and greenish-blues).

Bluish Greens

Greenish Blues

Greenish Blues on the left. Bluish Greens on the right


If you have questions about block patterns in Pandora's Box quilt, please go to this previous blogpost, which is laden with links.

Linking with Angela and all my other favorite linky parties. See full list on the sidebar.
As usual I'd love to hear your thoughts on anything, but particularly on Pandora's Box.

One last look!